Close menu

Resources


PIPER COMPUTER

Everything you need to teach STEAM effectivly using the Piper Computer Kit.

Educator Guides StoryMode Project Guides PiperCode Project Guides
PIPER MAKE

Teach fundamental STEM skills while providing a bridge to career connected learning.

Educator Guides
Best Practices Standards Glossary FAQ Educator Forum

EDUCATOR PORTAL

Close menu

ALL GUIDES


  1. What is a Computer?
  2. Executing a Plan
  3. Practicing Flexibility
  4. Completing a System

  1. Buttons & Breadboards
  2. Basic Inputs & Outputs
  3. Polarity & Audio Output
  4. Parallel Circuits

  1. Intro to Computational Thinking
  2. Loops & Sequences
  3. Events
  4. Programming with Lights & Sounds
  5. Completing Additional PiperCode Projects

  1. Extend in Storymode
  2. Design a Bot & Make Music
  3. Redesign a Stoplight
  4. Engineering Design with Piper

  1. Take Apart and Reflection
  2. Computers in Everyday Life
  3. The Environmental Impact of Computers
  4. Final Design Challenge

  1. What is Color?
  2. How Do We See Color?
  3. How Does the Color Sensor Detect Color?
  4. RGB in Computing

  1. The Water Cycle
  2. What is Temperature?
  3. What Are the States of Matter?
  4. Phase Changes

  1. Motion Introduction
  2. How Do Waves Help Us Understand Patterns?
  3. Creating Devices That Use Data
  4. Graphing Motion

  1. What is Energy?
  2. The Energy Behind Reduce, Reuse, Recycle

PIPER COMPUTER

EDUCATOR GUIDES


YOU ARE HERE

Phase 2

Lesson 2.2

Phase 2: Lesson 2.2

Basic Inputs & Outputs


45 - 60 mins

Grades 3 - 8

INTRODUCTION
Following their exploration of circuit basics and electrical properties of different materials, students will learn the difference between an output and input. They will explore LED behavior and compare LEDs with switches to better understand how different electrical components are utilized in circuits.

GETTING STARTED

Lesson Materials


Piper Computer Kit

Learning Objectives

Having learned the basics of circuits, breadboards and the different electrical properties of different materials, students will understand the difference between an output and input by comparing the LED behavior to button and switch behavior.

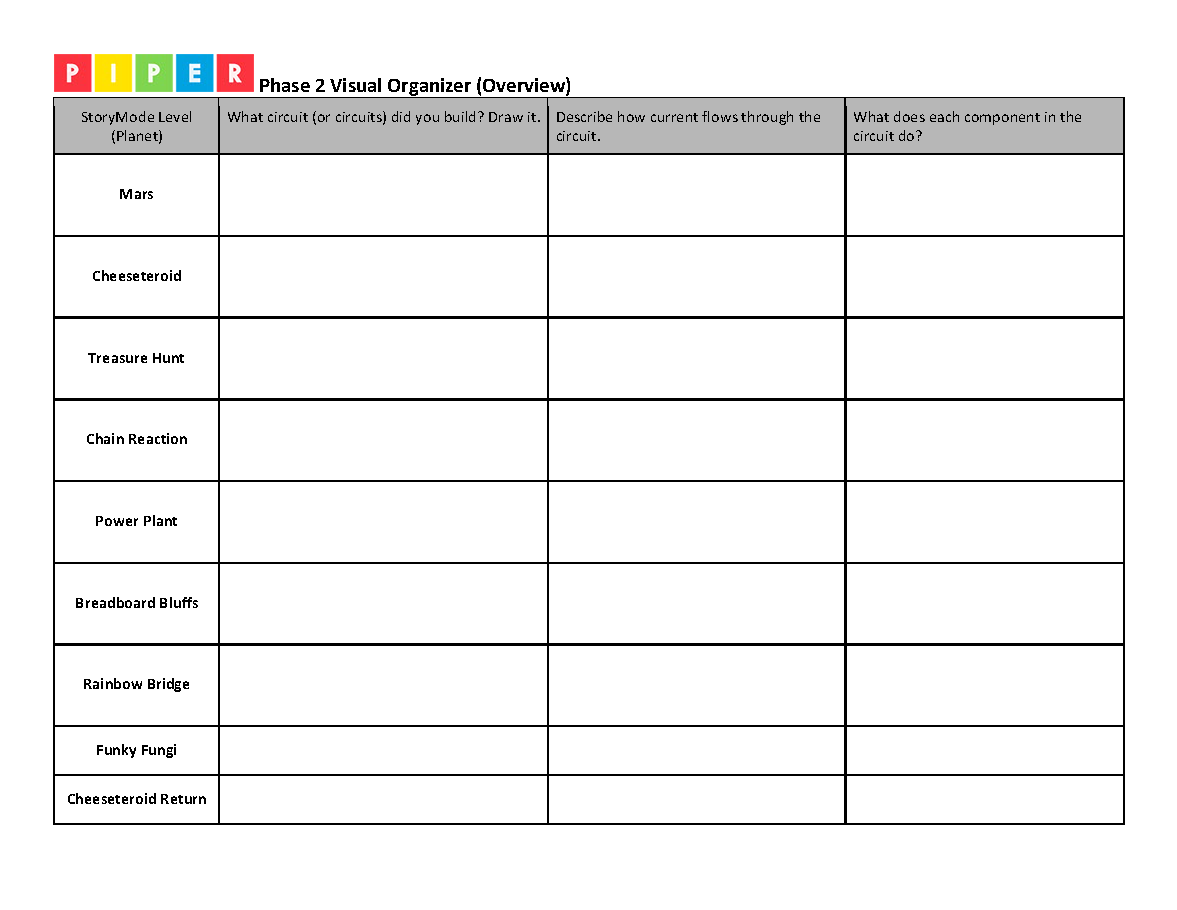
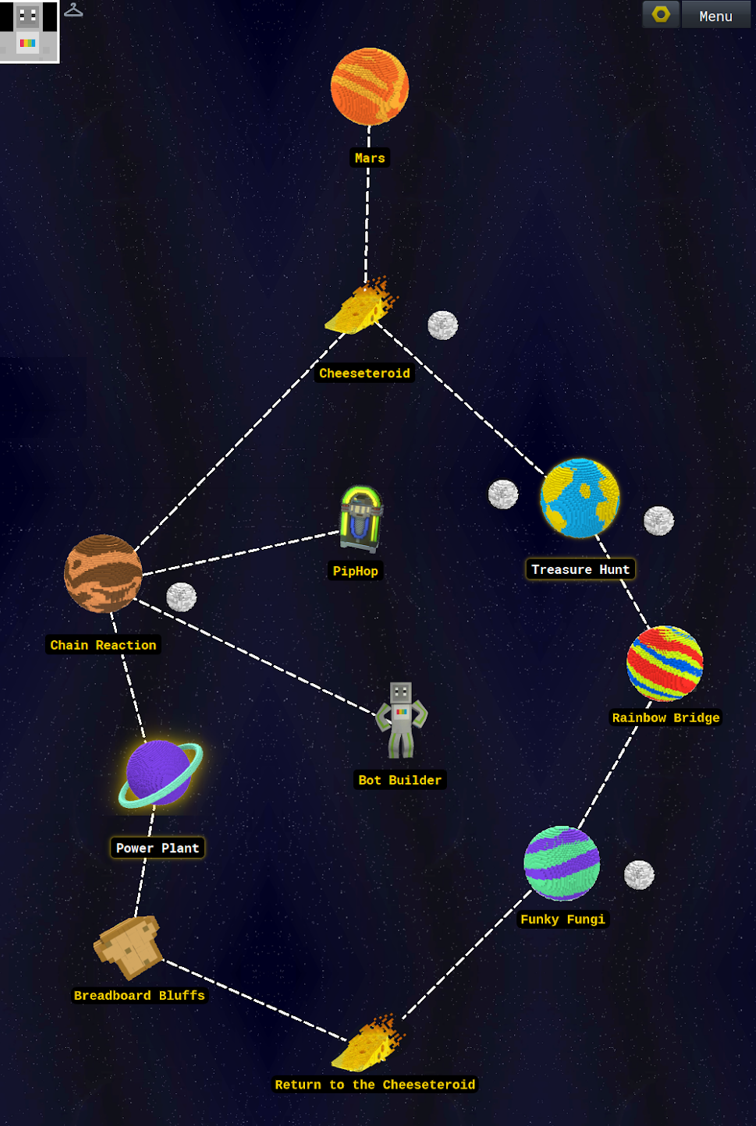
The StoryMode projects (sometimes called Levels) are arranged as planets in the user interface. The story for each planet will guide students through the fundamental concept of wiring a circuit and understanding how circuits on the breadboard work. As they complete one StoryMode project, the next one unlocks.

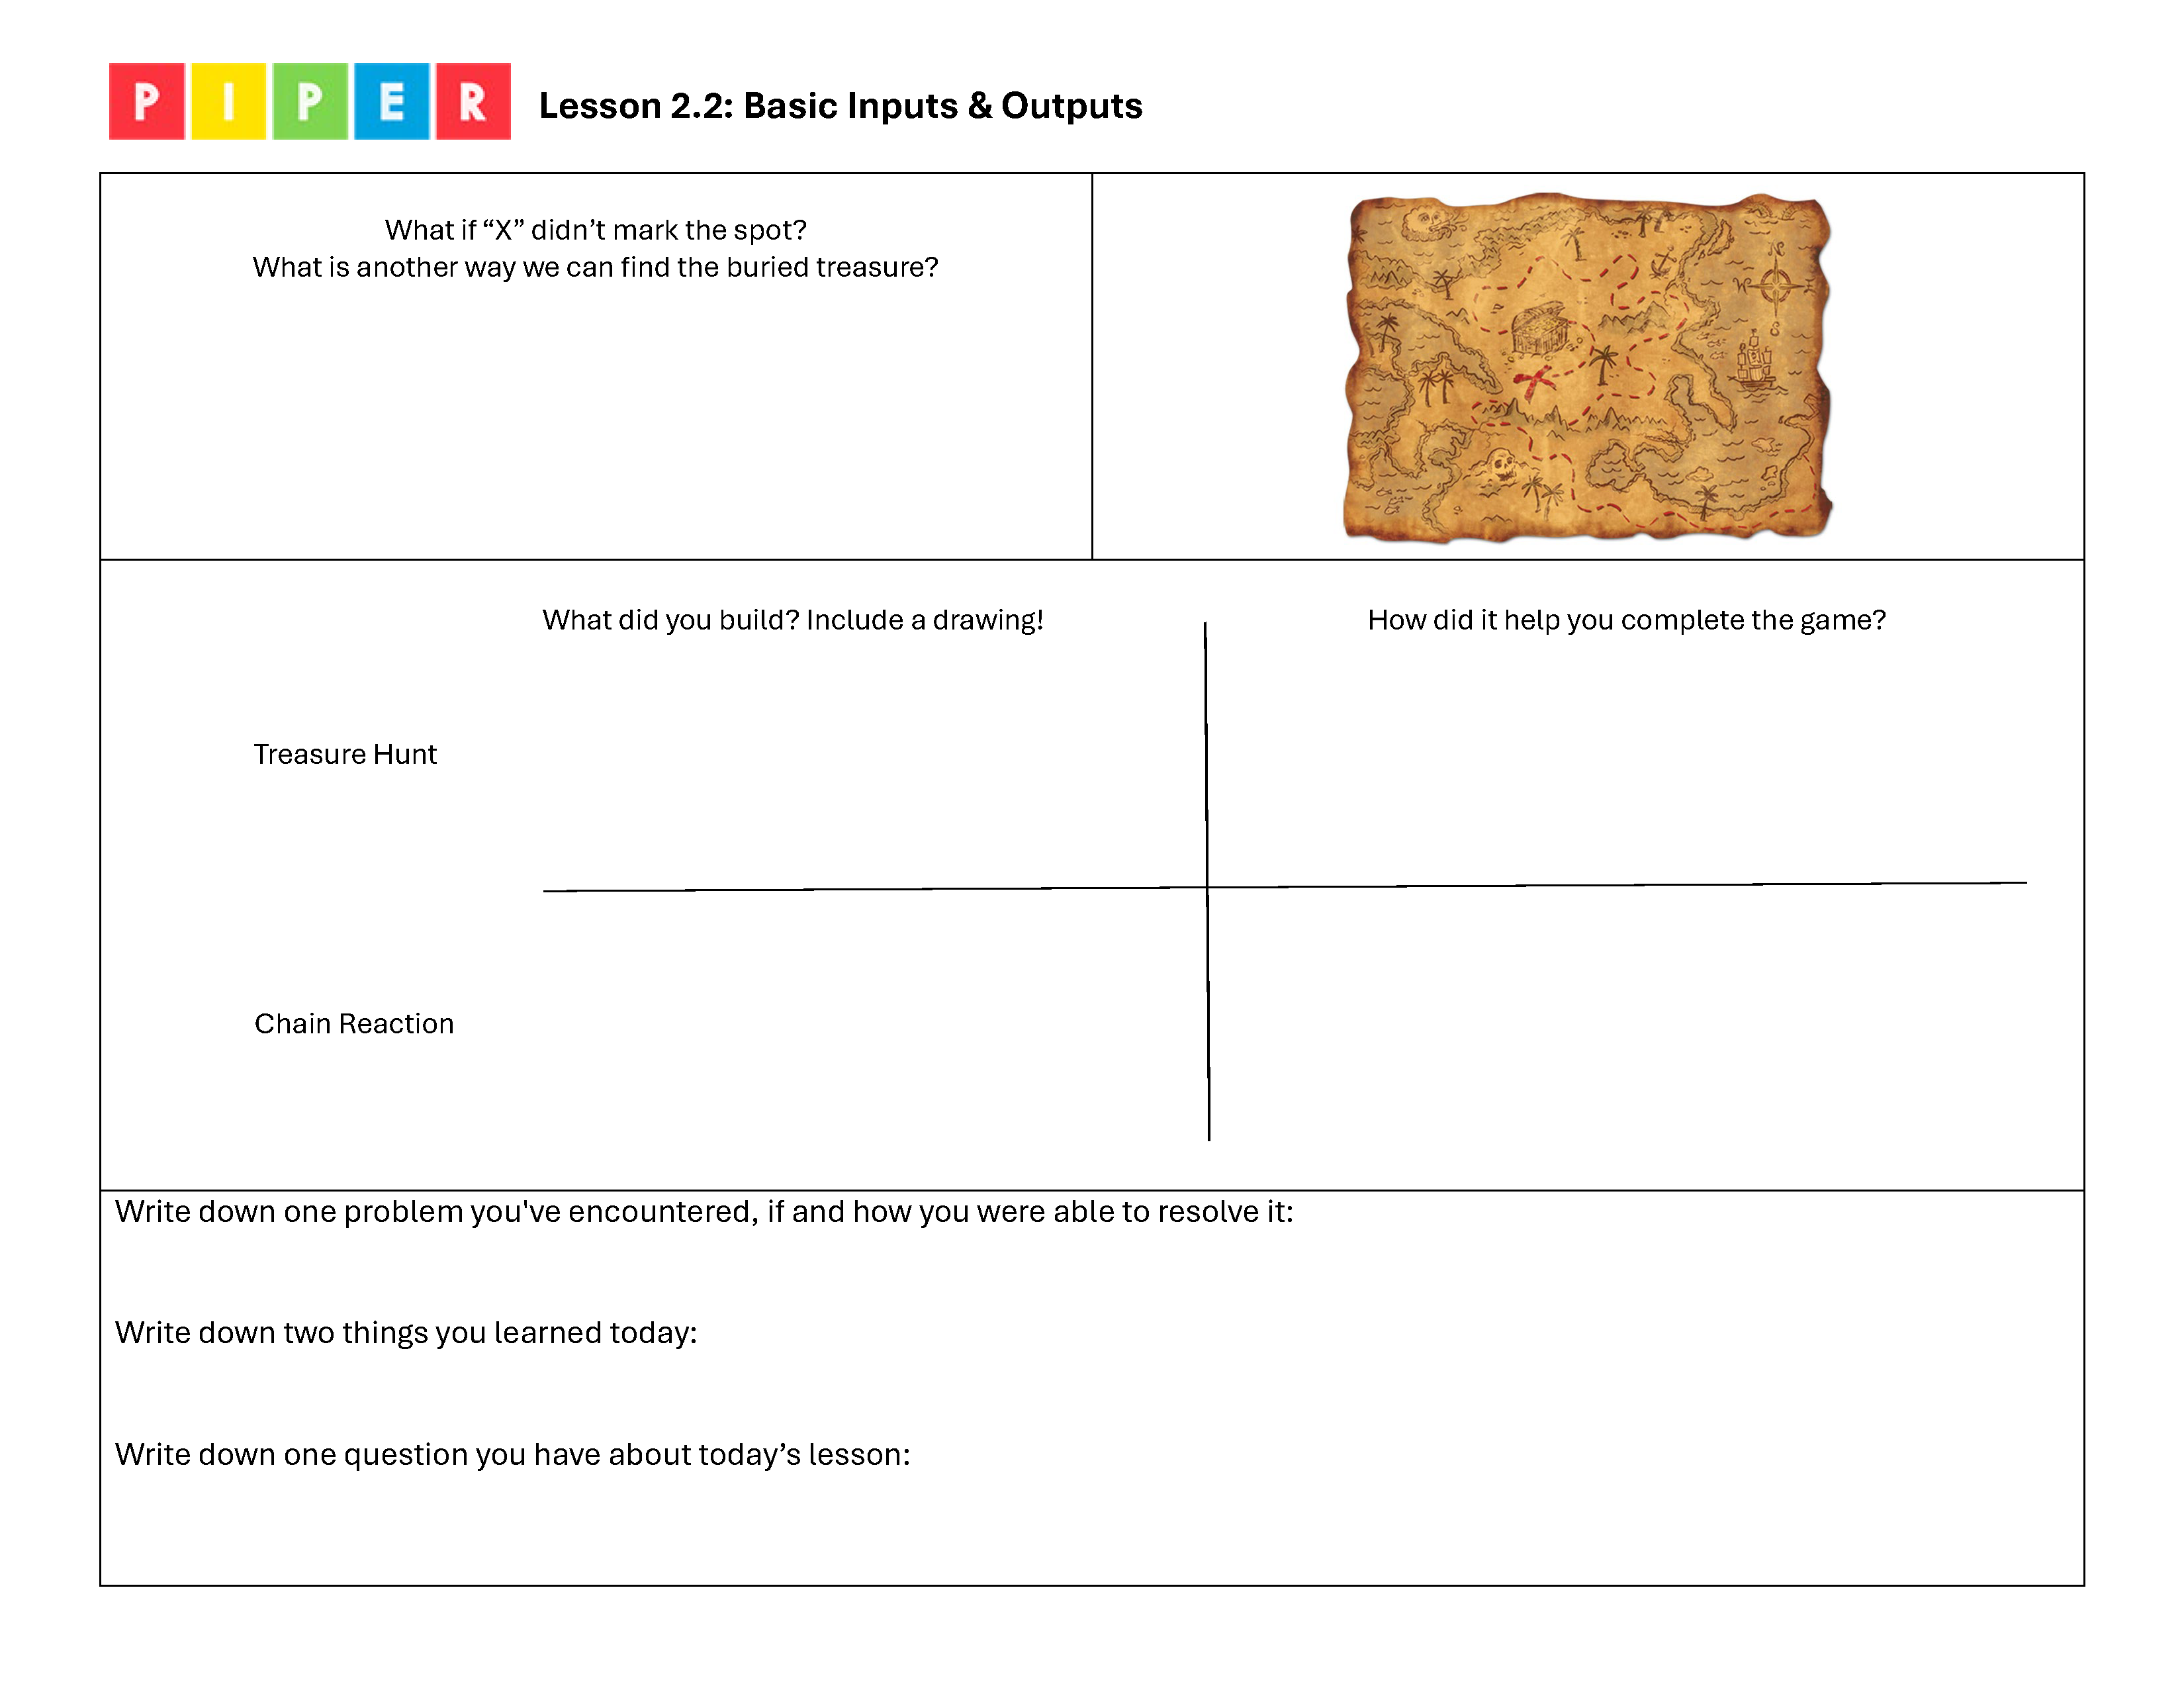
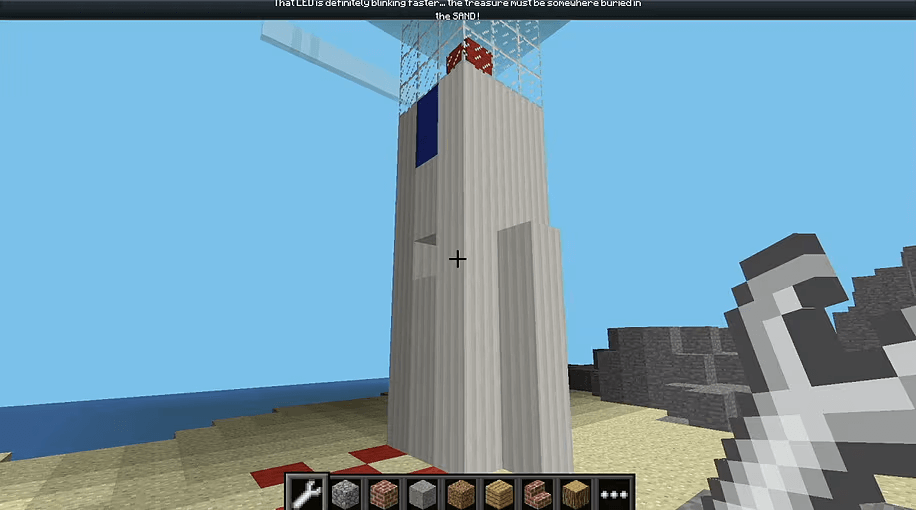
This lesson goes through the stories: Treasure Hunt and Chain Reaction.
Students will:
  1. Understand there are many different kinds of inputs and outputs.
  2. Understand electricity can be controlled to behave like binary (most basic computer language) and either have a high or low voltage: high = 1 = ON, low = 0 = OFF.
  3. Understand that electric flow is sensed by the computer hardware and programmed to have an effect in software.
  4. Understand that the computer is programmed to detect the flow of electricity going into the pin.
  5. Understand that the computer is programmed to send a high voltage to the pin when light is desired.
  6. Make observations to provide evidence that energy can be transferred from place to place by electric currents.
  7. Describe how computing devices connect to other components to form a system.
  8. Decompose problems into smaller, manageable tasks which may themselves be decomposed.
  9. Perform different roles when collaborating with peers.
  10. Generate and compare multiple solutions that use patterns to transfer information.
  11. Determine potential solutions to solve simple hardware and software problems using common troubleshooting strategies.

Lesson Preperation

  • Review background materials and hints on Minecraft in Minecraft Reference.
  • Go through the Treasure Hunt and Chain Reaction stories yourself, follow the directions on the screen and build the circuits (don’t forget to turn on the speakers so you can hear the directions).
  • Review Piper Quick Guides for Treasure Hunt and Chain Reaction.
  • Review your favorite teacher science materials for Electronics and Circuits background.
  • Students in the same teams as before, or make adjustments as necessary.
  • Make sure Piper kits are built, connected, functioning, and batteries are charged for the Raspberry Pi and the speaker.
  • Retrieve student team storage boxes with Piper build components.
  • Provide storage devices to teams to hold electronics - such as paper plate or paper cup or plastic box.
  • Materials needed for electronic builds: 1 LED (red), 1 switch, and 4 wires (2 red, 2 blue).

PIPER 5E INSTRUCTIONAL MODEL

Engage

Introduction (2-5 minutes)
  • Tell students they will be working through 2 more levels of the game today, which will introduce using LED lights and switches.
  • Review the key concepts they learned in the last lesson (buttons & breadboards) and ask them informally to define new concepts (inputs and outputs).
  • Have them quickly brainstorm other examples of inputs and outputs from everyday life or other more complex computer systems.

Explore

Main Activity (30-40 minutes) Encourage students to complete the Treasure Hunt and Chain Reaction world challenge.

Review Piper Quick Guides for Treasure Hunt and Chain Reaction.

Explain

Total 50% of Class Time During the build time, roam around the room, asking the essential questions* of this lesson:
  1. What happens when you press the button in the electrical and software worlds?
    • Example Answer: In the electrical world, you are completing the circuit so that there is a full conducting loop. In the software world, the computer gets the signal that you have completed the circuit and therefore triggers current to run through the wires to the LED. When the LED is lighting up, current is traveling through the wires to the LED. The LED turns the electrical energy into light energy.
  2. Why do we need two wires per component?
    • Example Answer: Two wires allow you to create a full conducting loop between the Raspberry Pi and the component (input/output) in the breadboard.
  3. What is the difference between a switch and a button?
    • Example Answer: A button has a momentary "on" position, reverting to an "off" position. A switch has a permanent “on" or “off” position you set.

*These checks for understanding help reinforce the science skills of generating and comparing multiple solutions that use patterns to transfer information (NGSS (4-PS4-3))

Note: Students may have trouble getting the buttons to work. Remember that good contact is the key to good electric flow. Buttons and wires need to be properly aligned and seated. Students may need assistance getting the wiring just right.
  • Review vocabulary words and definitions that were encountered during the lesson.

Closing Activity (10-15 minutes)

  • Students take a picture of their control panel and circuits. After completing the stories, students take apart any circuits on separate breadboards and return parts to their proper bag in the storage bin.
  • Students put kit away to avoid distractions during teacher led discussion. Remind students to use the proper shutdown sequence.

    Steps to shutting down the Piper Computer properly:
    1. If you’re in the Piper software, click on the power icon at the top of the main menu. If you’re on the desktop, click on the Menu bar (raspberry icon).
    2. Click on Shutdown.
    3. Wait for the Raspberry Pi to completely shutdown. You’ll know it’s shutdown when the green LED on the Pi stops flashing (the red LED will stay lit).
    4. Power off the battery.

Elaborate

Discussion Questions Peer led discussion: 2.2 SLIDES - Basic GPIO (LEDs, buttons and switches)
  • Use these slides as background knowledge to help unpack and discuss circuits with LEDs, buttons, and switches. (Some slides refer to Python code which is not what students are using.)
  • With switches, electricity can be controlled to behave like binary numbers and either have a high or low voltage: high = 1 when ON, low = 0 when OFF.

Combine a few teams together in small groups of 4 to 6. Have individuals contribute questions/answers on the topic of LEDs, buttons, and switches, giving references to the two Piper worlds they just finished that explored this new concept.

Assign peer leaders to either document or summarize their group’s ideas. Provide prompts to help them get started:
  1. What do we know about it?
  2. How do we know that we know it? How did we demonstrate knowledge?
  3. What got in the way of learning it?
  4. What helped with learning it?
  5. How can this knowledge be applied to a real-world engineering problem?

Evaluate

Teacher Led Discussion (5% of class time)
  • Review Peer-led discussions. The success criteria for assessment of each group are responsive listening, thoughtful contributions, reflective thinking, and application of concepts learned.
  • Group discussion: Have one group volunteer to share their work with the class. Visibility for the whole class will be key.
  • Address misconceptions as students share.
  • Ask open-ended questions such as:
    • Why do you think..?
    • What evidence do you have?
    • What do you know about the problem?
    • How would you find the answer to the question?
  • Have students complete Exit survey Assessment Questions (or gamify) to evaluate learning objectives.

PHASE RESOURCES

Career Connections

Electrician: Salary $61,590/yr
Computer Hardware Engineer: Salary $132,360/yr
Agricultural Engineer: Salary $130,720/yr
Environmental Engineer: Salary $96,530/yr

StoryMode Map

Below is a map of the StoryMode Planets

Graphic Organizer

Lesson 2.2 DOWNLOAD
Phase 2 DOWNLOAD

Term Glossary


Binary A number system based only on the numerals 0 and 1; a base 2 numeral system. Composed of, relating to, or involving two; dual.

Troubleshooting The process of figuring out what’s wrong with something and finding a solution to fix it.

LED (Light Emitting Diode) A diode is like a one-way valve that only allows electricity to flow in one direction. All diodes give off some light (visible or invisible) when electricity passes through them, but LEDs give off lots of visible light in specific wavelengths (colors).

View Full Glossary

Standards Alignment


We are excited to be aligned with the following standards.


Concepts Standards

Computing Systems: Devices

CA 3-5.CS.1 Describe how computing devices connect to other components to form a system. (P7.2)

Computing Systems: Hardware & Software

CA 3-5.CS.2 Demonstrate how computer hardware and software work together as a system to accomplish tasks. (P4.4)

6-8.CS.2 Design a project that combines hardware and software components to collect and exchange data. (P5.1)

Computing Systems: Troubleshooting

3-5.CS.3 Determine potential solutions to solve simple hardware and software problems using common troubleshooting strategies. (P6.2)

6-8.CS.3 Systematically apply troubleshooting strategies to identify and resolve hardware and software problems in computing systems. (P6.2)

Algorithms & Programming

3-5.AP.13 Decompose problems into smaller, manageable tasks which may themselves be decomposed. (P3.2)

3-5.AP.18 Perform different roles when collaborating with peers during the design, implementation, and review stages of program development.

6-8.AP.13 Decompose problems and subproblems into parts to facilitate the design, implementation, and review of programs. (P3.2)

6-8.AP.18 Distribute tasks and maintain a project timeline when collaboratively developing computational artifacts. (P2.2, P5.1)

Practices

P1. Fostering an Inclusive Computing Culture

P2. Collaborating Around Computing

P4. Developing and Using Abstractions

P5. Creating Computational Artifacts

P6. Testing and Refining Computational Artifacts


Concept Standard

Make observations to provide evidence that energy can be transferred from place to place by sound, light, heat, and electric currents.

Apply scientific ideas to design, test, and refine a device that converts energy from one form to another.

Generate and compare multiple solutions that use patterns to transfer information.

Generate and compare multiple possible solutions to a problem based on how well each is likely to meet the criteria and constraints of the problem (Performance Expectation).

Plan and carry out fair tests in which variables are controlled and failure points are considered to identify aspects of a model or prototype that can be improved. (P.E.3.4.7)

Waves and their Applications in Technologies for Information Transfer

Connection to the Nature of Science: Science knowledge is based upon logical and conceptual connections between evidence and explanations.

Integrate qualitative scientific and technical information to support the claim that digitized signals are a more reliable way to encode and transmit information than analog signals.

Digitized signals (sent as wave pulses) are a more reliable way to encode and transmit information (inputs and outputs).

Evaluate competing design solutions using a systematic process to determine how well they meet the criteria and constraints of the problem.

Optimizing the Design Solution Different solutions need to be tested in order to determine which of them best solves the problem, given the criteria and the constraints.