 Look for the graphic above
Do, Re, Mi, Fa, So -- Make your five button synth using your buttons!
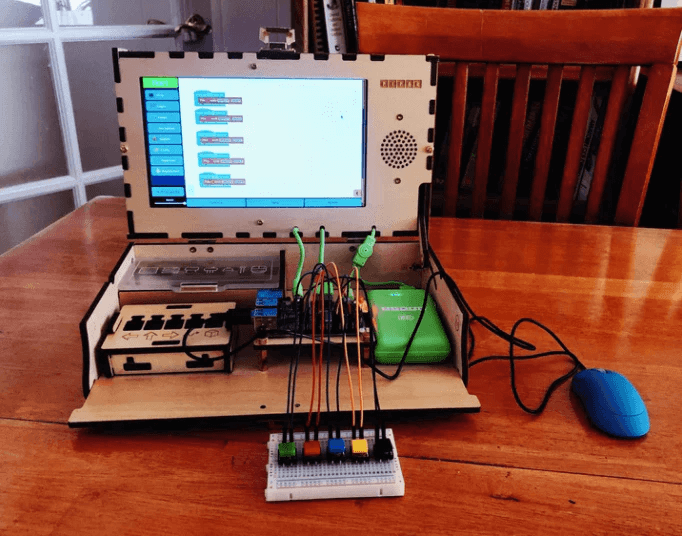
Make music using PiperCode. In this project, we will make a five-button synthesizer using PiperCode and the components in a Piper Computer Kit.
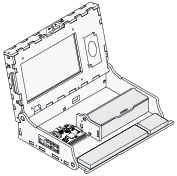 Piper Computer Kit
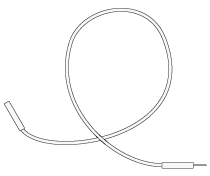 10 Wires (2 yellow, 2 green, 2 red, 2 blue, 2 black)
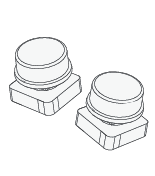 5 Buttons
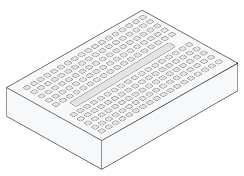 Breadboard
Students can have fun making music in this STEAM project which they can further explore how the ground in circuits is the common return path for a current (like a direct physical connection to earth) plus being a reference point from which voltages are measured.
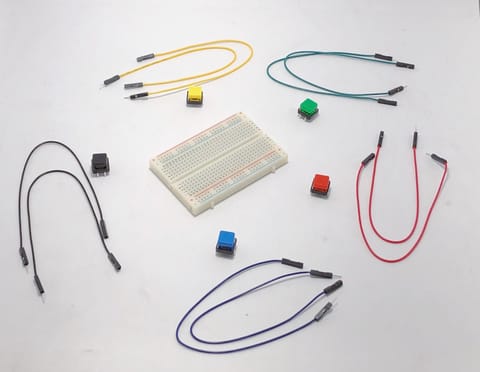
Take out the inventory you see in the image below.
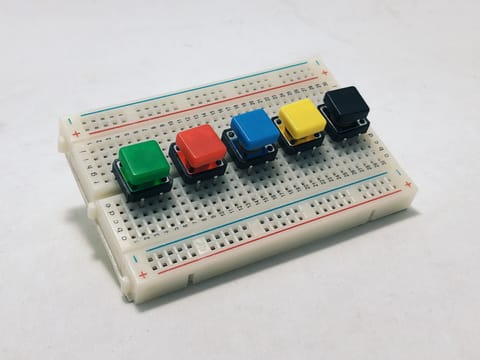
Next, set up your keyboard by placing the buttons on the breadboard like you see in the image below.
Plug in the buttons and match the wires with pins.
(Note: The Raspberry Pi may turn off if a short circuit occurs between its ground and high-voltage GPIO pin to avoid head damage.)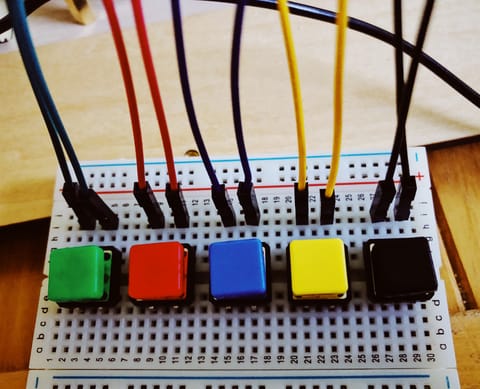
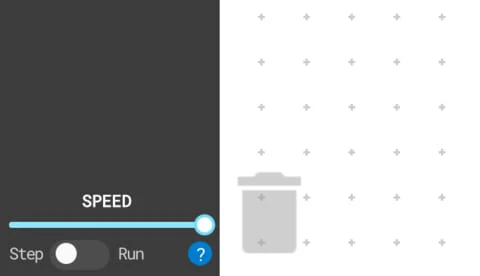
Now that your buttons are wired up, time to start coding! Start your Piper Computer and open PiperCode. Open a new project (circled in blue below) and rename it 5 Button Synthesizer.
From the Sound menu on the left side, select the “Play” block. Drag and drop it into the programming area.
Next, find the "Synth" block under Sound and place it inside of the play block as shown below. Using the block’s dropdown menu to adjust tone, choose a sound that you’d like the leftmost button on your breadboard to play.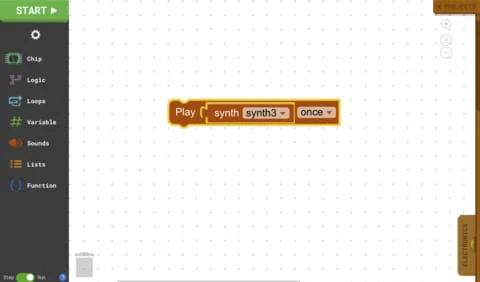
Run your code by clicking the “Start” button in the top left corner.
(Note: A sound should play from your Piper Computer Kit’s speaker. If not, check your wiring and code using the steps above.)
Now, let’s link our chosen sound to the leftmost button. From the Chip Menu, grab a “When pin turns on” block. Leave the pin value as 3 - the green button’s signal pin.
Next, click “Start” to test your code. Make sure your speaker volume is turned up. A sound should play when the green button is pressed. Try it!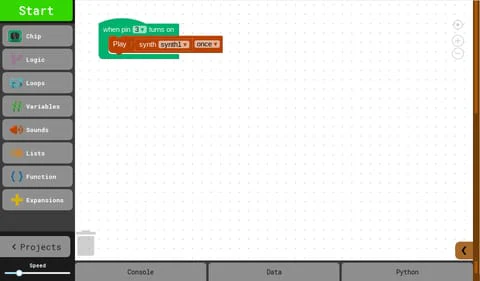
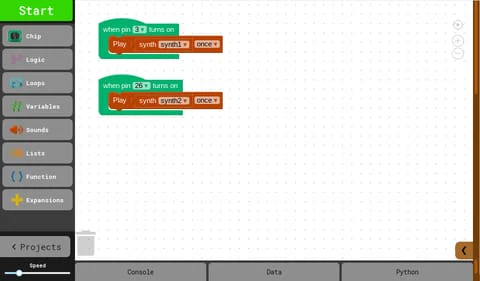
We will now add a second sound corresponding to the second button. To do this, repeat the same steps as before, but set the pin to 26 this time as shown below.
Now that we understand how to code a button press to produce a sound, we can use the “Duplicate code” action to make copies of the code so far. To duplicate the code, right click on a completed “When pin turns on” block, and select duplicate. Do this three times until you have 5 "When pin turns on" segments.
After duplicating your code, give each statement a new pin assignment. On the new “When pin turns on” blocks, set their pin numbers to 31, 33, and 16 as shown below.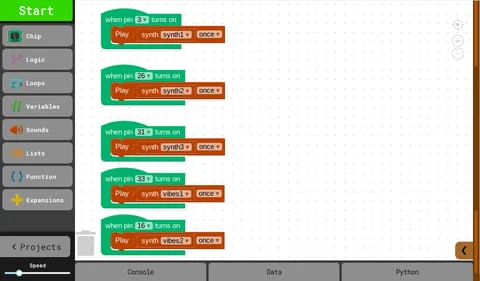
Now, you can choose different instruments or tones for each button, like keys on a keyboard! Using the selection menu in the synth blocks, try putting together your own set of notes.
Once you're finished, click "Start" again and play your 5-button piano by pressing your buttons. Experiment with your piano by changing the sounds. The combinations you can create are nearly endless!