 Look for the graphic above
Fastest reflex wins! Play each other to hit the buzzer and turn on your light first!
In this project, students design a game of skill that they may play against each other. Each player will race to press their button the fastest after the buzzer buzzes and the winner's light will turn on!
These step-by-step instructions in the tutorial guide students through the process of building the circuit and writing the code.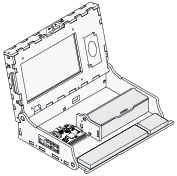 Piper Computer Kit
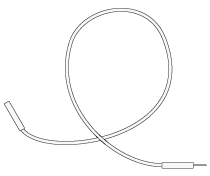 10 Wires (5 blue, 5 yellow)
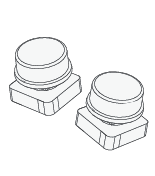 2 Buttons
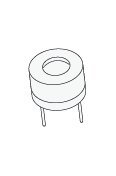 1 Buzzer
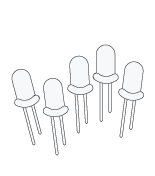 2 LEDs (red, blue)
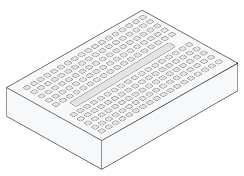 2 Breadboards
In this project, students will learn to program functions and procedures, a key skill for programming. Other key skills in this project include timer, sequences and variables.
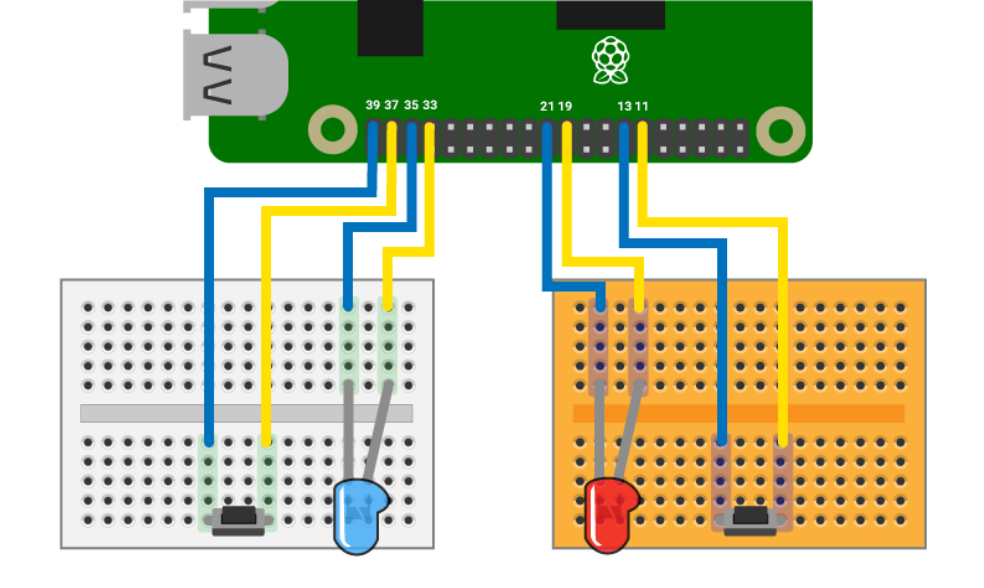
For this project you will need: 5 blue wires and 5 yellow wires, 2 breadboards, 2 buttons, 2 LEDs, and a buzzer.

Add two wires from pins 37 and 39 to a button. Add two wires from pins 33 and 35 to an LED.
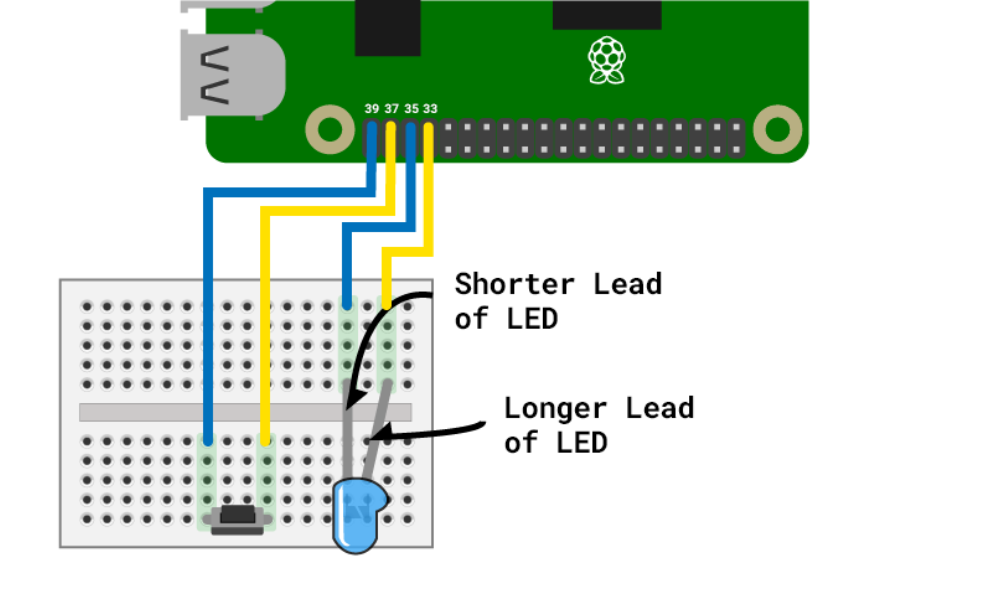
Add two wires from pins 19 and 21 to an LED. Add two wires from pins 11 and 13 to a button.
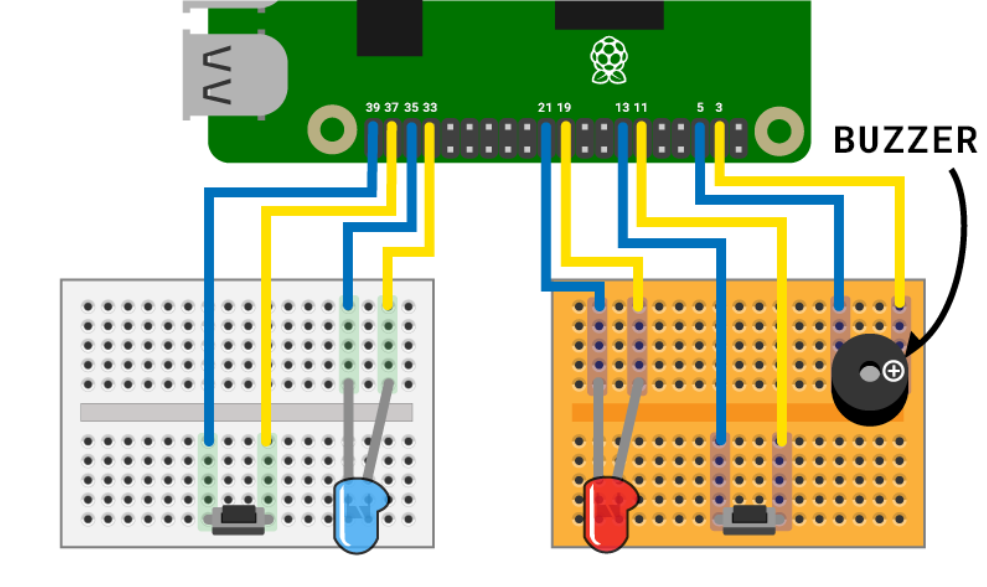
Add two wires from pins 3 and 5 to a buzzer. Put the positive side on pin 3.
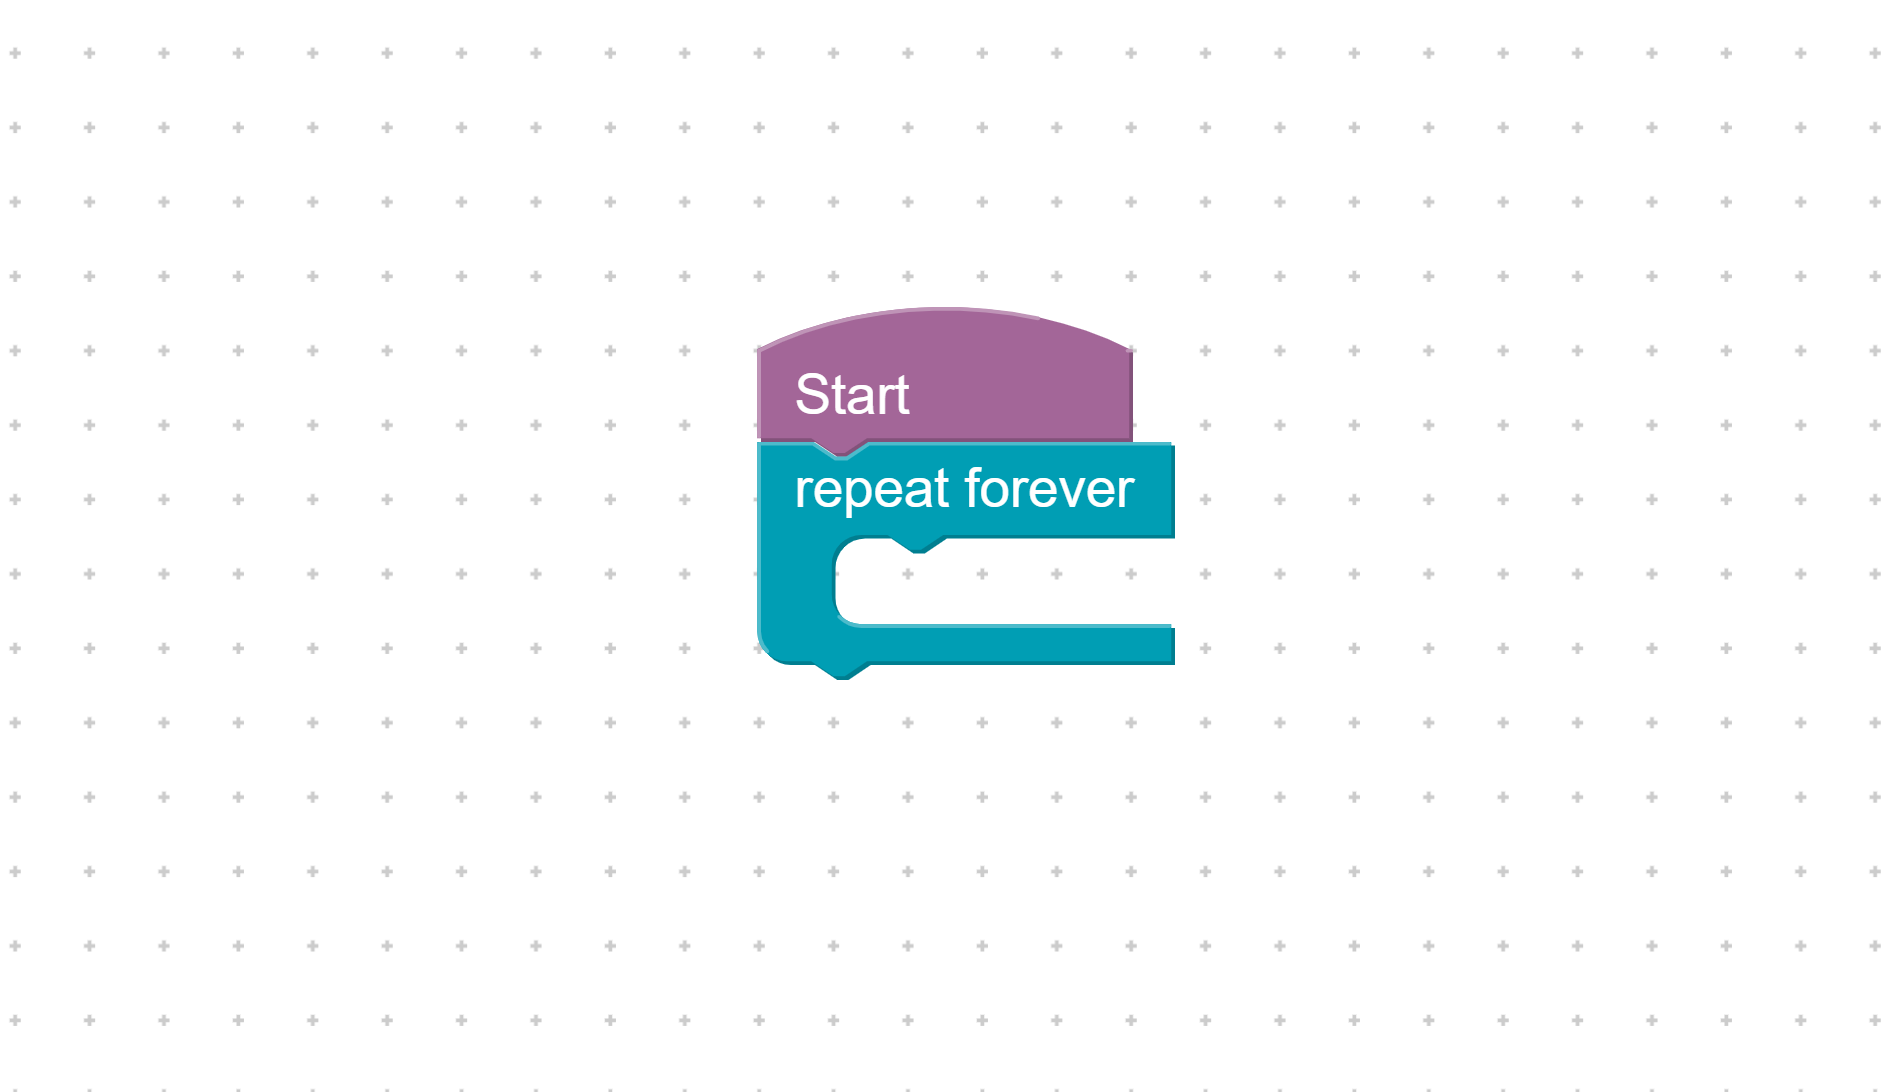
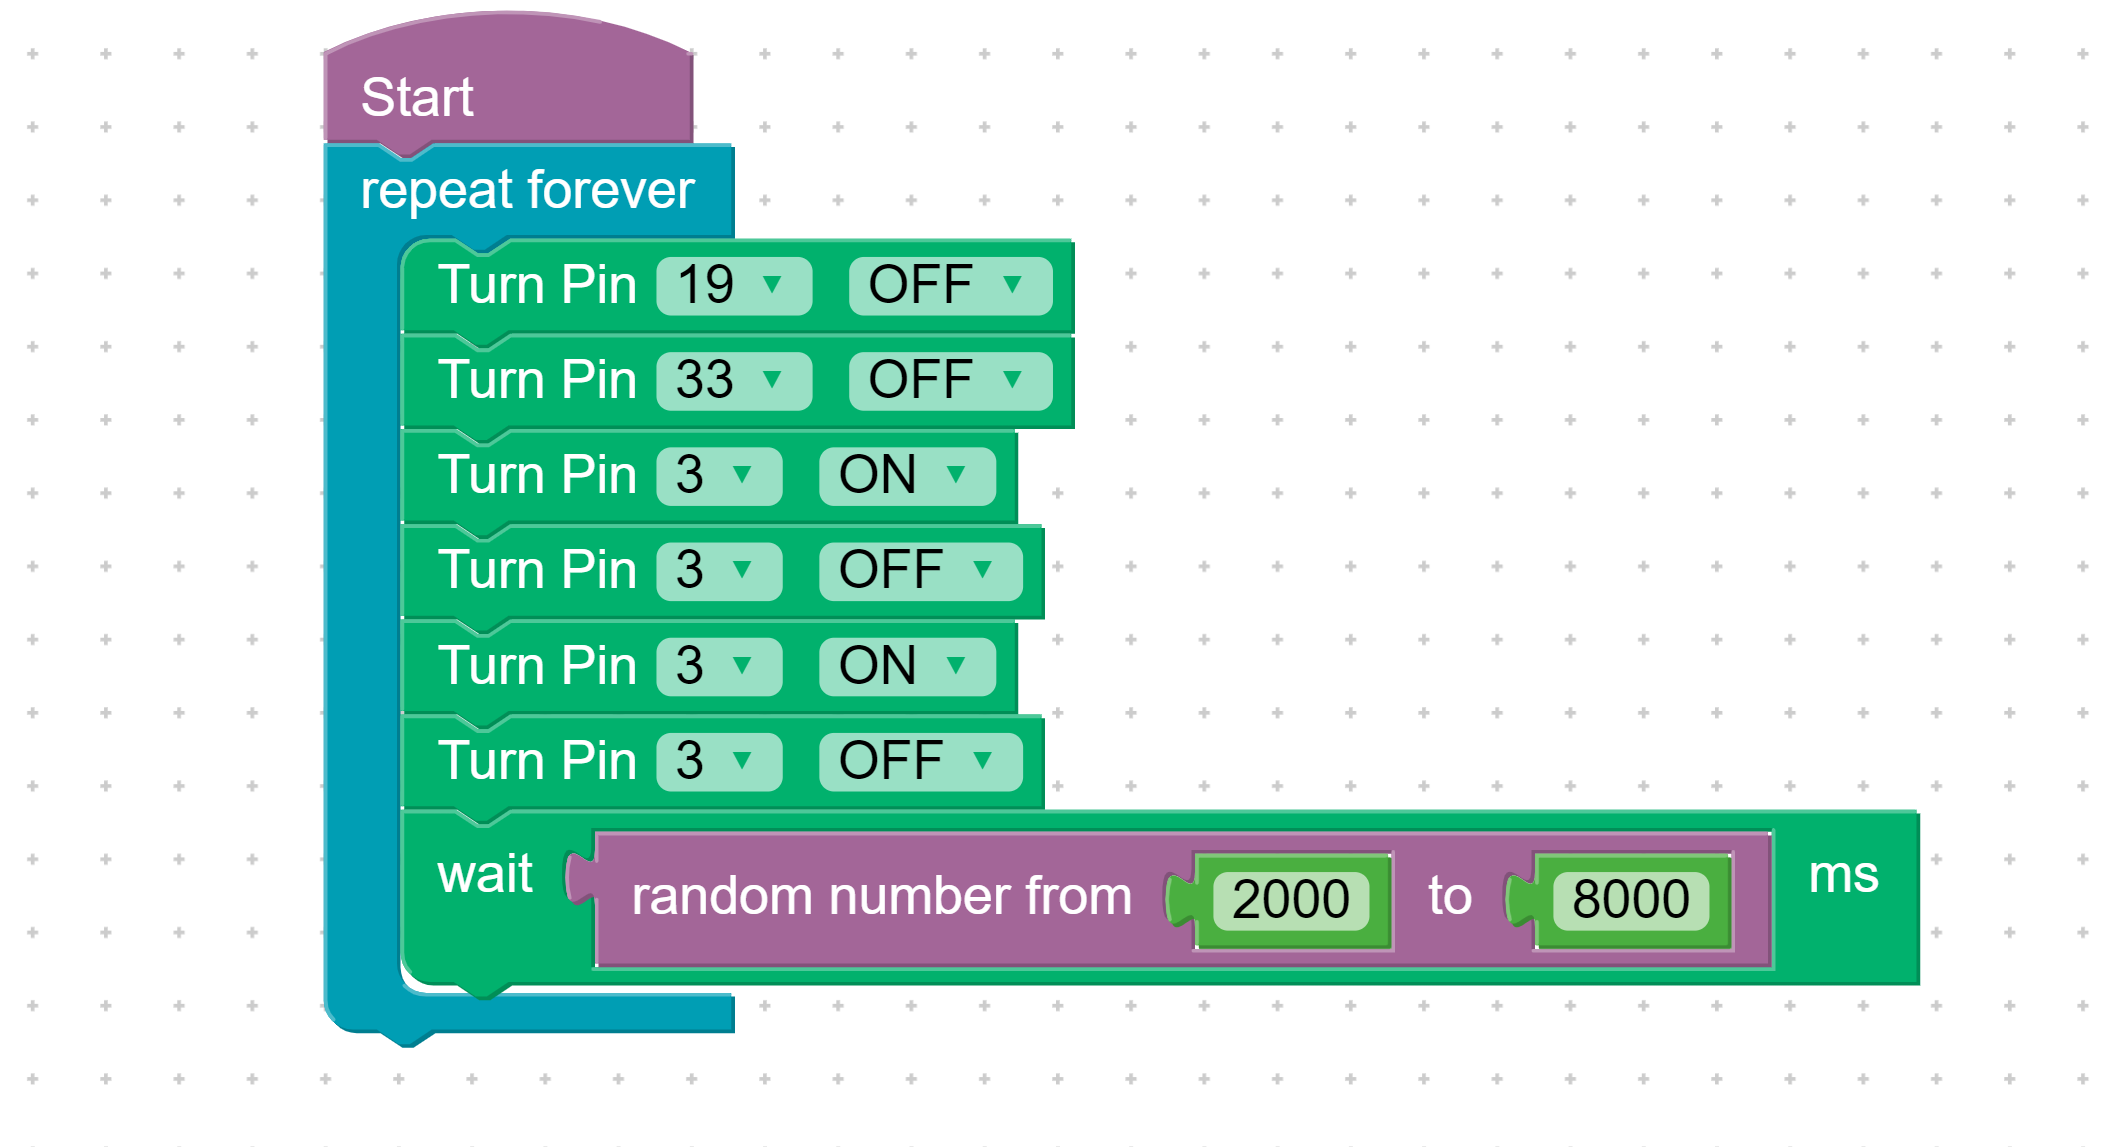
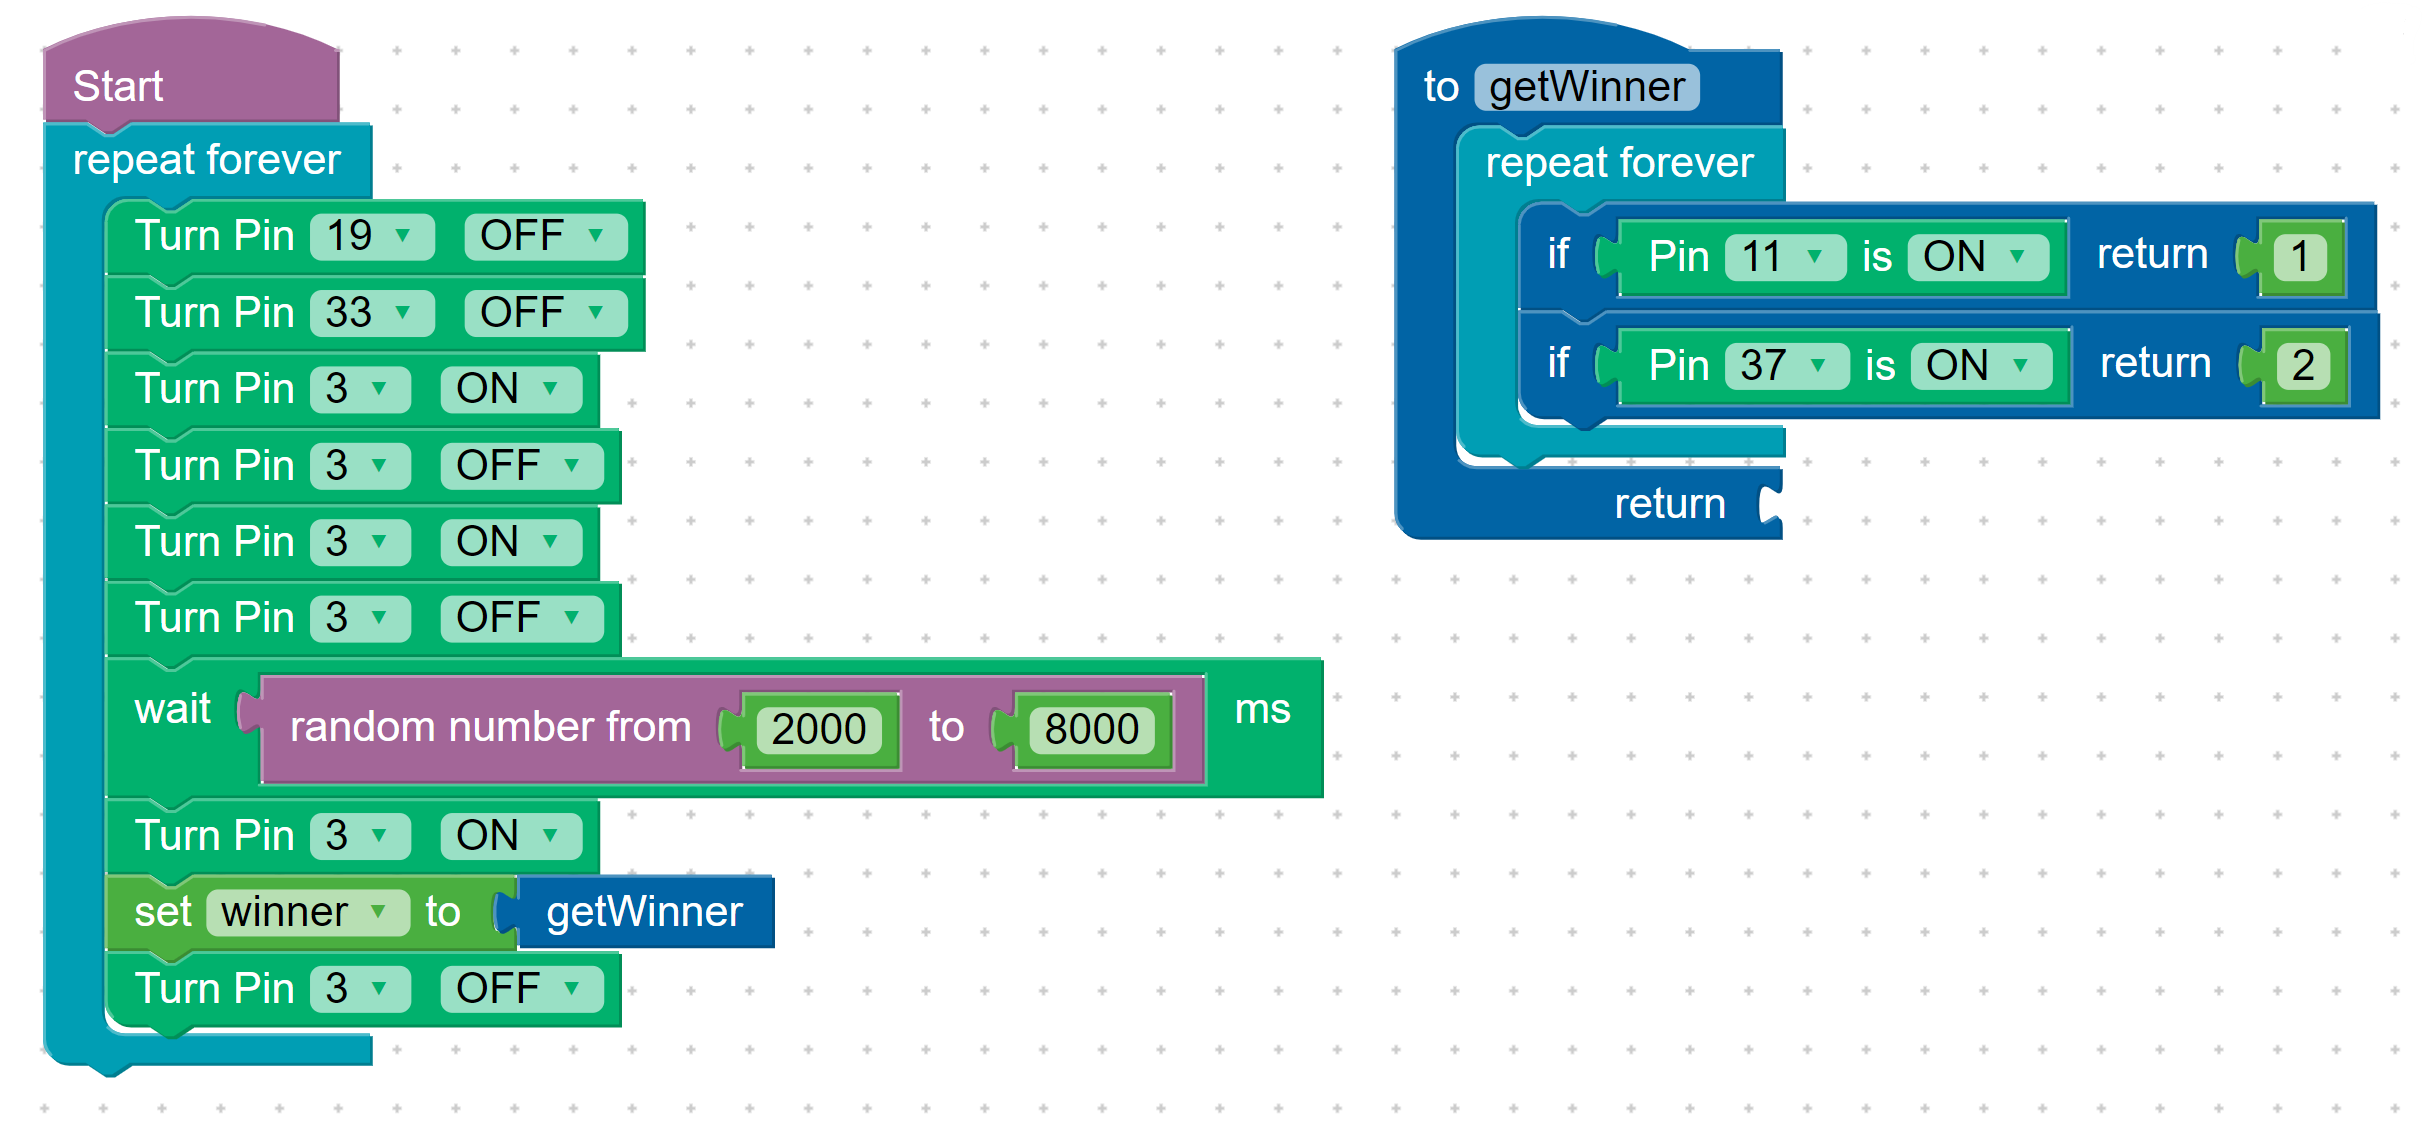
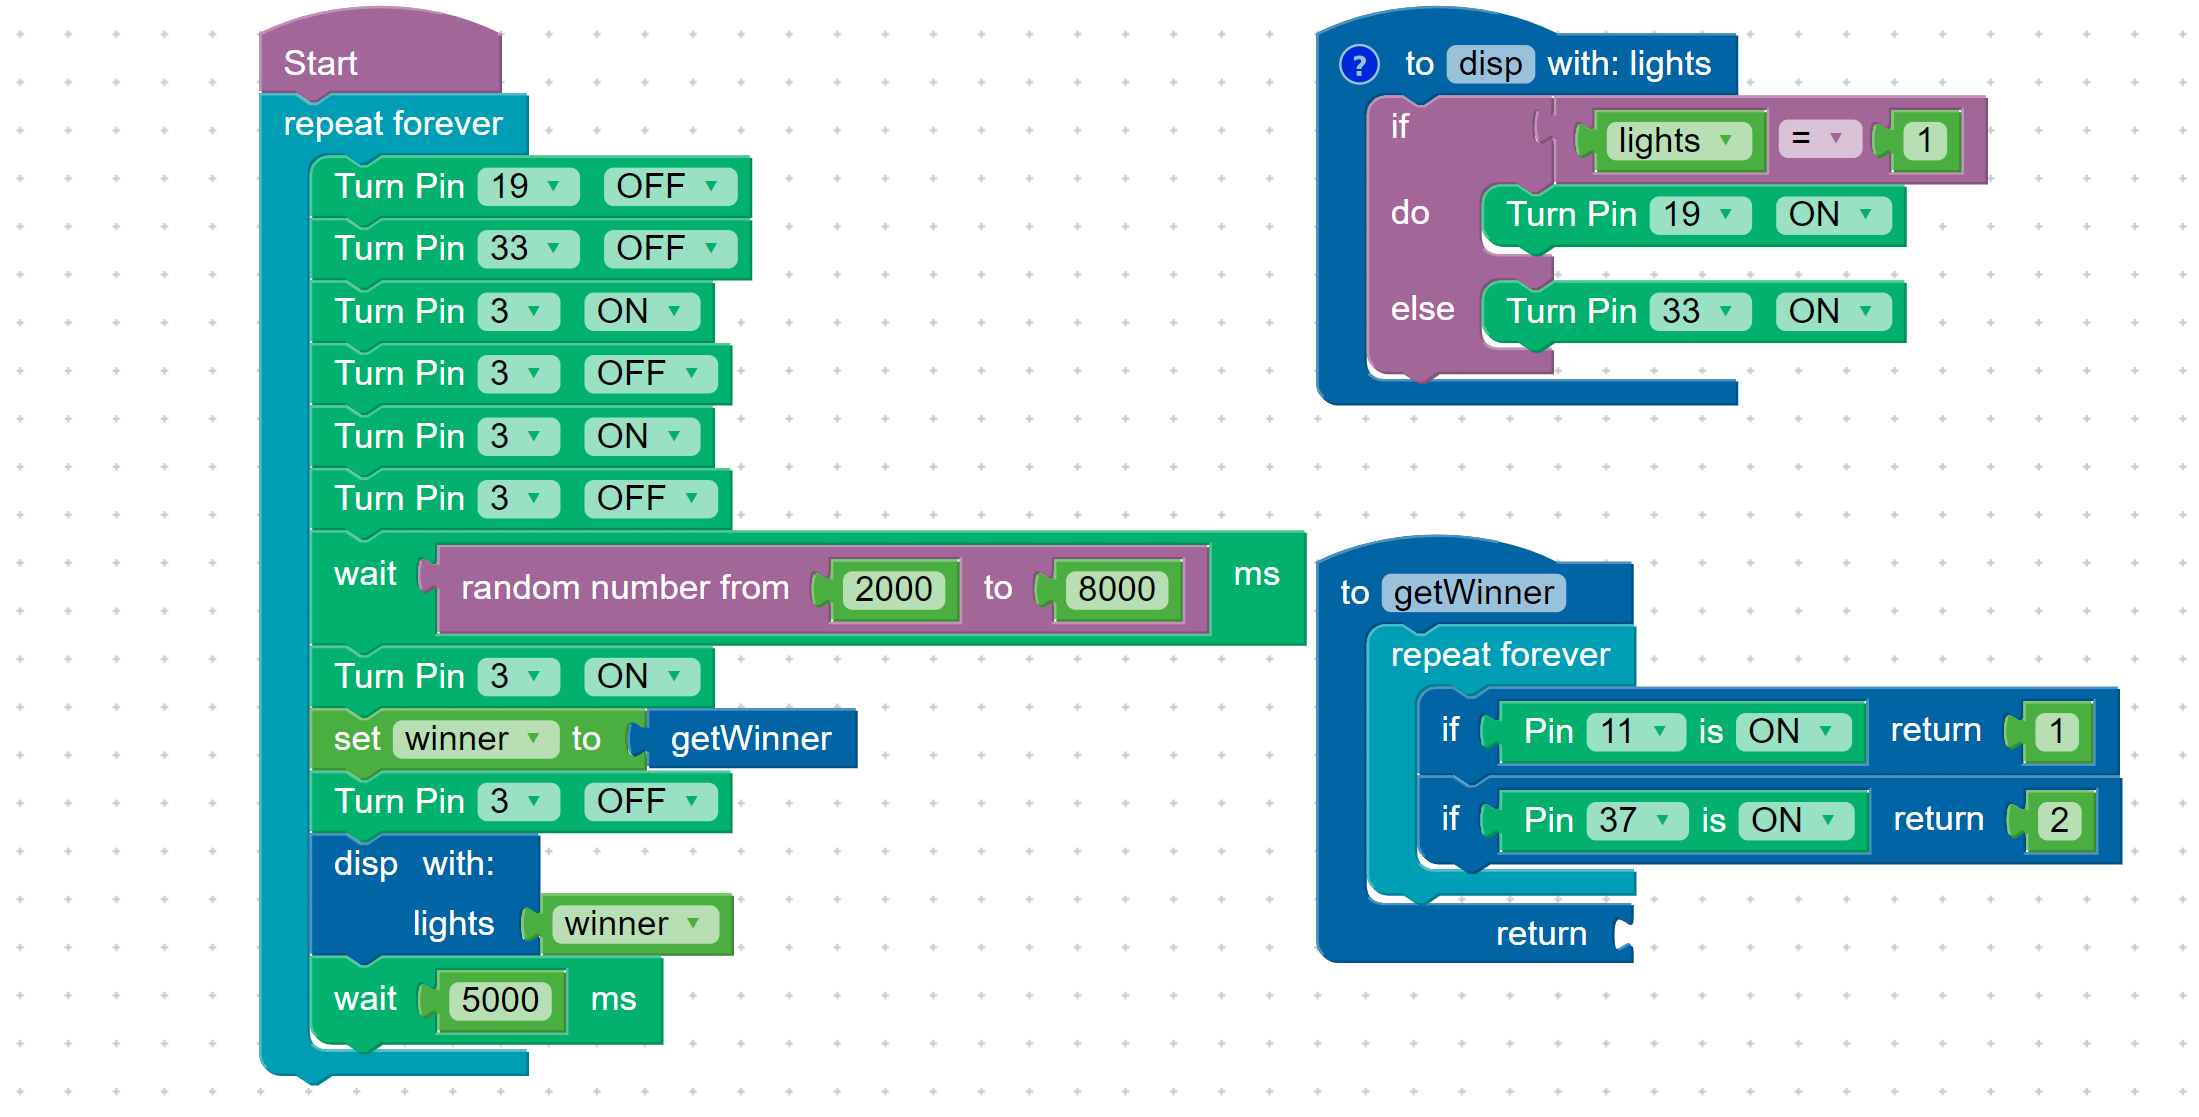
Drag a Repeat Forever block under the Start block.
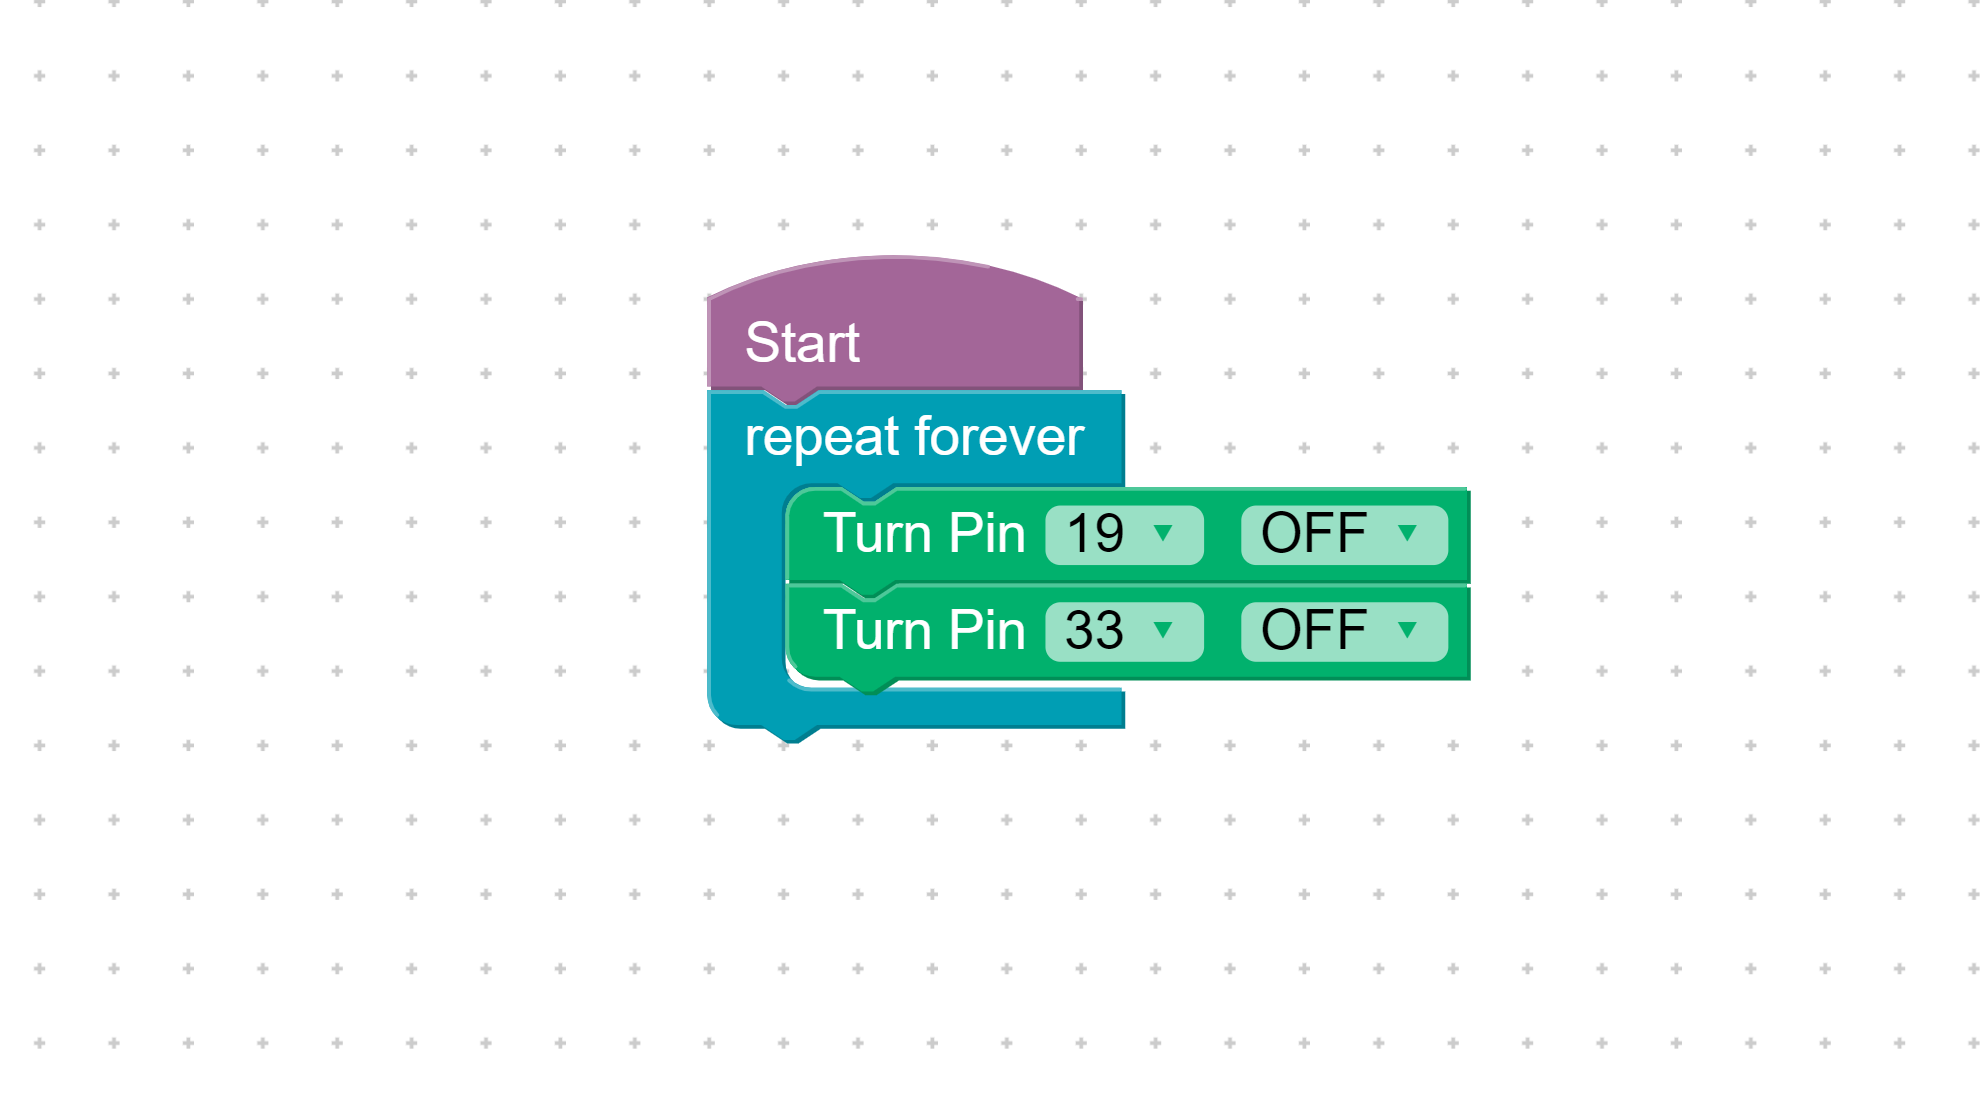
Turn off the pins 19 and 33.
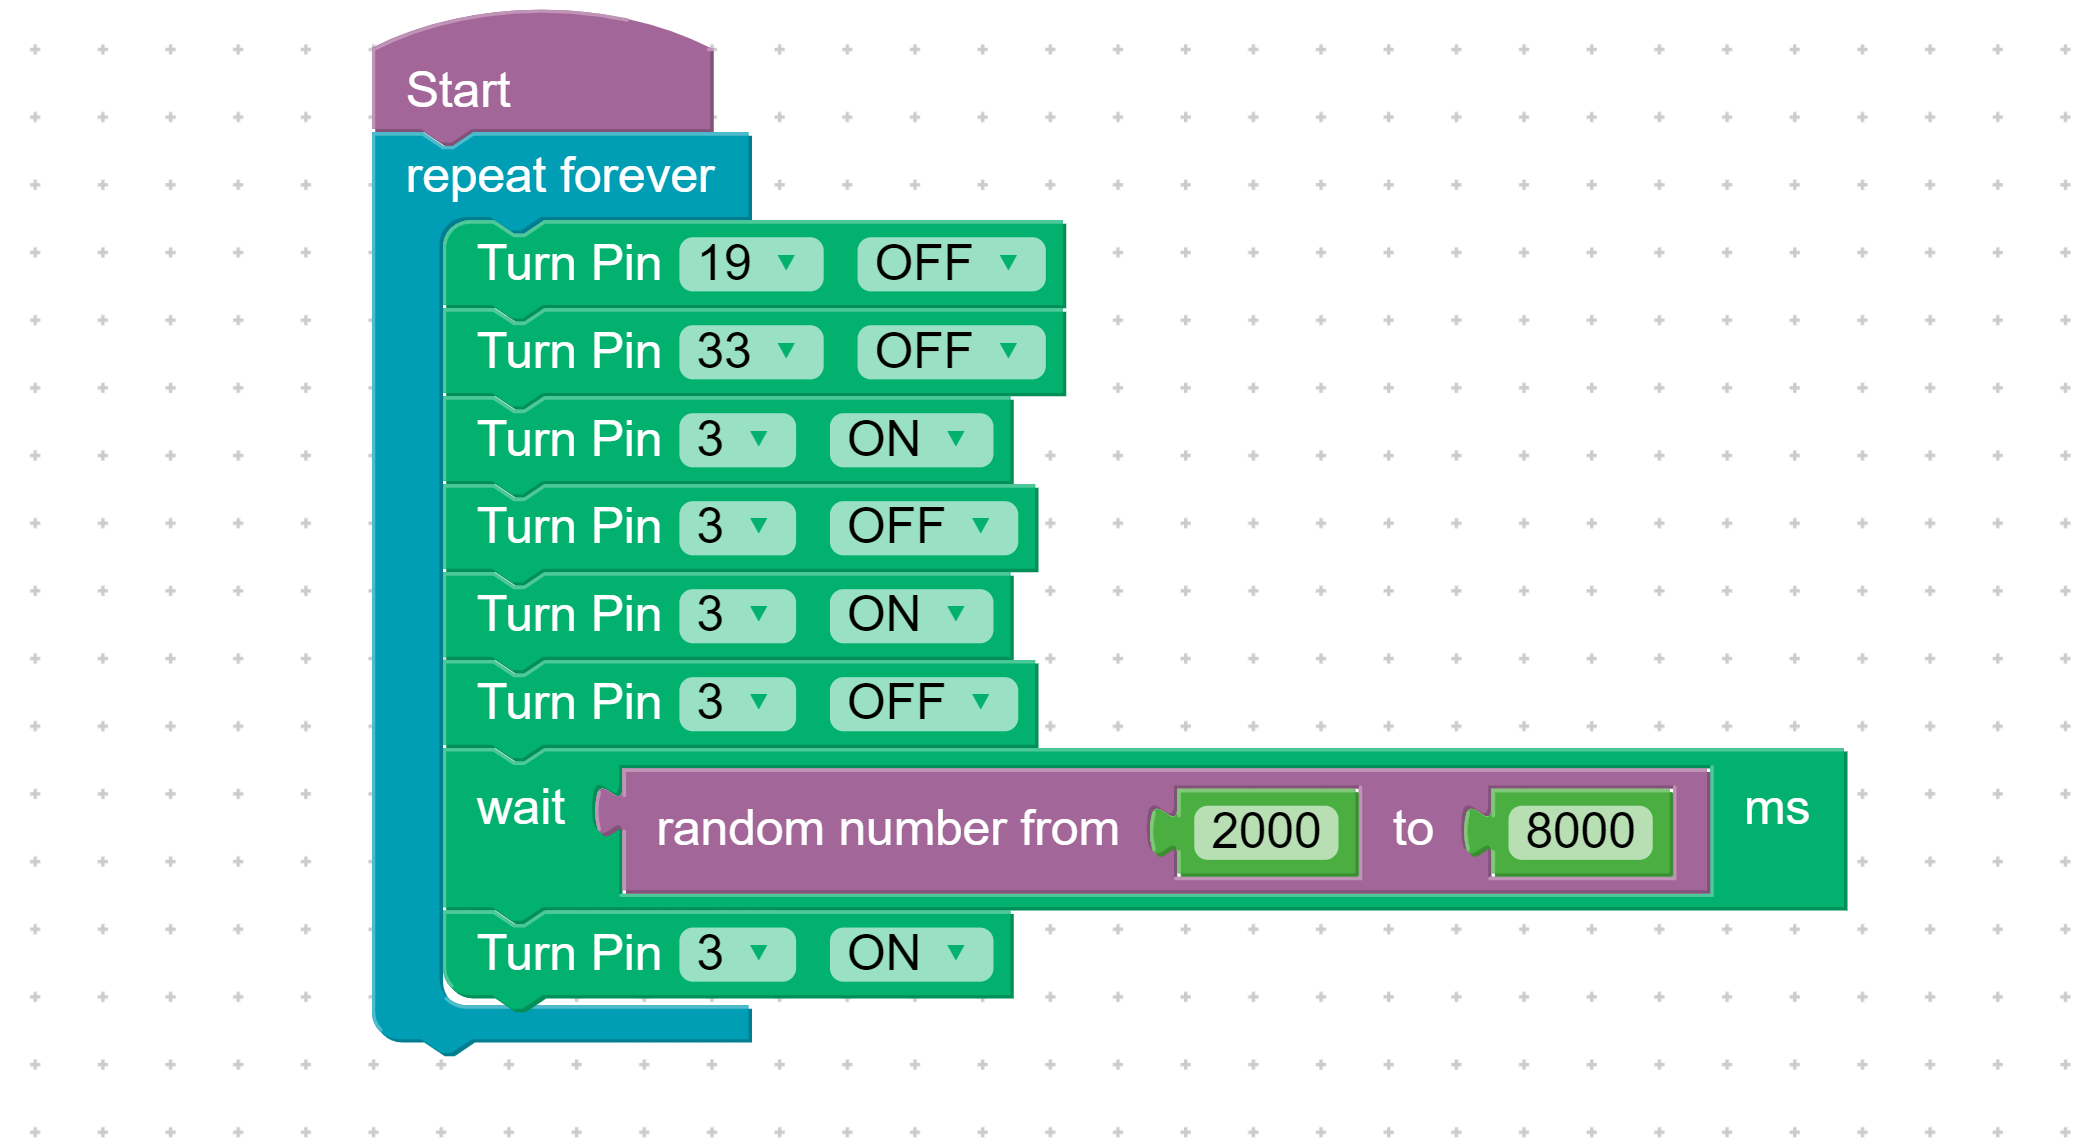
Turn pin 3 on and off twice to warn the players the game is about to begin.

Wait for a random number between 2000 and 8000. These are in 1/1000ths of a second, so 2000 is 2 seconds.
Turn pin 3 back on to start the race!
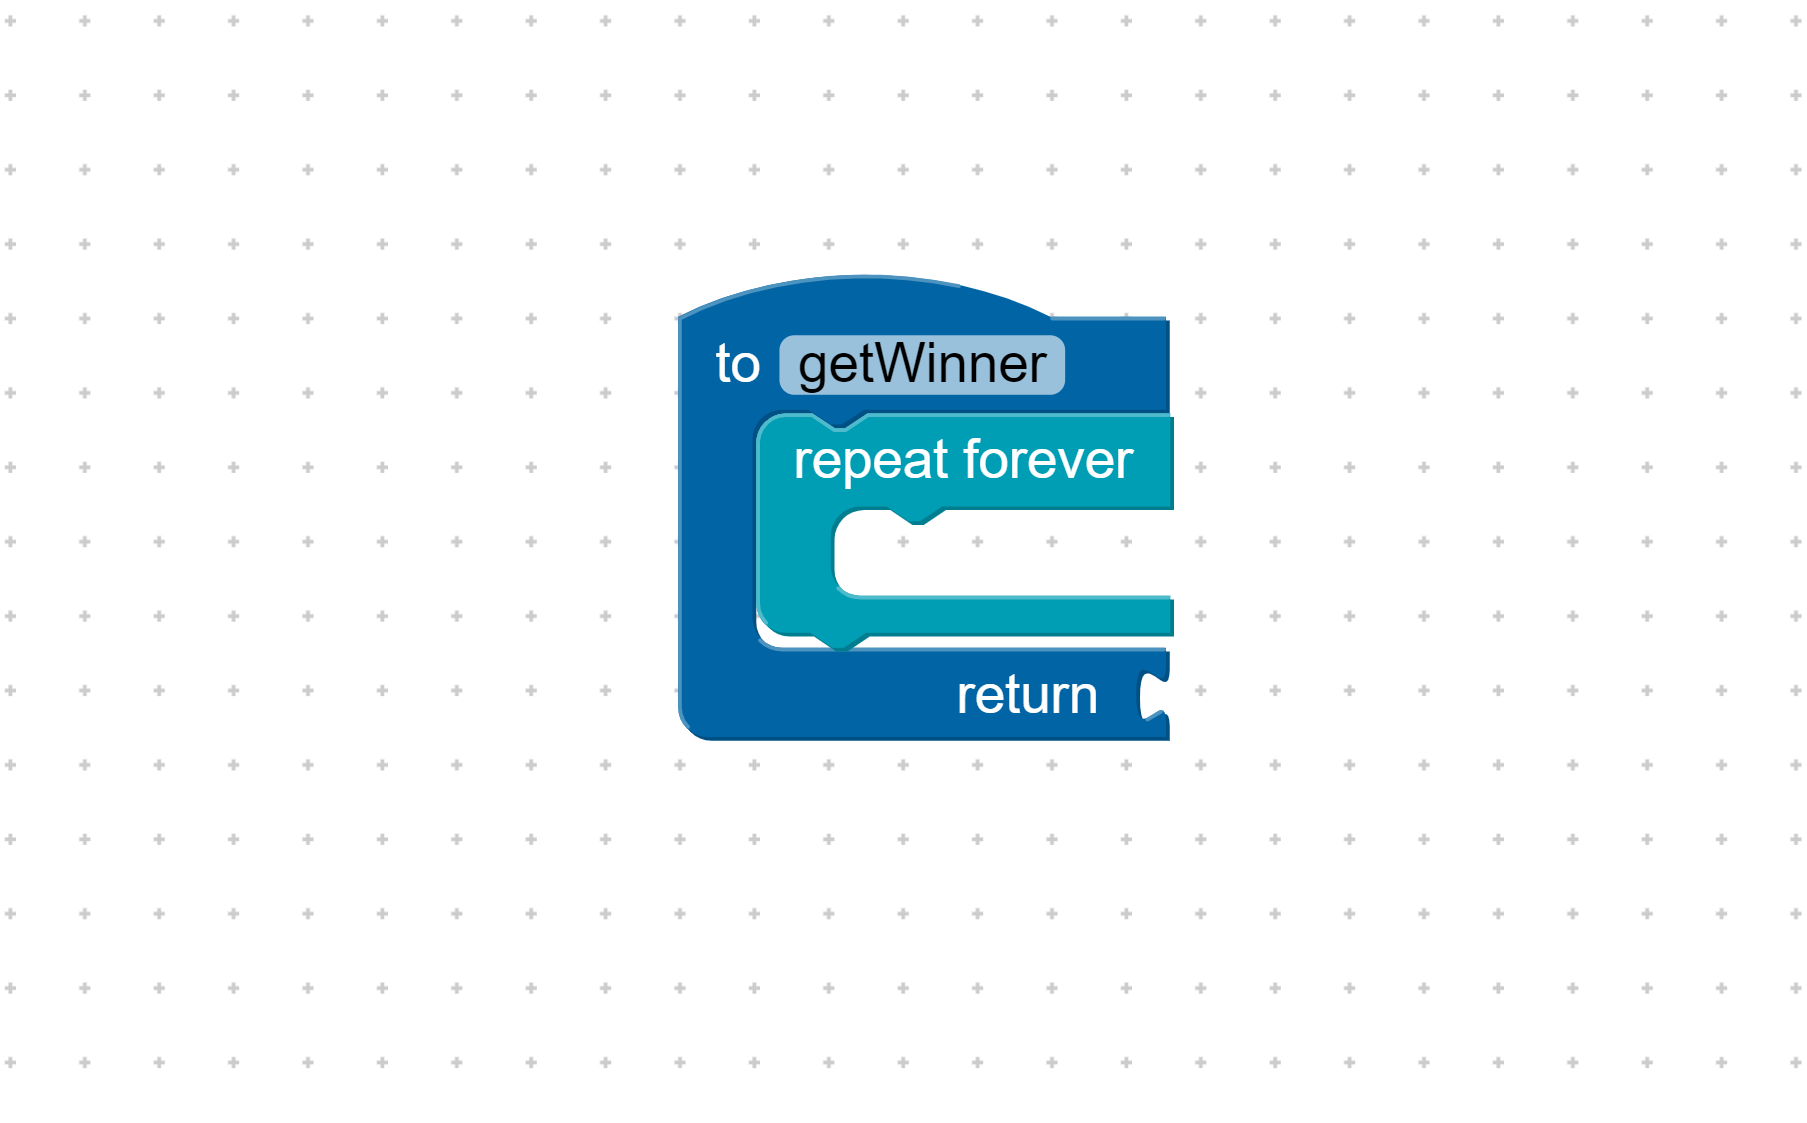
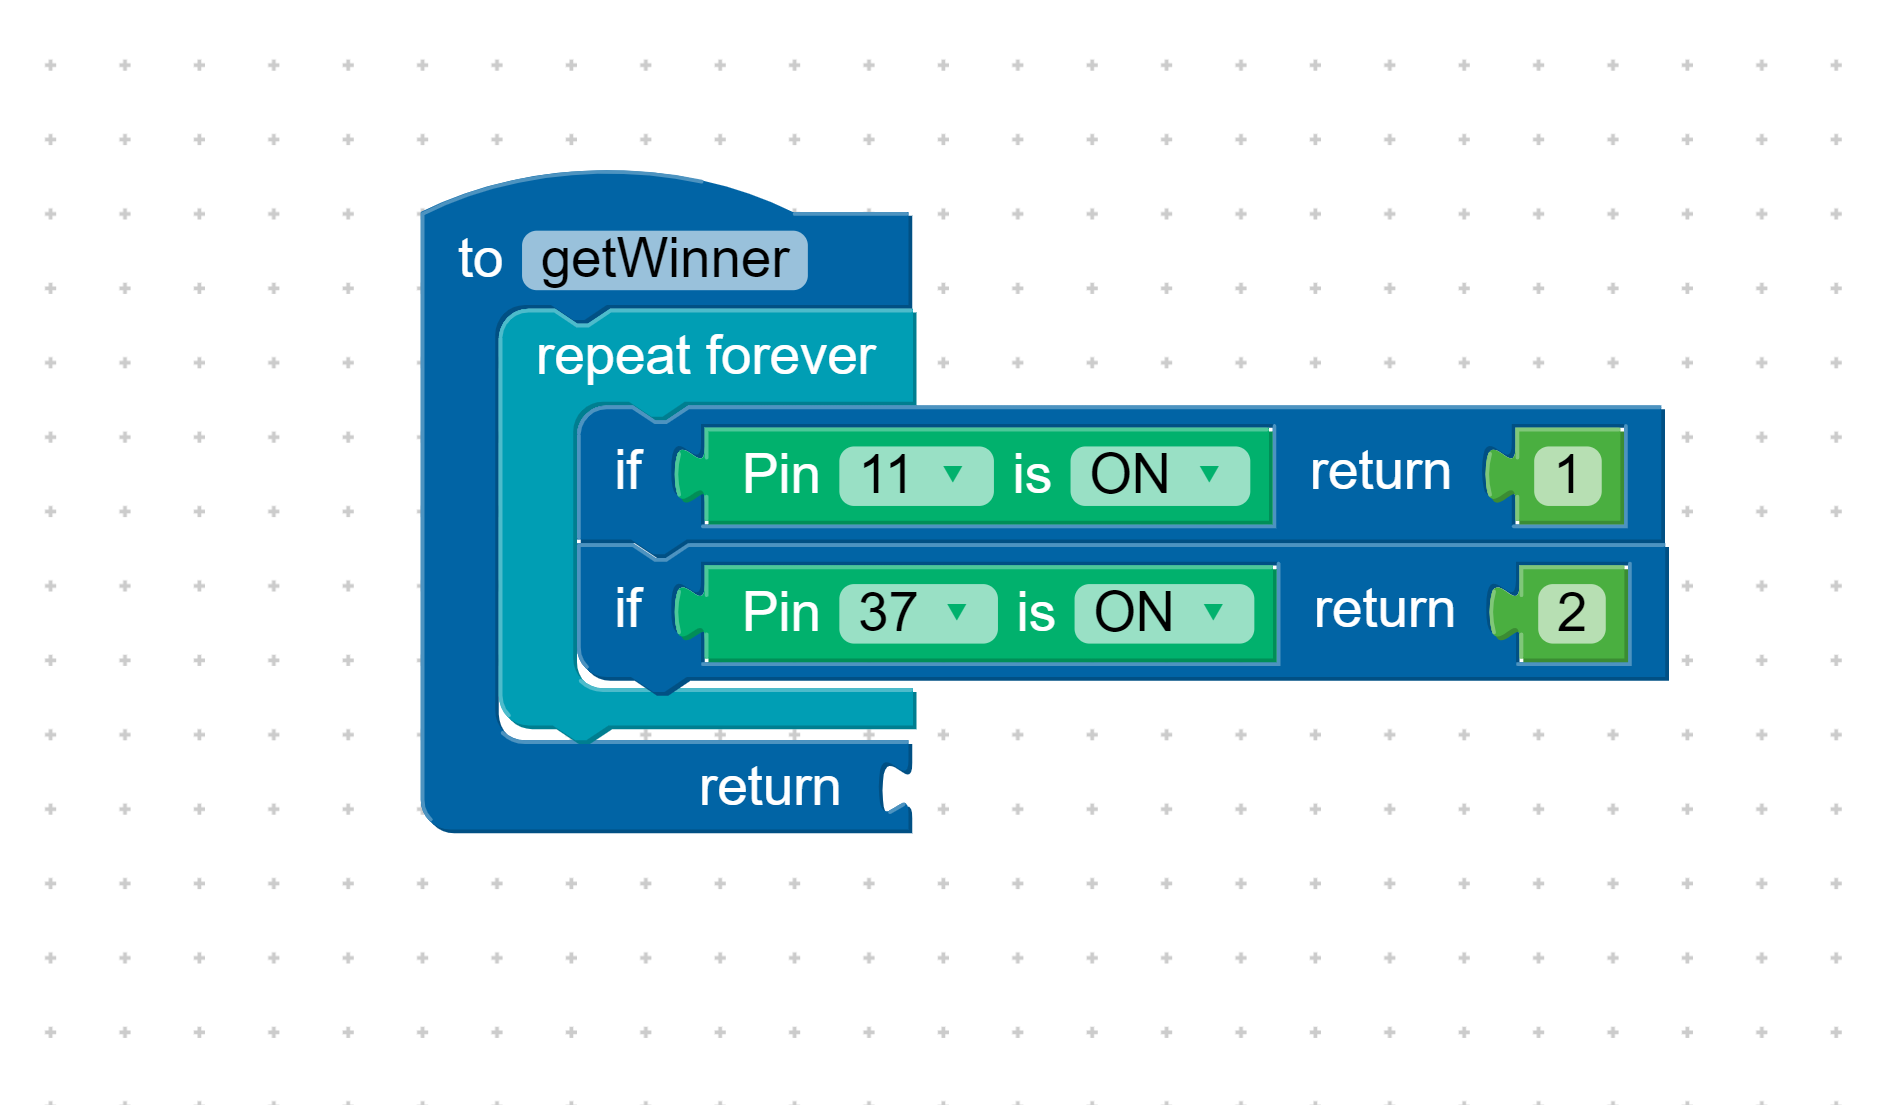
Add a Repeat Forever block to the getWinner function.
If pin 11 or 37 is on, return player #1 or player #2.
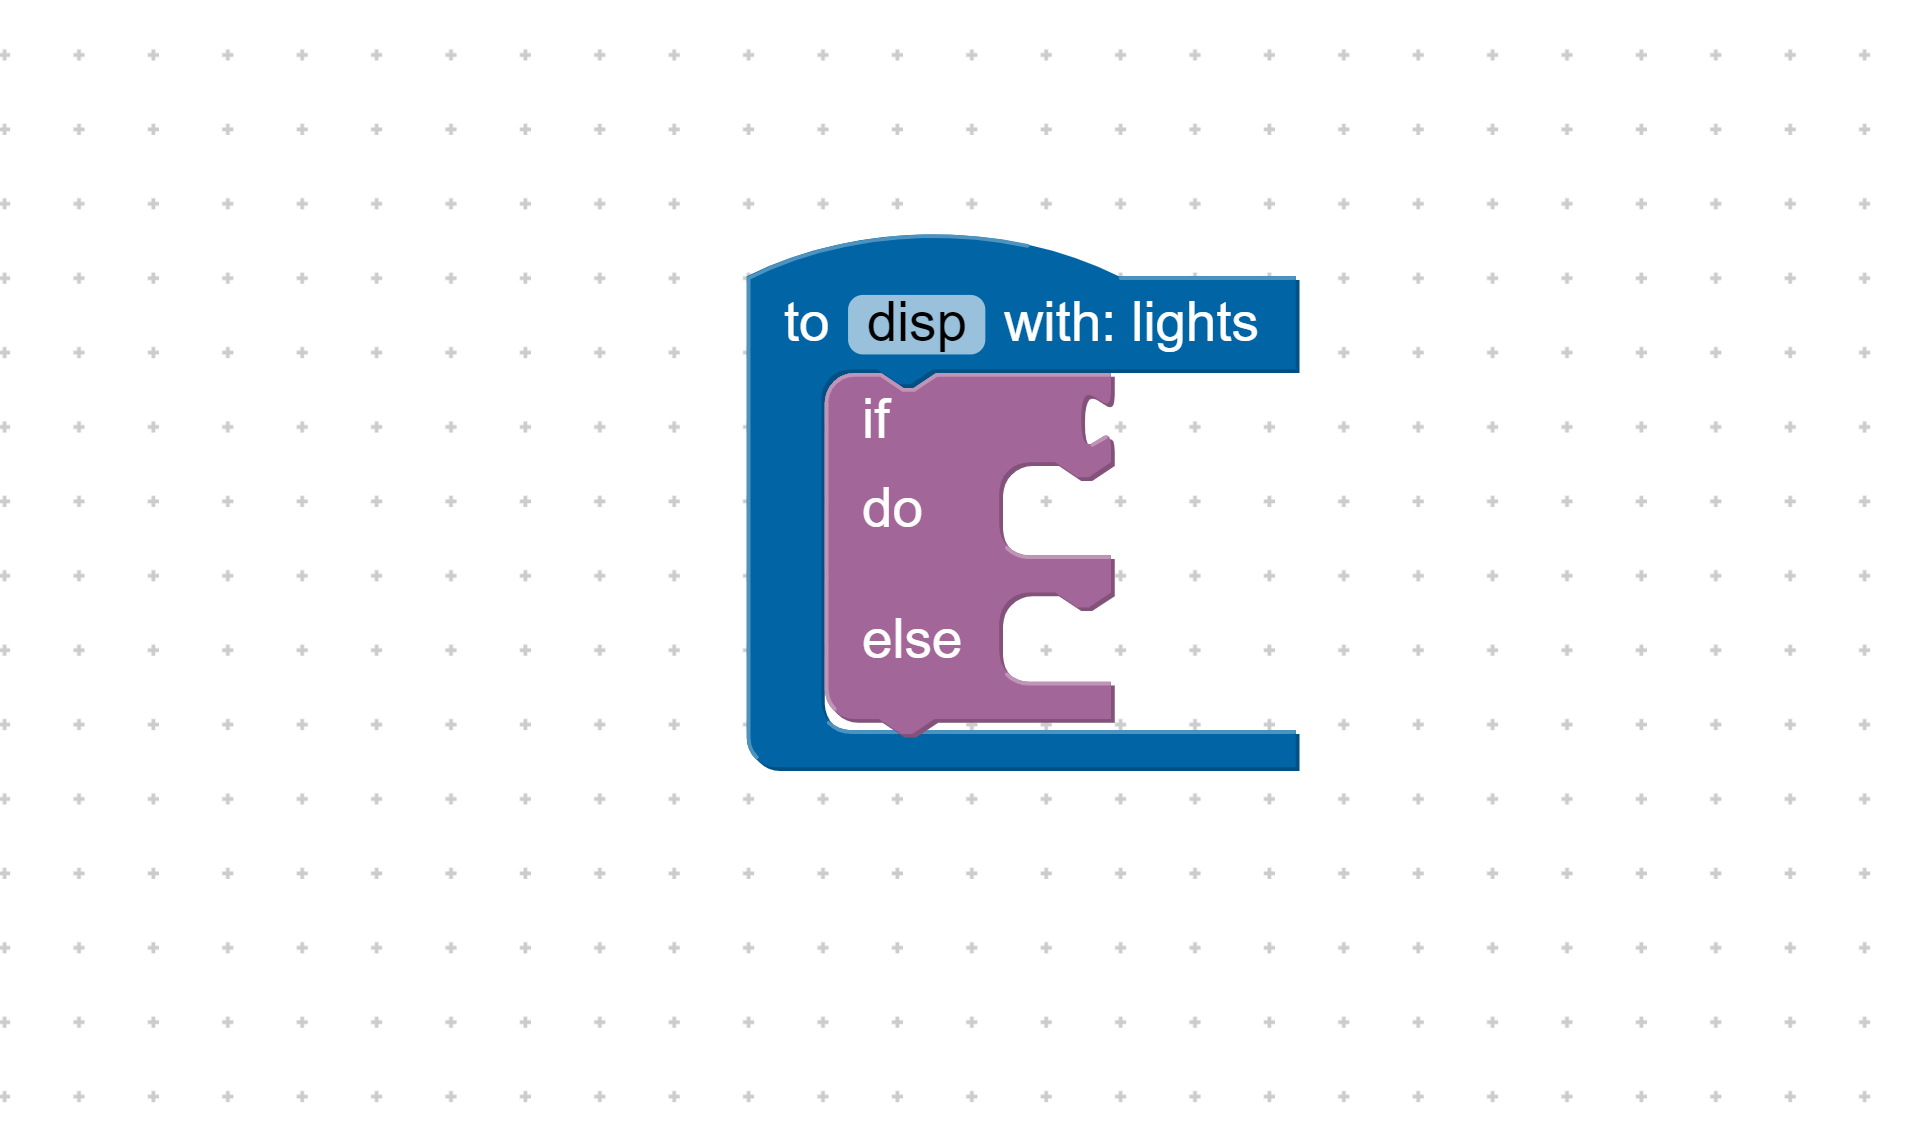
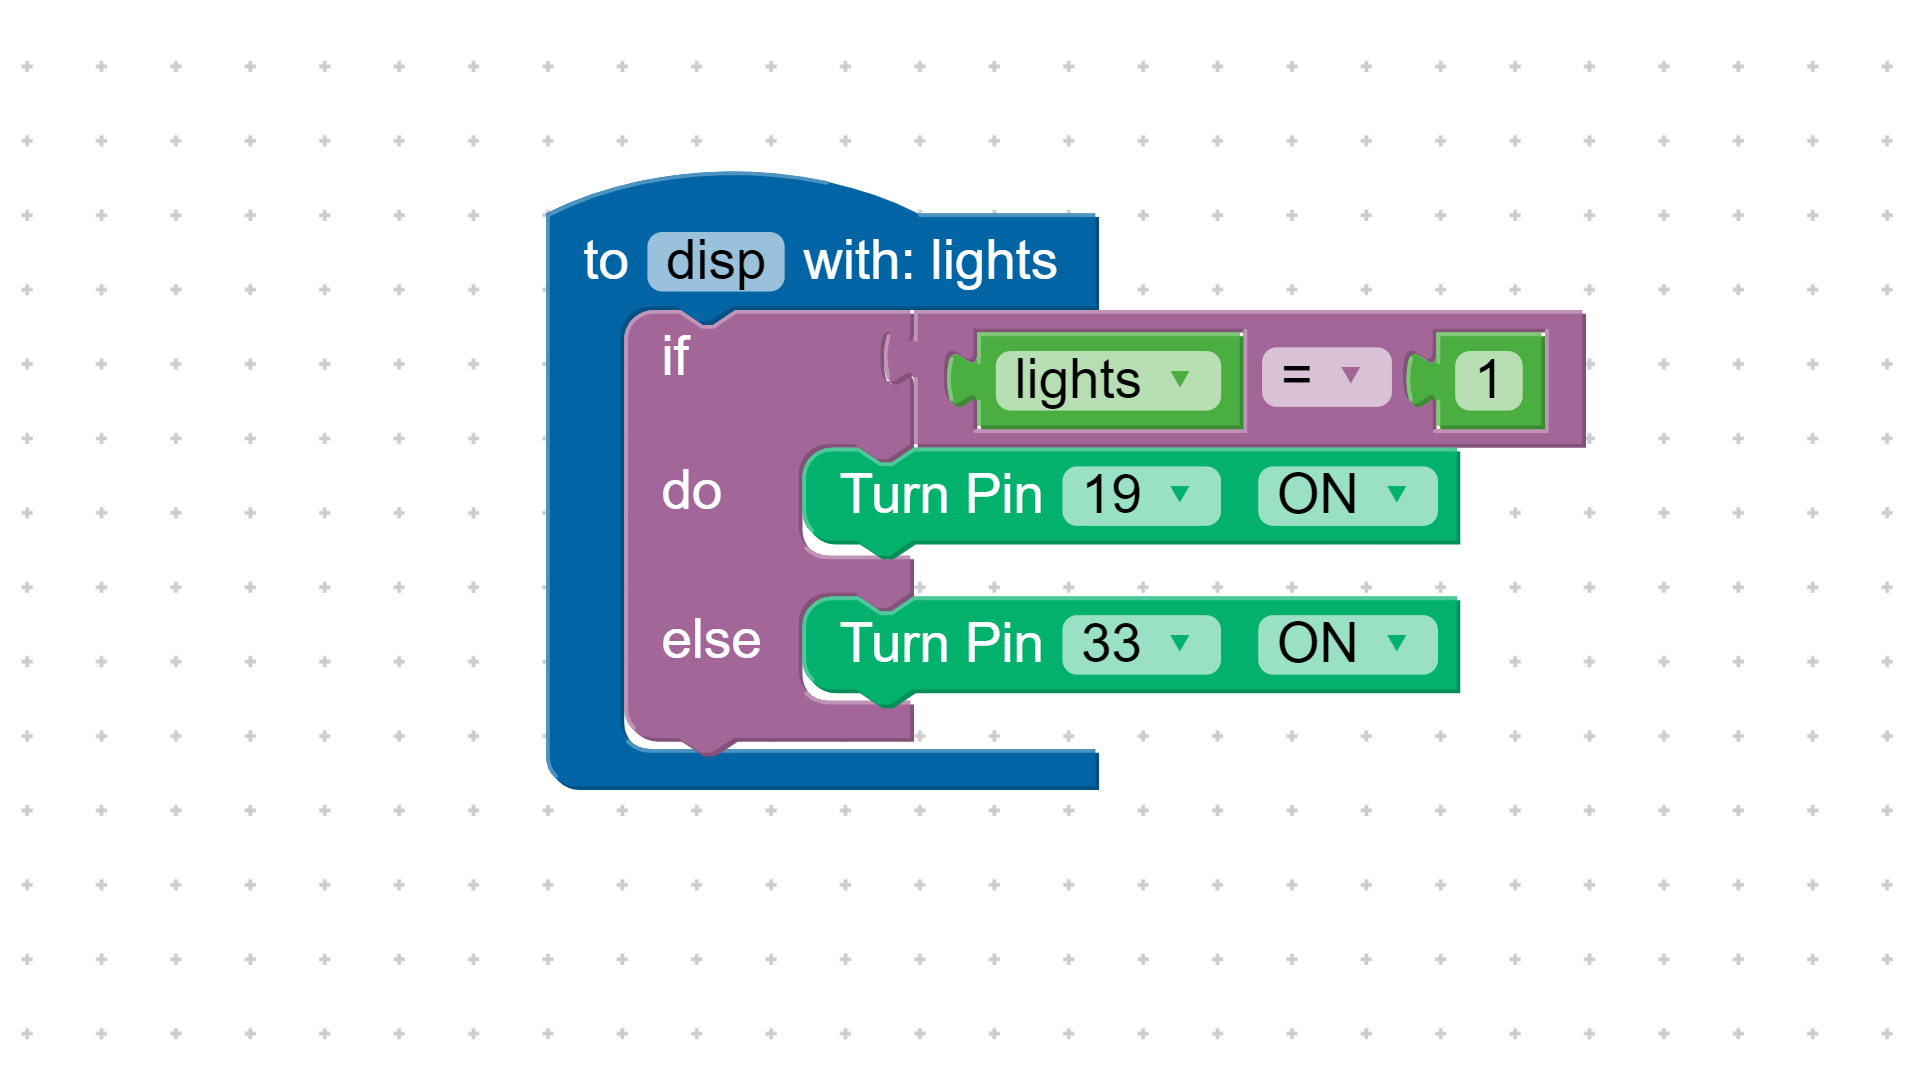
Add an If/Else block inside the disp function to check which player won.
If player #1 won, turn on pin 19. If player #2 won, turn on pin 33.
Return to the main game loop and set the variable winner to the result of the getWinner function.

Turn off pin 3 once a winner has been chosen.
Pass the variable winner into the function disp.

Wait 5 seconds (5000 milliseconds) to reset the game.
Challenge someone to a game of Beat the Buzzer!