 Look for the graphic above
+ or -: Learn to control pins by connecting them to one another
In this project, students learn about the electronics panel, and controlling positive and negative pins by choosing which pins they connect to. The step-by-step instructions in the tutorial guide students through the process of building the circuit and writing the code.
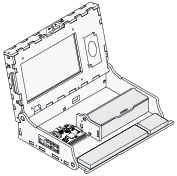 Piper Computer Kit
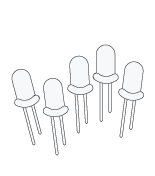 3 LEDs (red, yellow, green)
 6 Wires (3 blue, 3 yellow)
In this project, students will learn about the positive and negative states of the GPIO pins and how to use them to design the architecture of a circuit. For the first time, students will need to choose which GPIO they use instead of the tutorial instructing them to which pins they should use.
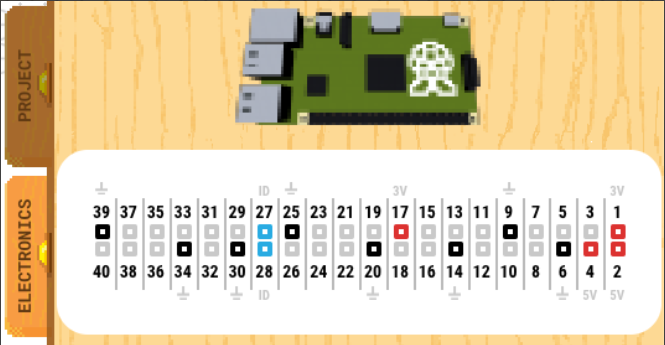
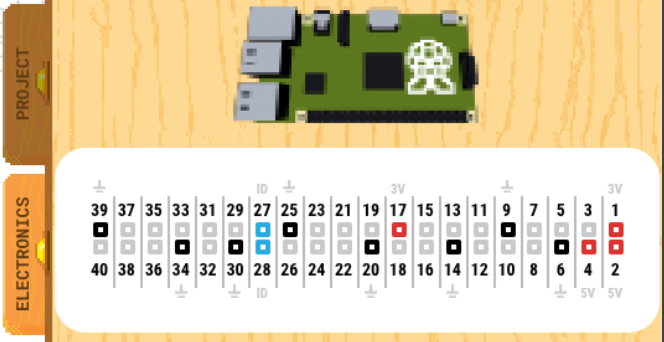
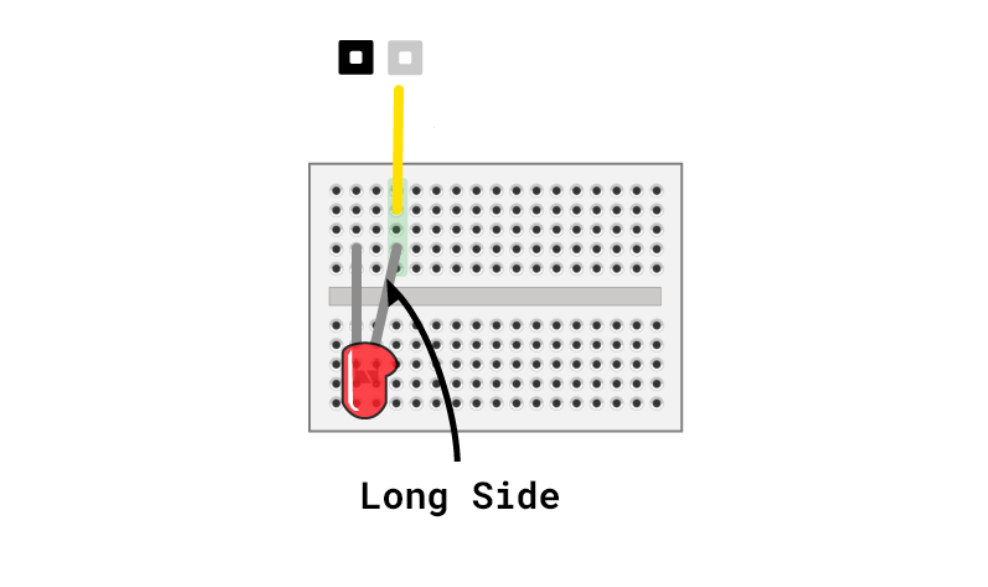
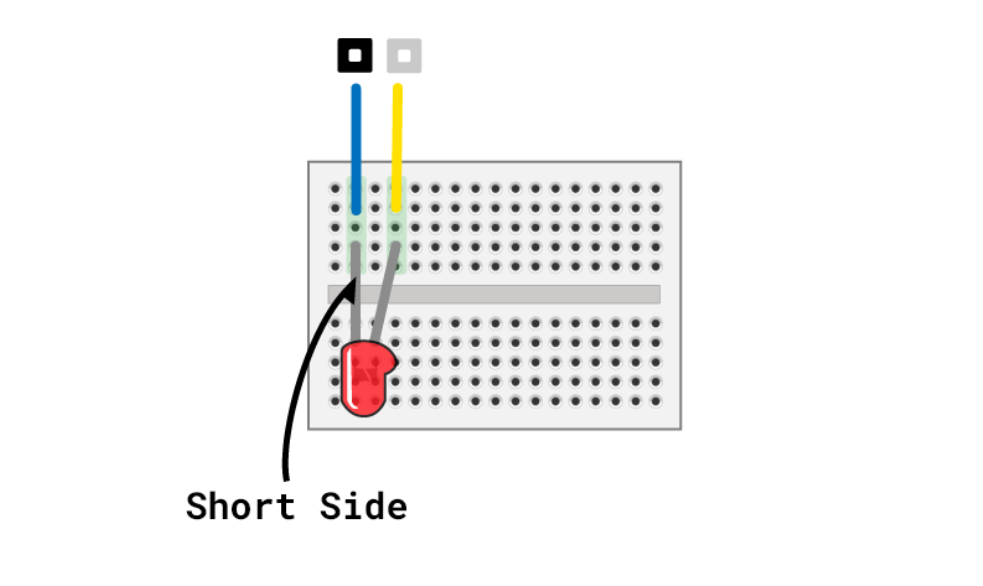
Students can use the ELECTRONICS tab to view which pins are receiving electrical current. The pins turn yellow on the panel picture when they receive current. The grey pins on the panel picture are positive, the black pins are negative or ground. The long side of the LED can be connected to any grey pin, the short side can be connected to any black pin. Students should not use pins colored red or blue on the panel picture.You are going to design your own light show with 3 LEDs and a button.

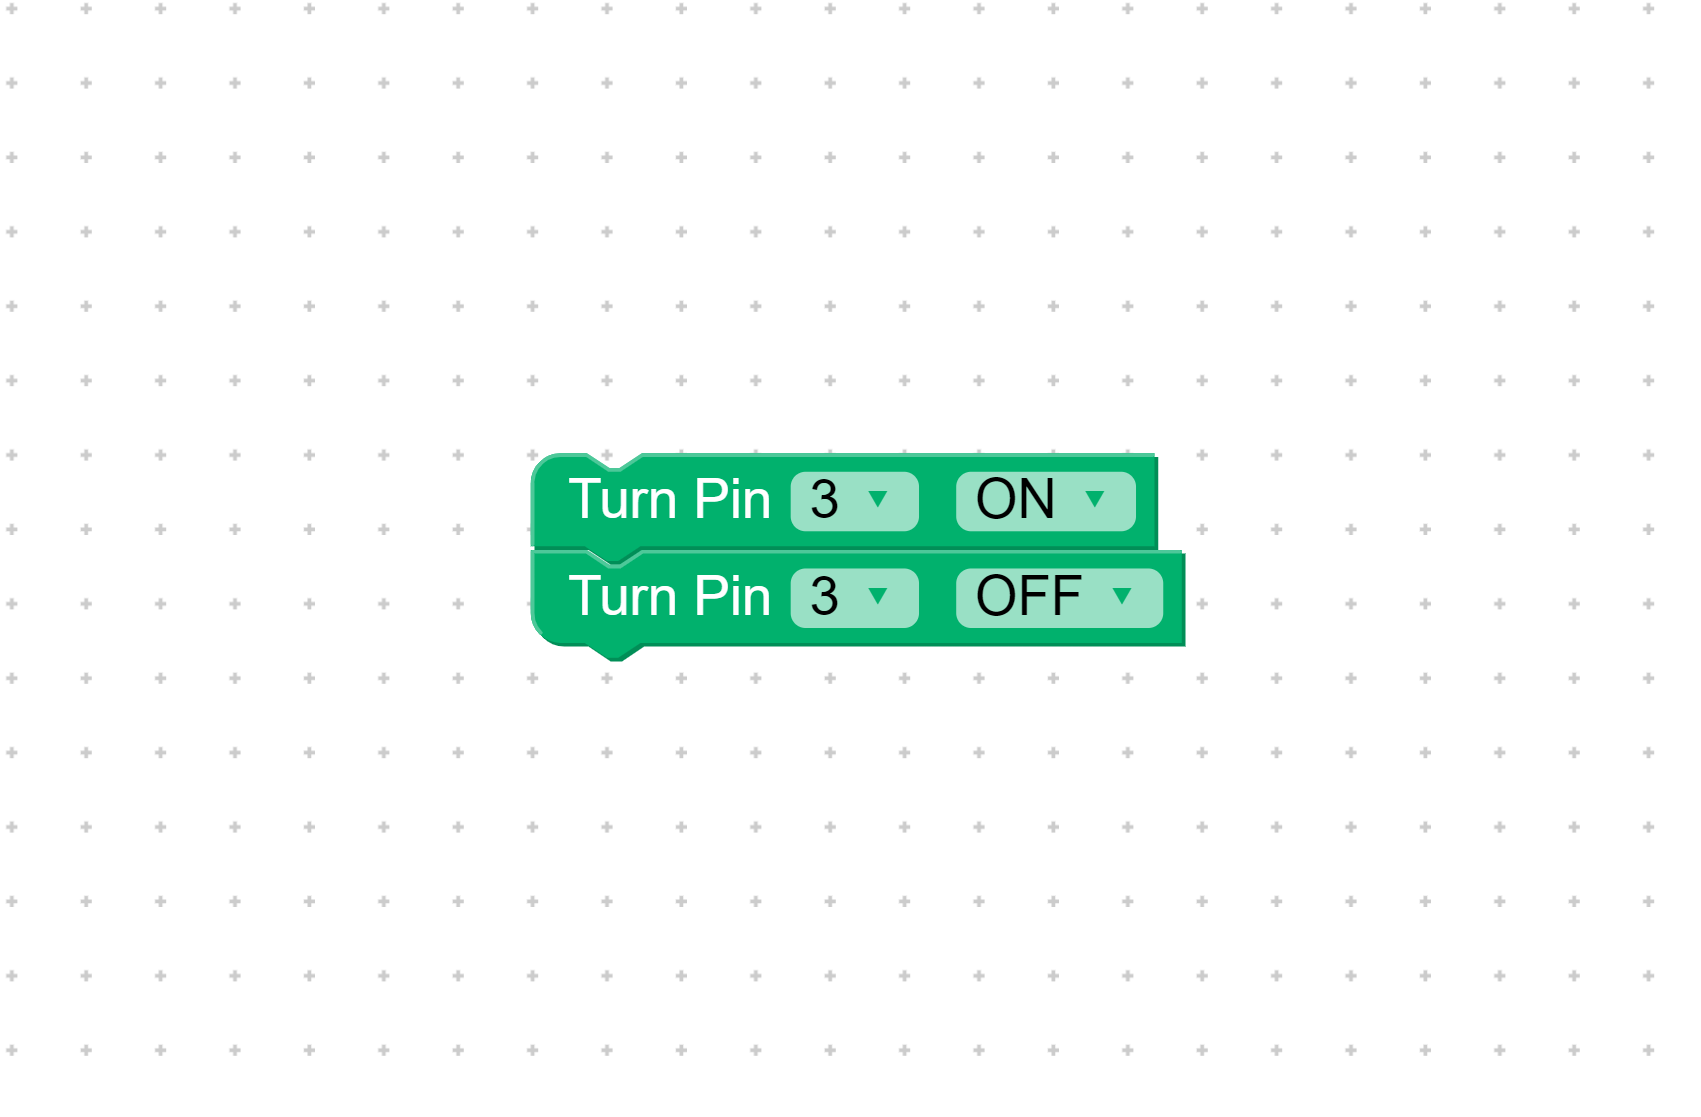
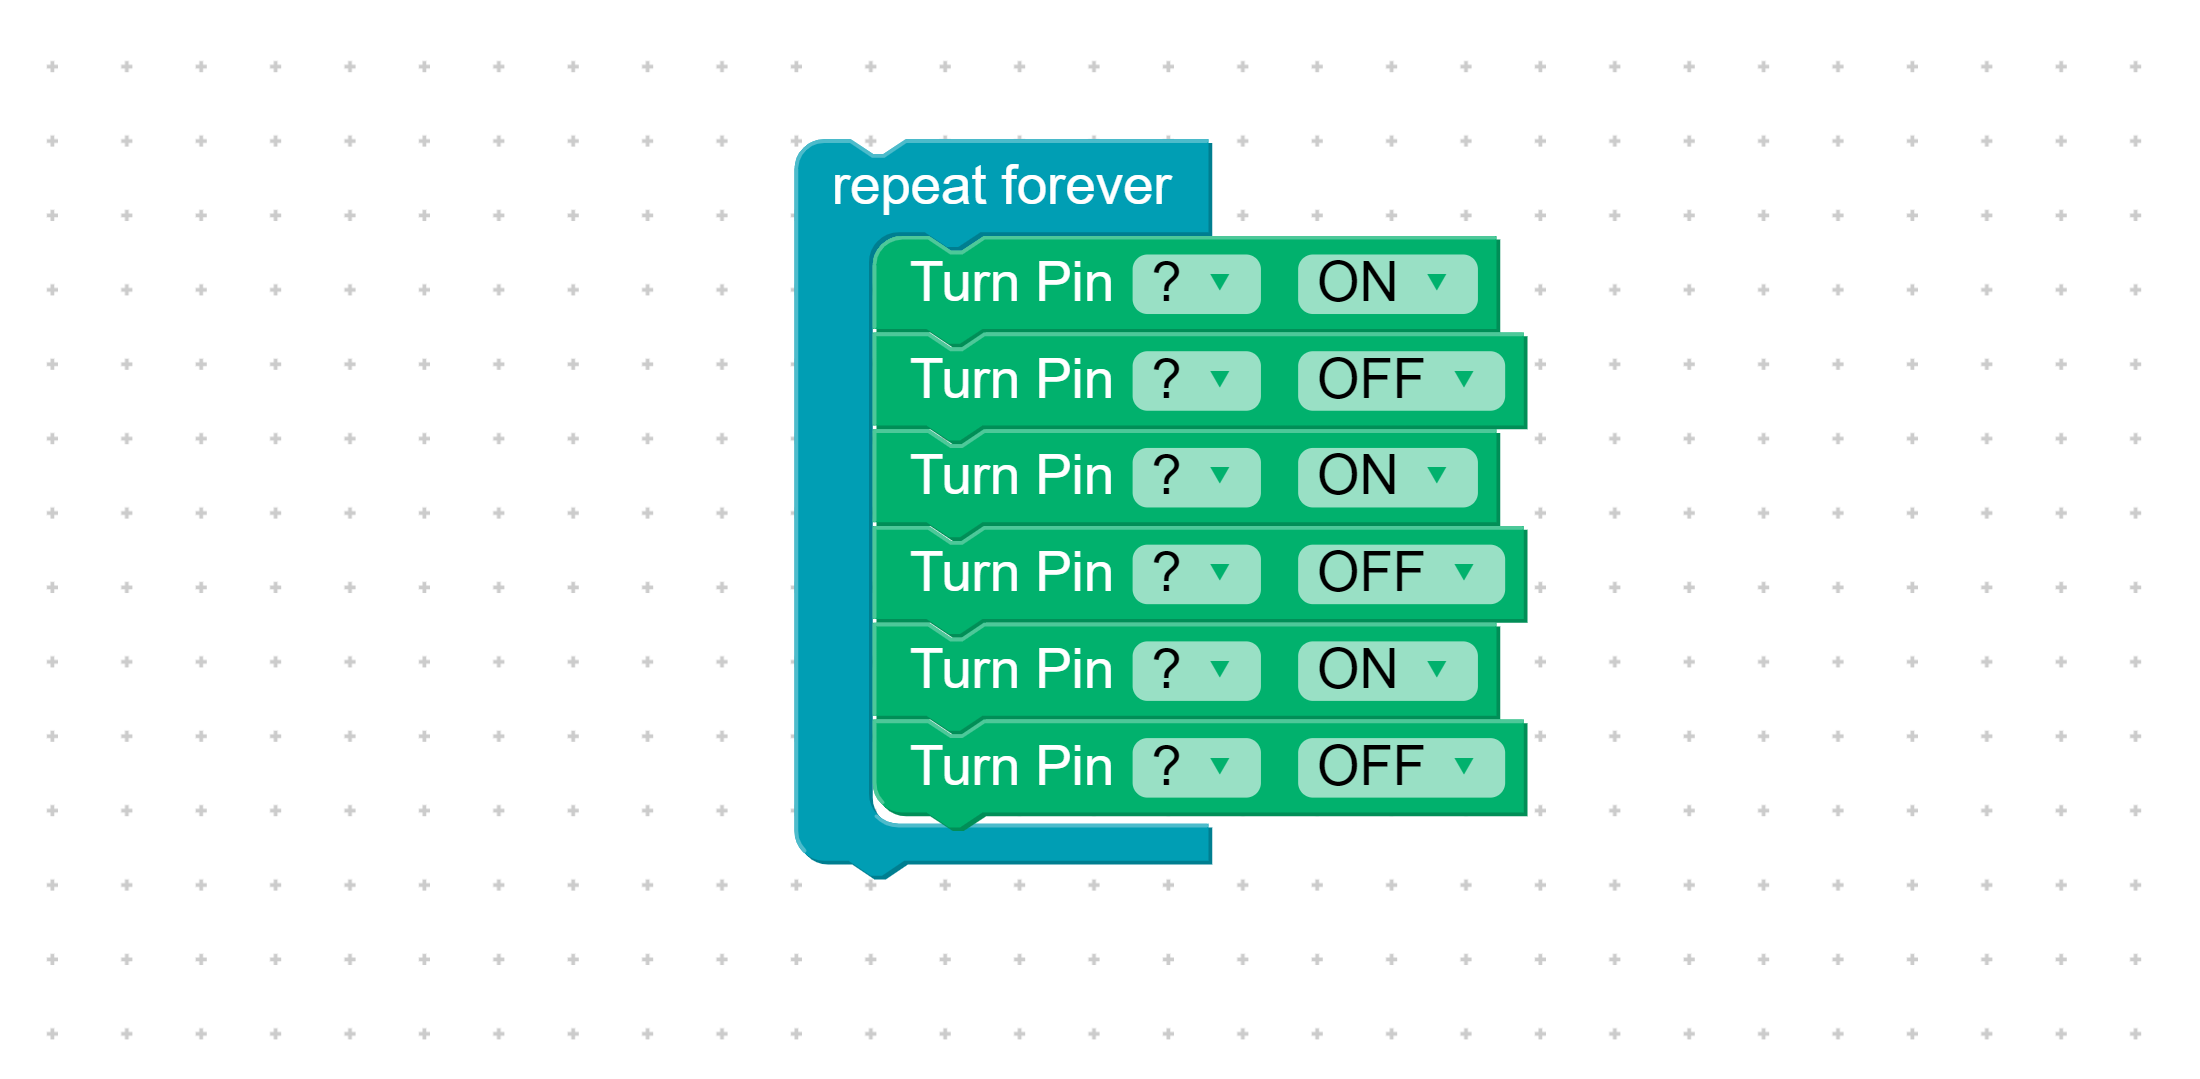
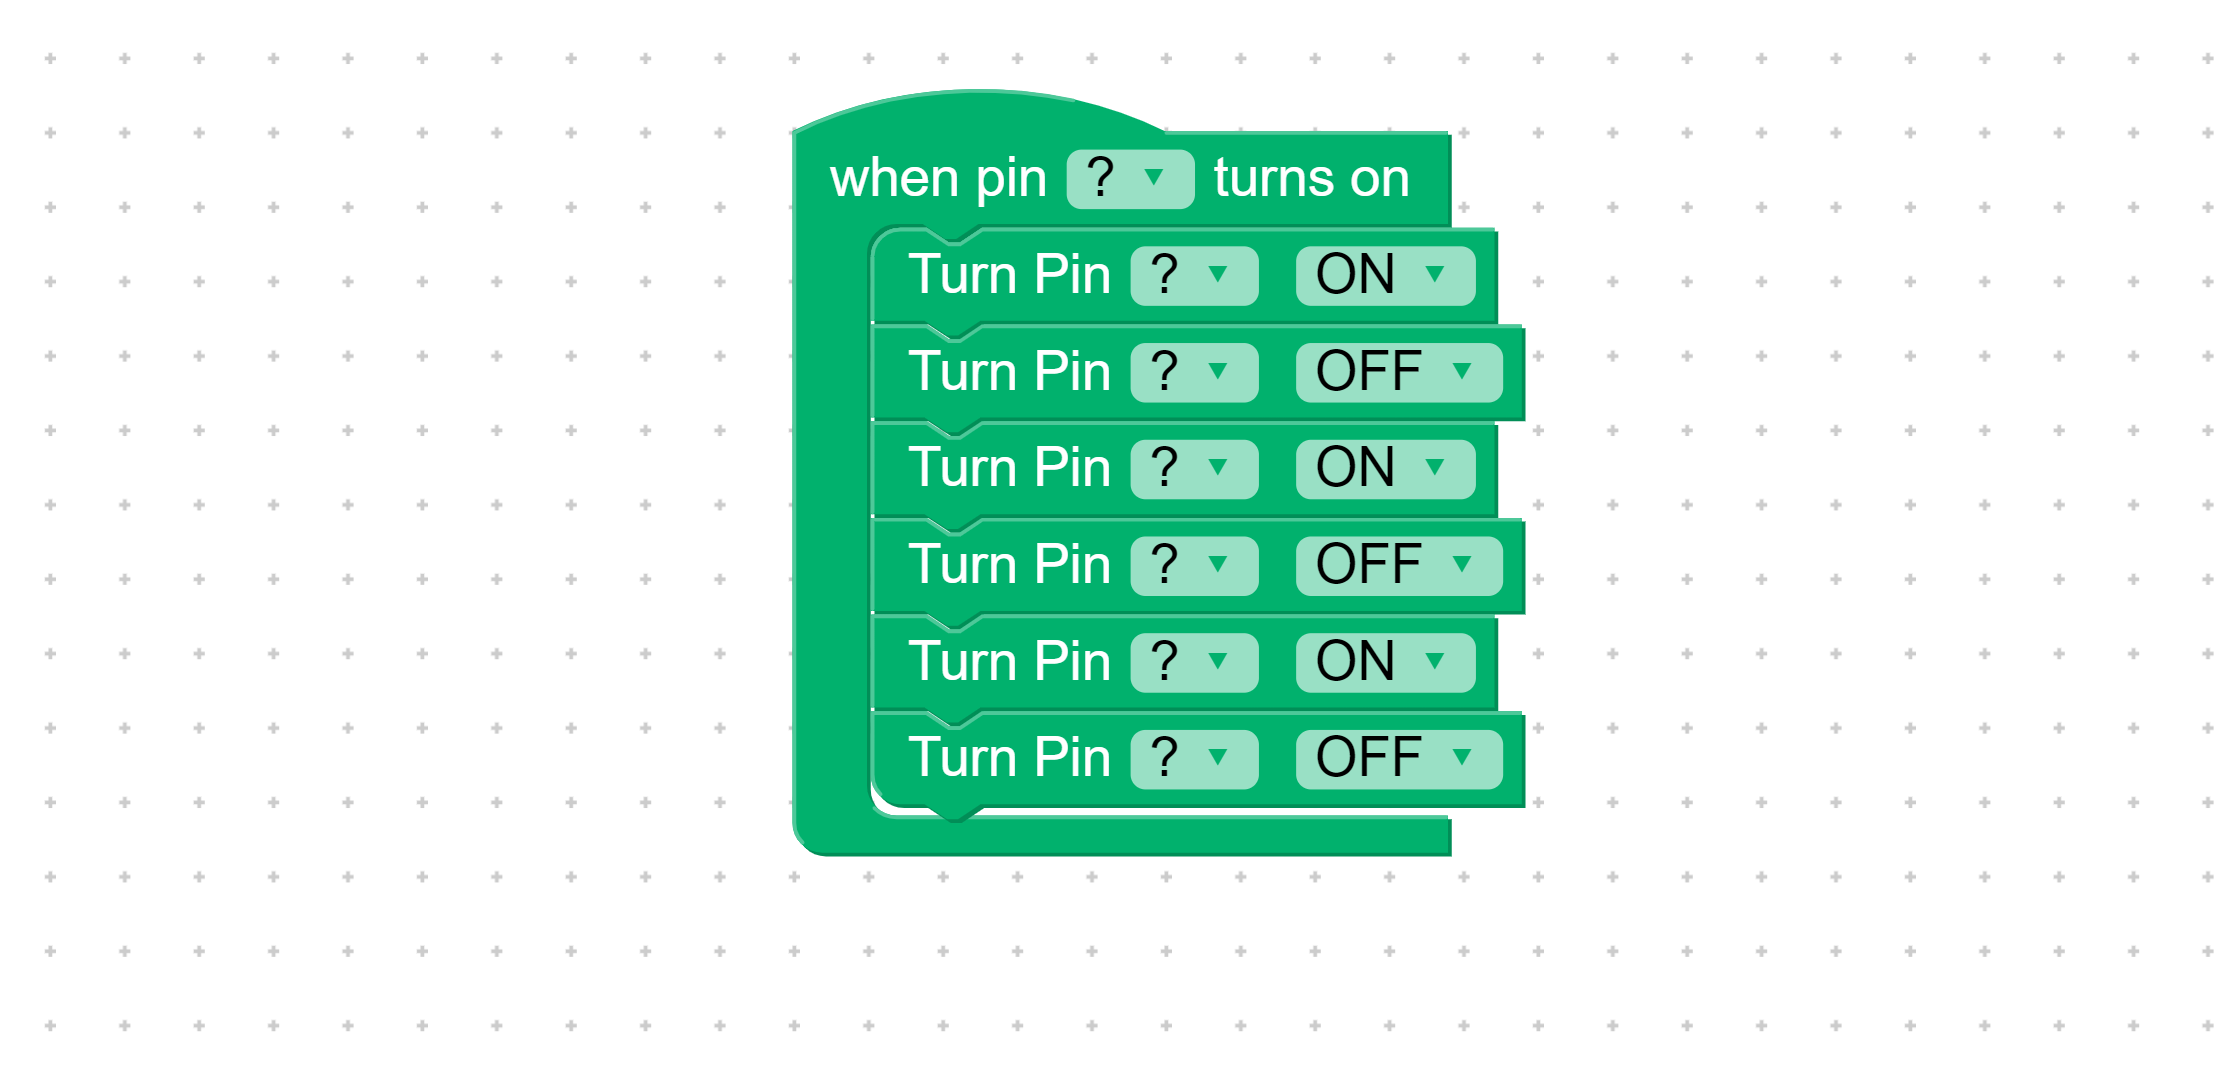
Add a Turn Pin On block and a Turn Pin Off block.
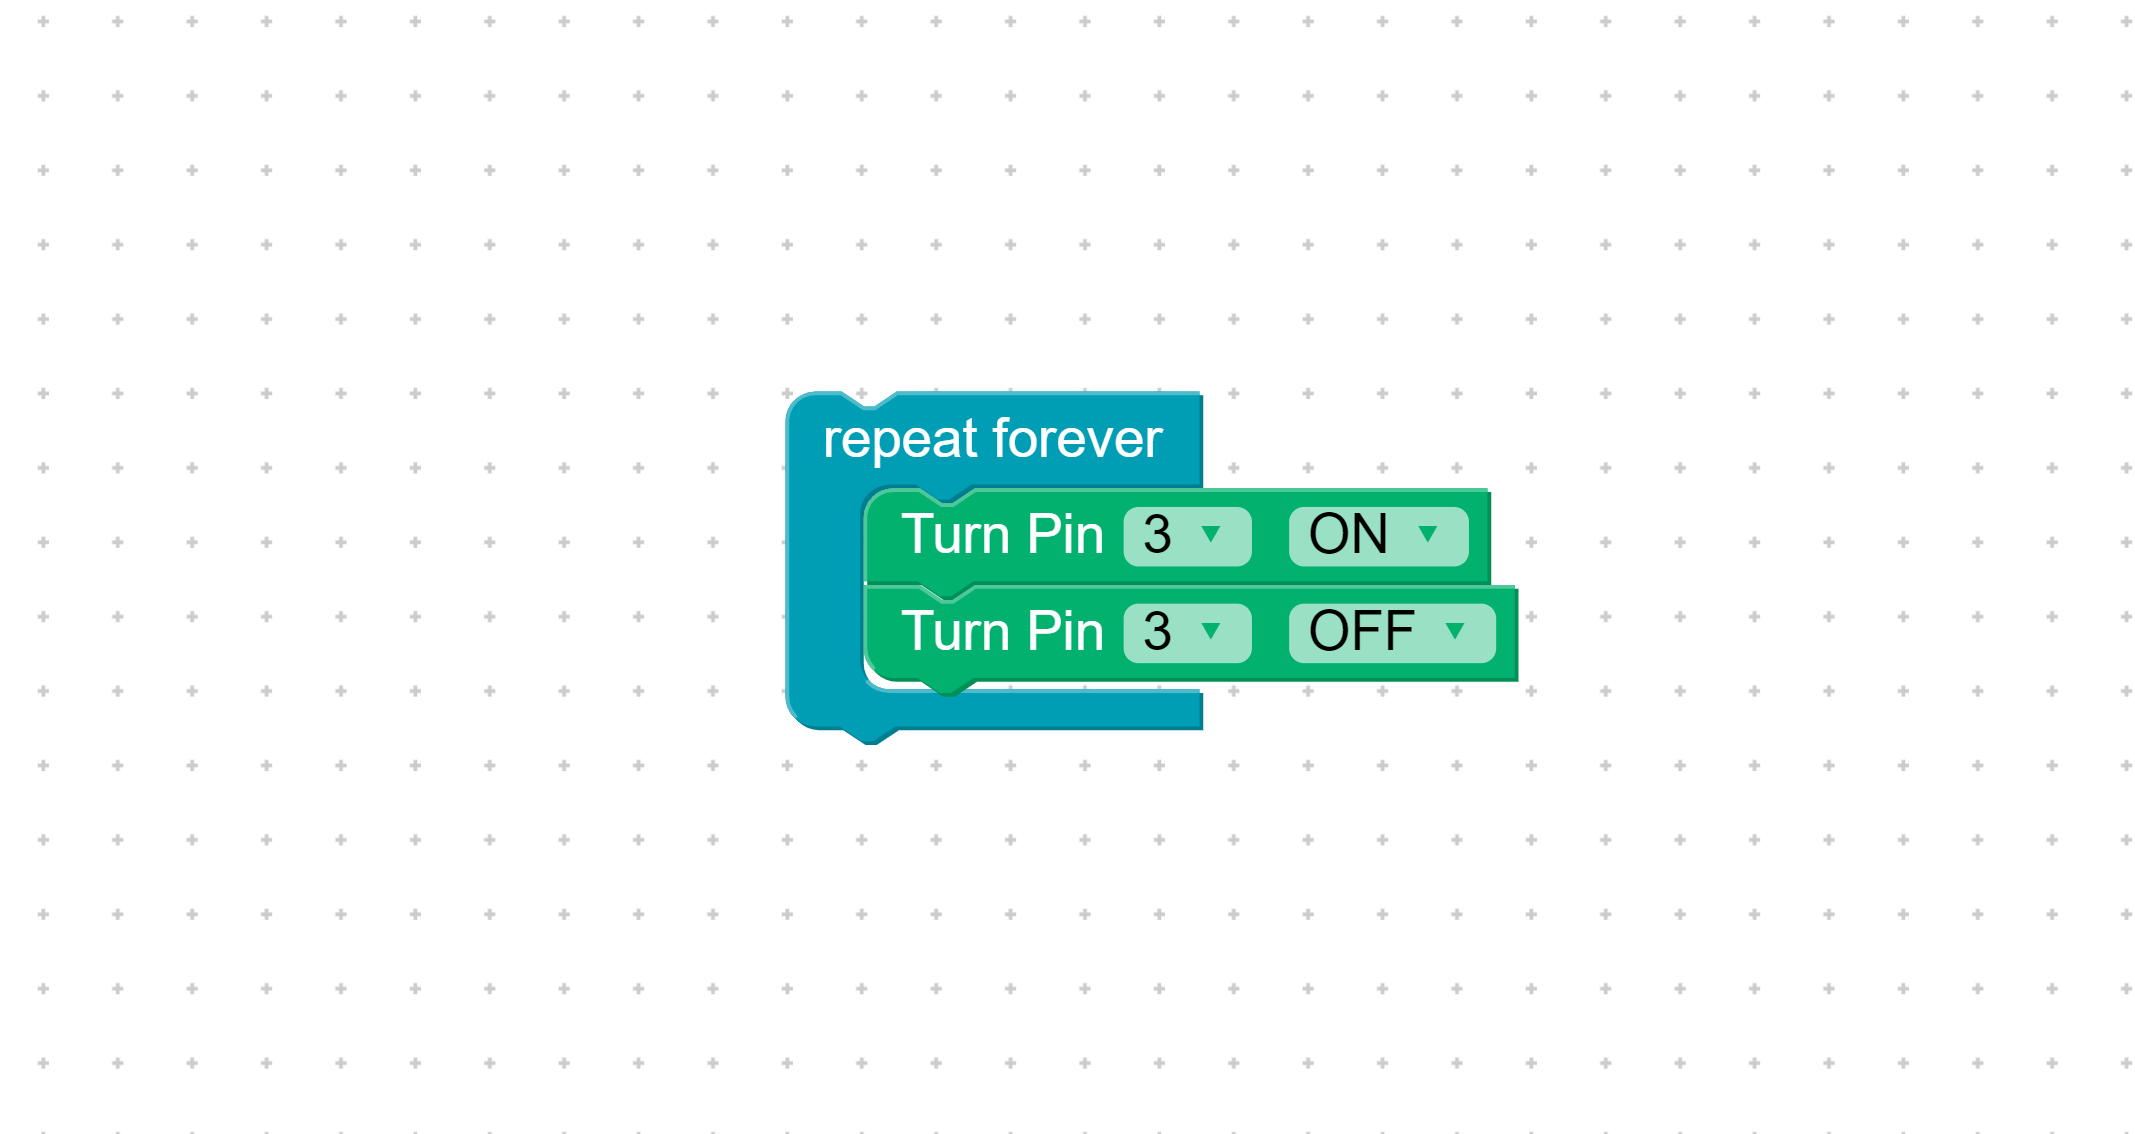
Wrap those pin blocks in a Repeat Forever block.
Press Start. Open the ELECTRONICS panel. Which pin is flashing?
Wire the pin on your Raspberry Pi that is flashing in the Electronics panel to the long end of an LED.
Now wire a ground pin (black) on your Raspberry Pi to the short end of an LED.
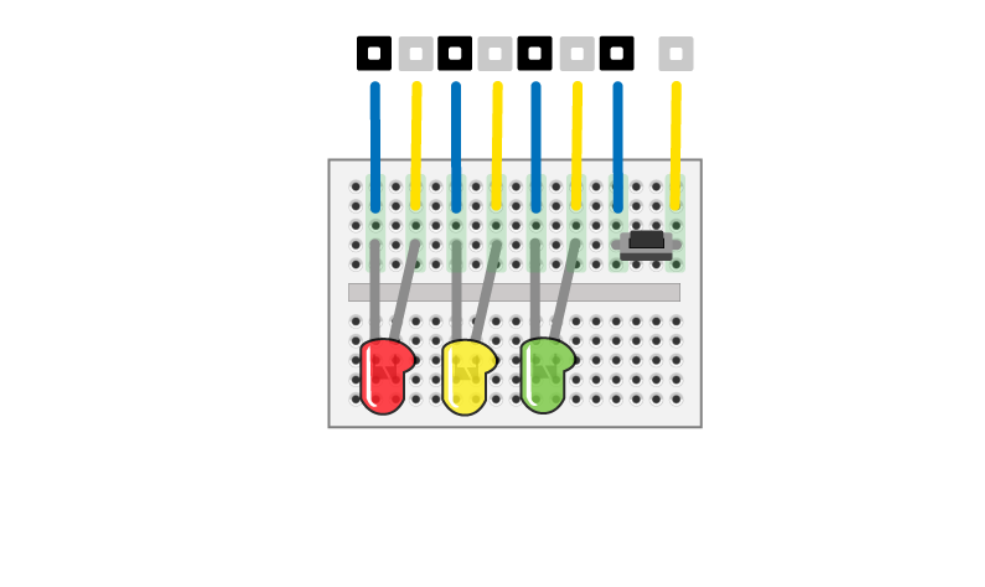
Repeat steps 2, 5, and 6 with 2 more LEDs.
Add blocks for the new LEDs and change the pin numbers. Press Start and watch them blink.
Add a button to your breadboard and connect one side to a ground pin (black) and the other side to a GPIO pin (grey).
Remove the Repeat Forever block and add a pin event block. Set the pin to the button wire.
Watch the Electronics panel when you run your code. Does pressing the button flash the correct pin?