Close menu

Resources


PIPER COMPUTER

Everything you need to teach STEAM effectivly using the Piper Computer Kit.

Educator Guides StoryMode Project Guides PiperCode Project Guides
PIPER MAKE

Teach fundamental STEM skills while providing a bridge to career connected learning.

Educator Guides
Best Practices Standards Glossary FAQ Educator Forum

EDUCATOR PORTAL

Close menu

ALL GUIDES


StoryMode

  1. Mars
  2. Cheeseteroid
  3. Treasure Hunt
  4. Chain Reaction
  5. Power Plant
  6. Rainbow Bridge
  7. Funky Fungi
  8. Breadboard Bluffs
  9. Return to the Cheeseteroid

  1. Pip Hop
  2. Bot Builder

  1. Ring Race
  2. Snake Trap
  3. Dark Maze
  4. Explosive Escape
  5. Chest Quest

PiperCode

  1. Blink
  2. Stop Light
  3. Light Show
  4. Tally
  5. Siren
  6. Circuit Design
  7. Debug
  8. Frog Frenzy

  1. Color Coded
  2. Ther-Mood-Stat
  3. Security Zone

  1. Randomizer
  2. El Pangolin (Simon)
  3. Beat the Buzzer
  4. 5-Button Synthesizer

PIPER COMPUTER

PROJECT GUIDES


YOU ARE HERE

PiperCode

Project 8 of 8

PiperCode Project 8 of 11

Frog Frenzy


Intermediate

45 Mins

Grades 3 - 8

Look for the graphic above
to launch the project
INTRODUCTION

Ribbit ribbit, use red and green LEDs timing to play one another

In this project, students design a timing game to play against each other. Press the button to stop the light on green. Who can get the most green in a row?

The build consists of two LED lights and a button. The lights blink back and forth and when the button is pressed, it will stop on either the red light or the green light. The objective of the game is to stop on the green light three times in a row! The step by step instructions in the tutorial guides students through the process of building the circuit and writing the code.
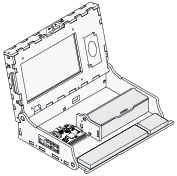
PROJECT MATERIALS

Piper Computer Kit
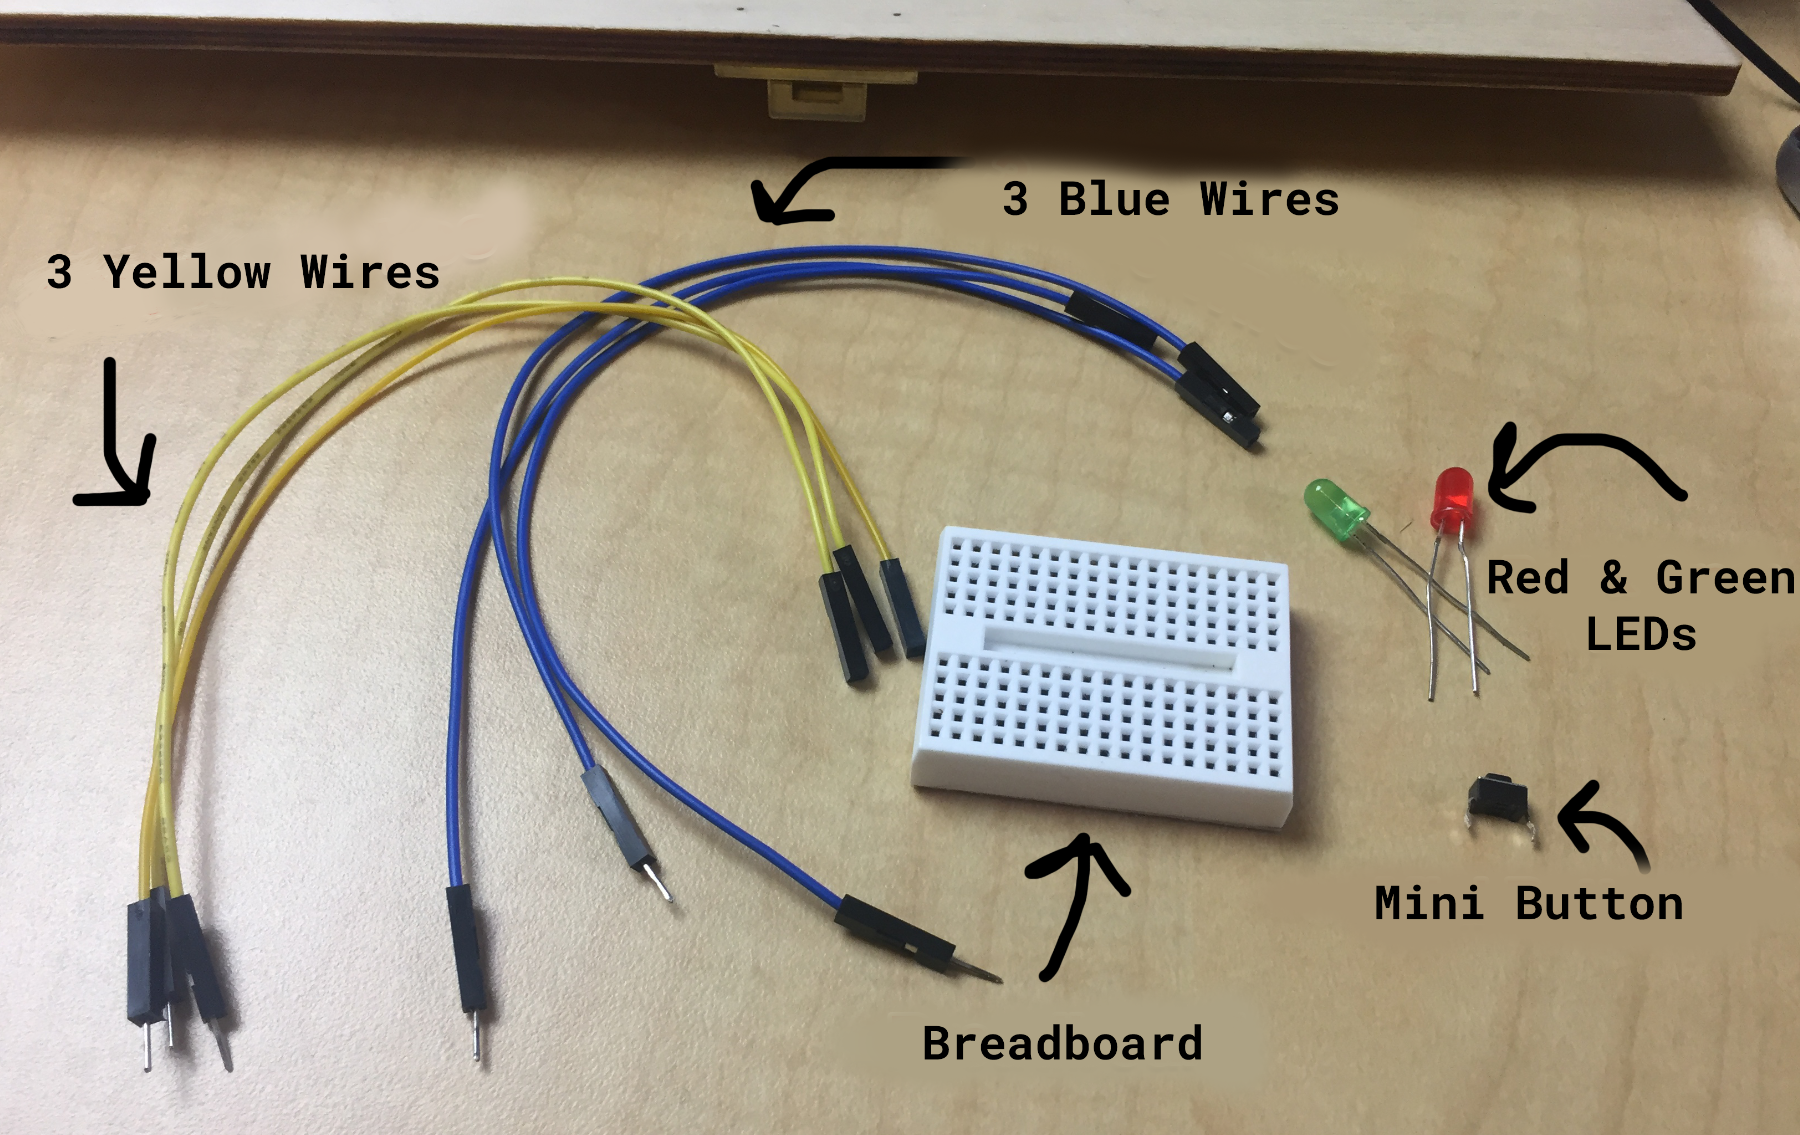
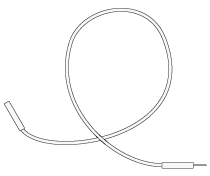
6 Wires (3 blue, 3 yellow)
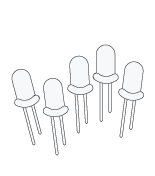
2 LEDs (1 red, 1 blue)
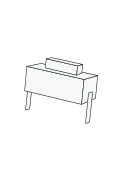
Push Button
Breadboard

PROJECT RESOURCES

Concepts

Students will create states (turning a pin on/off), sounds and sequences. They use a ‘repeat while’ block to check the status of the button press.

Troubleshooting Tips

  • Students may make mistakes on the pin numbers. If you don’t hear any sounds, make sure the volume is turned up.
  • The block ‘repeat while Pin 24 is On’ is like an event block. All the codes blocks placed inside will run while the button is pushed.
  • The block weight until pin 24 is off is similar to a weight time block but it is an event. The code will stop running until the button is released.

Our customer support specialists are on hand to ensure your implementation of Piper runs seamlessly.
View Support Docs or Contact Support
PROJECT STEPS

Step 1 Get your stuff!

Take out the inventory you see in the picture below.

Step 2 Build your circuit

Carefully study the wiring diagram. All cables must be connected exactly as seen in the image. If the LED does not work, try turning it over.
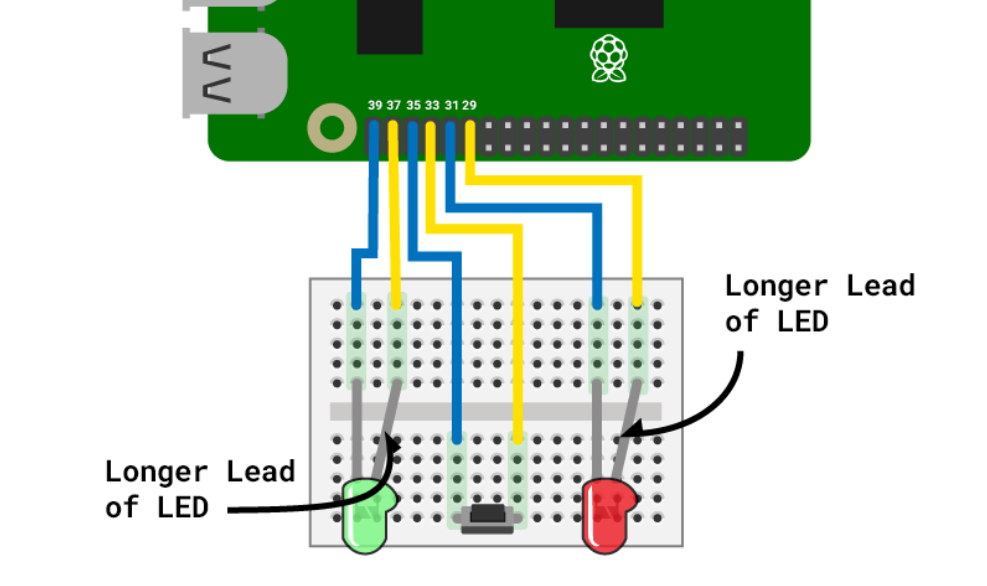
GPIO Setup Green LED Pins: 39, 37
Red LED Pins: 31, 29

Push Button: 35, 33

Step 3 Green first

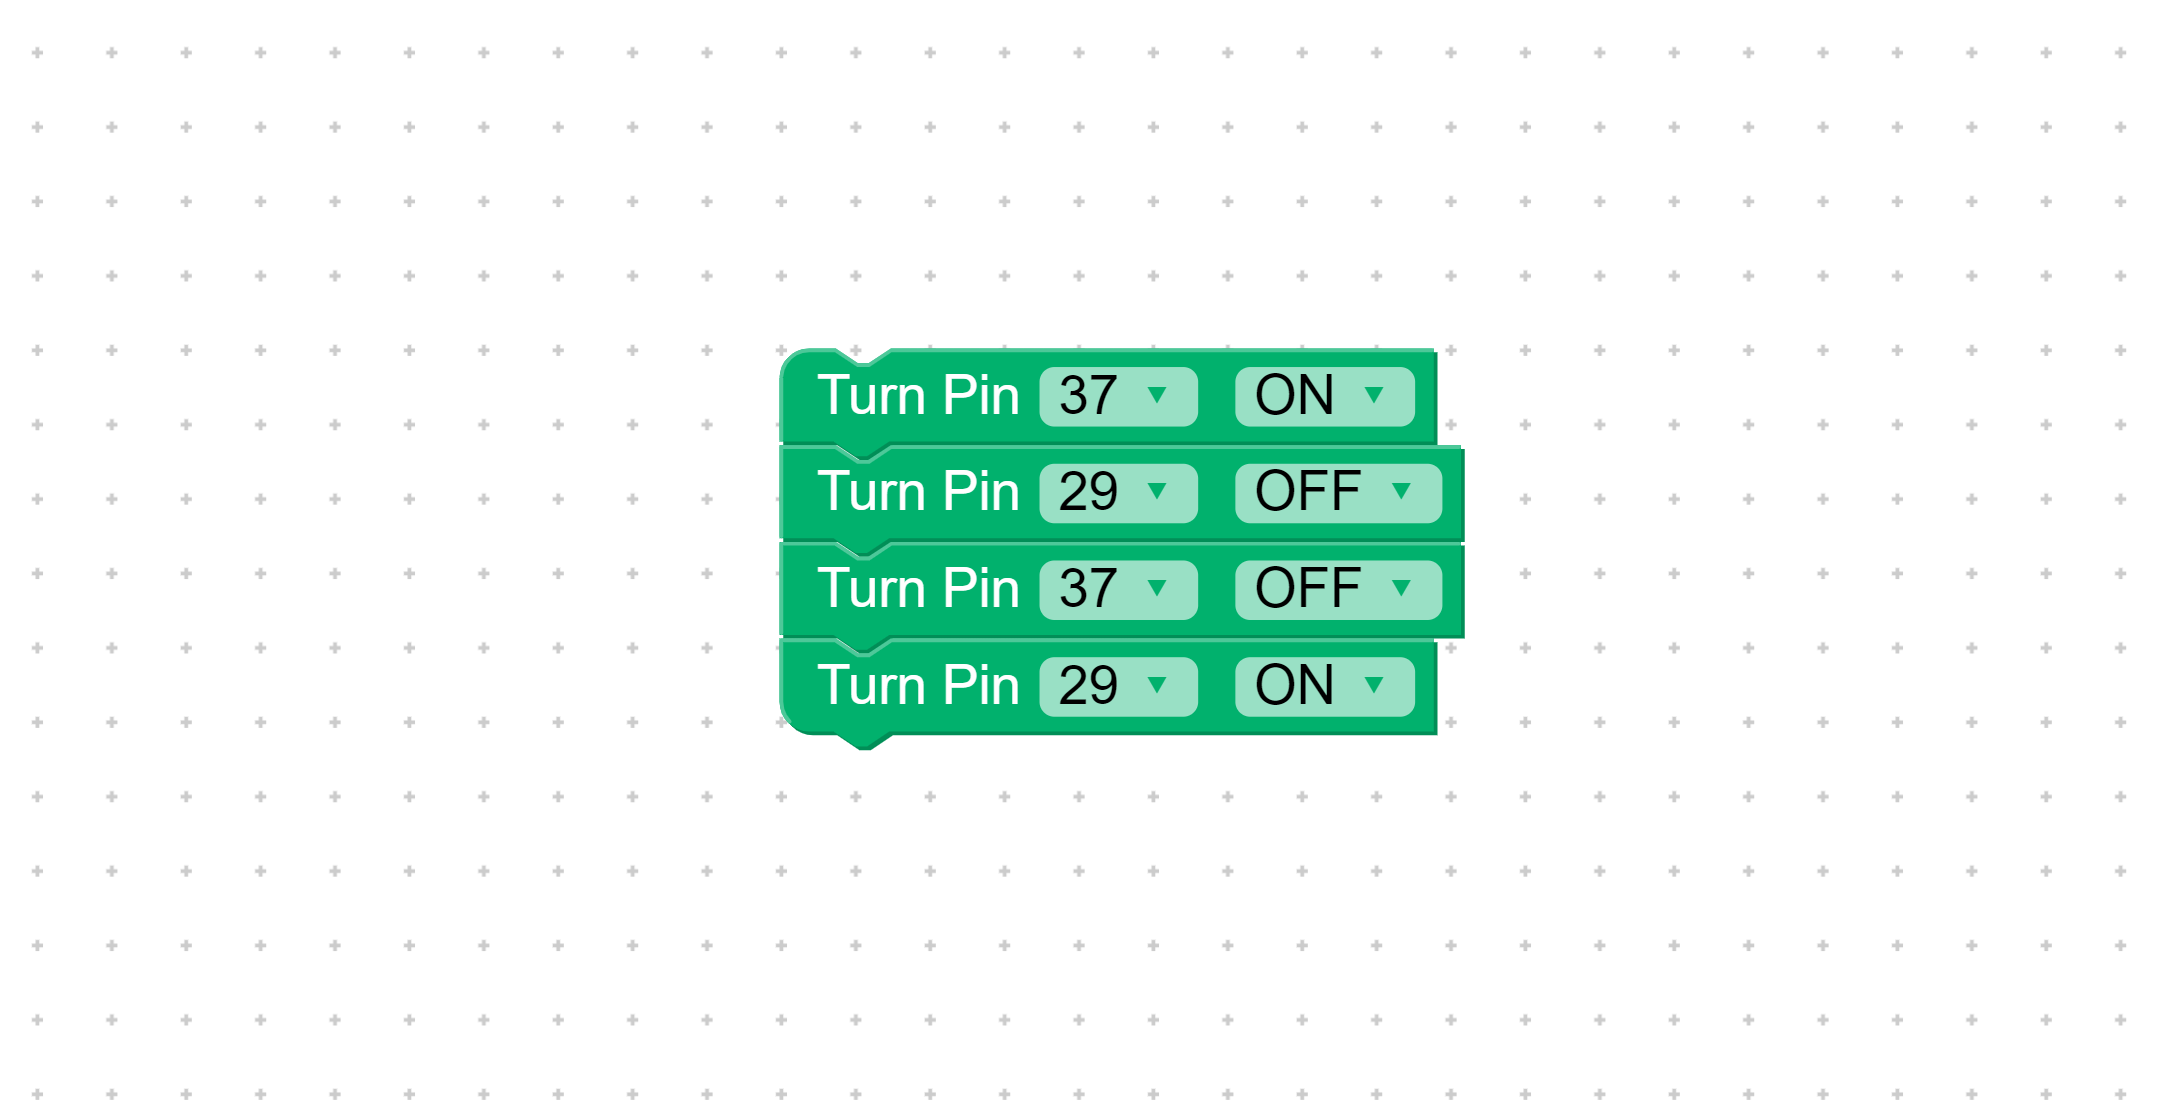
First turn the green light on and the red light off. Test your code by pressing Start.

Step 4 Then red

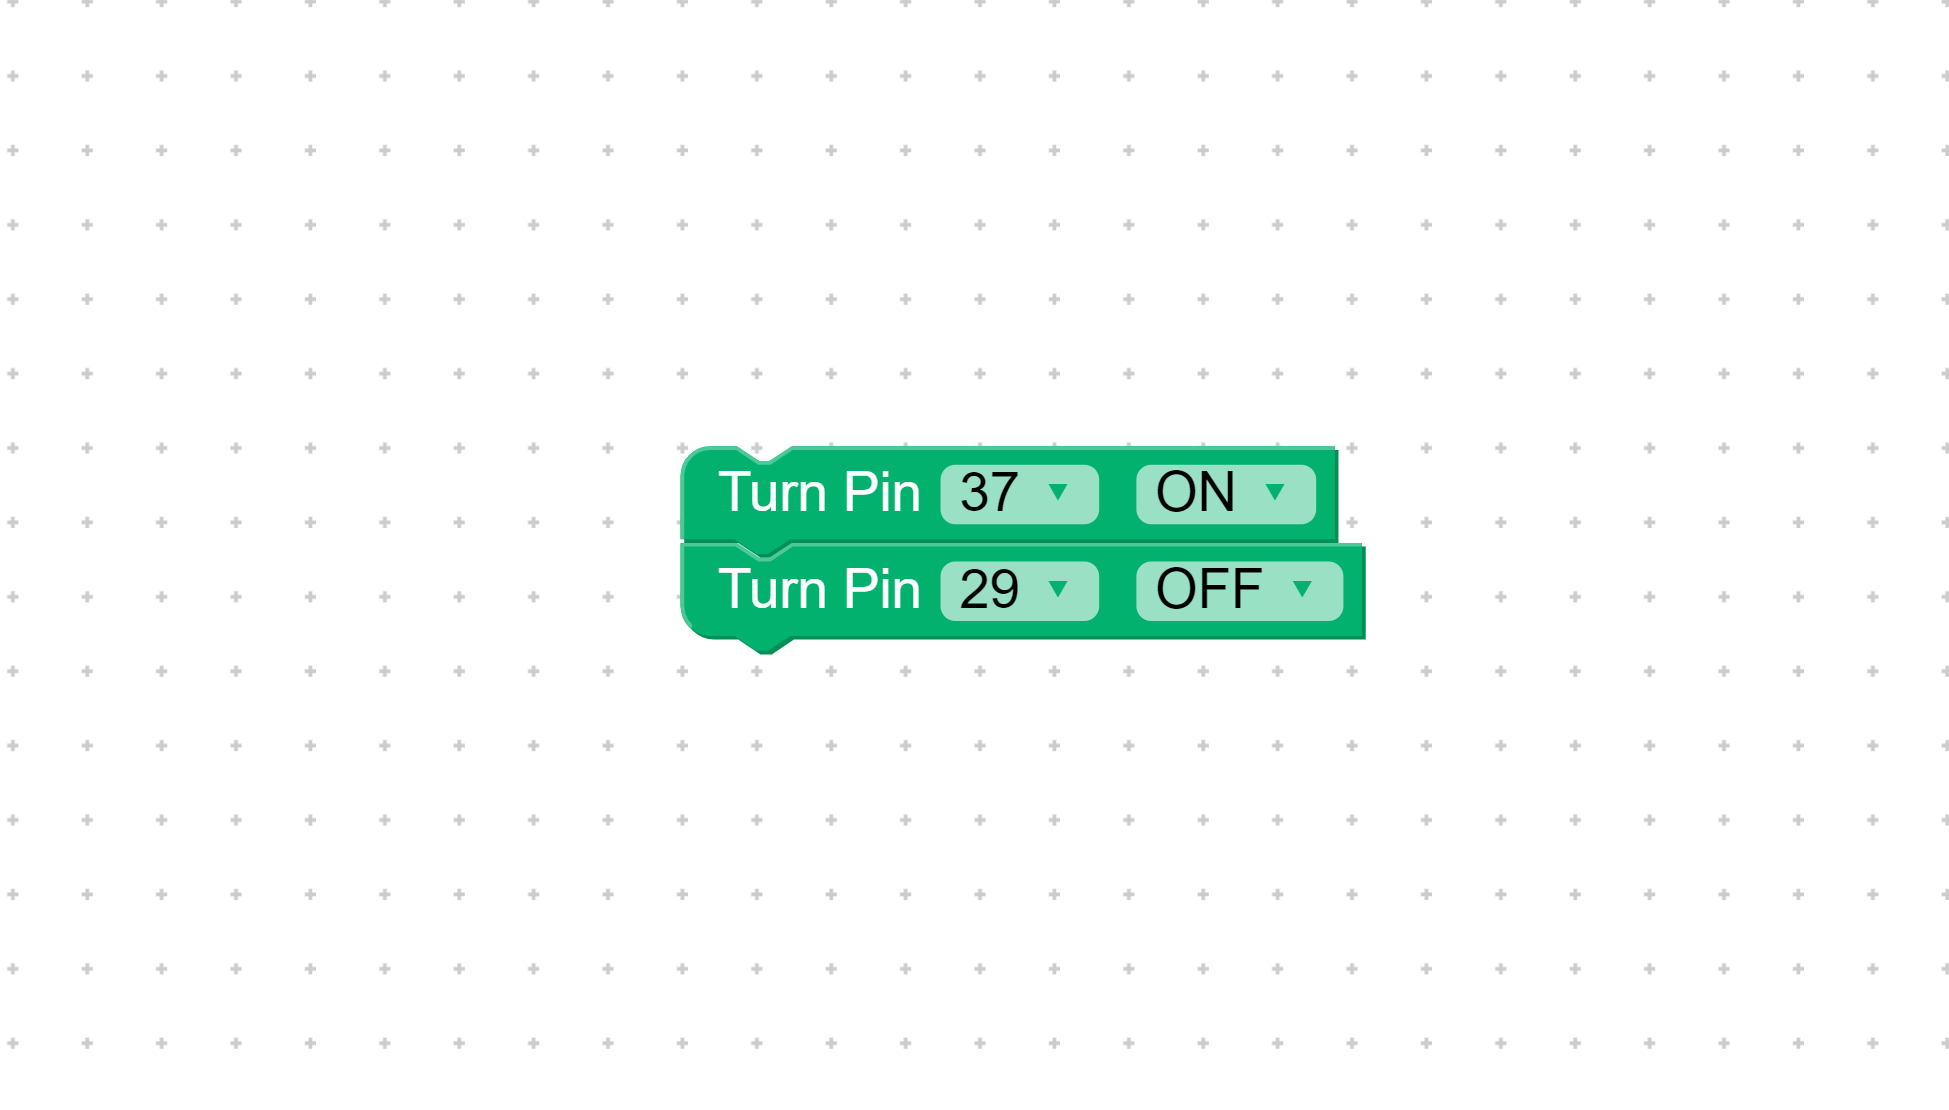
Now turn the red light off and the green light on. Test your code again.

Step 5 Get them blinking

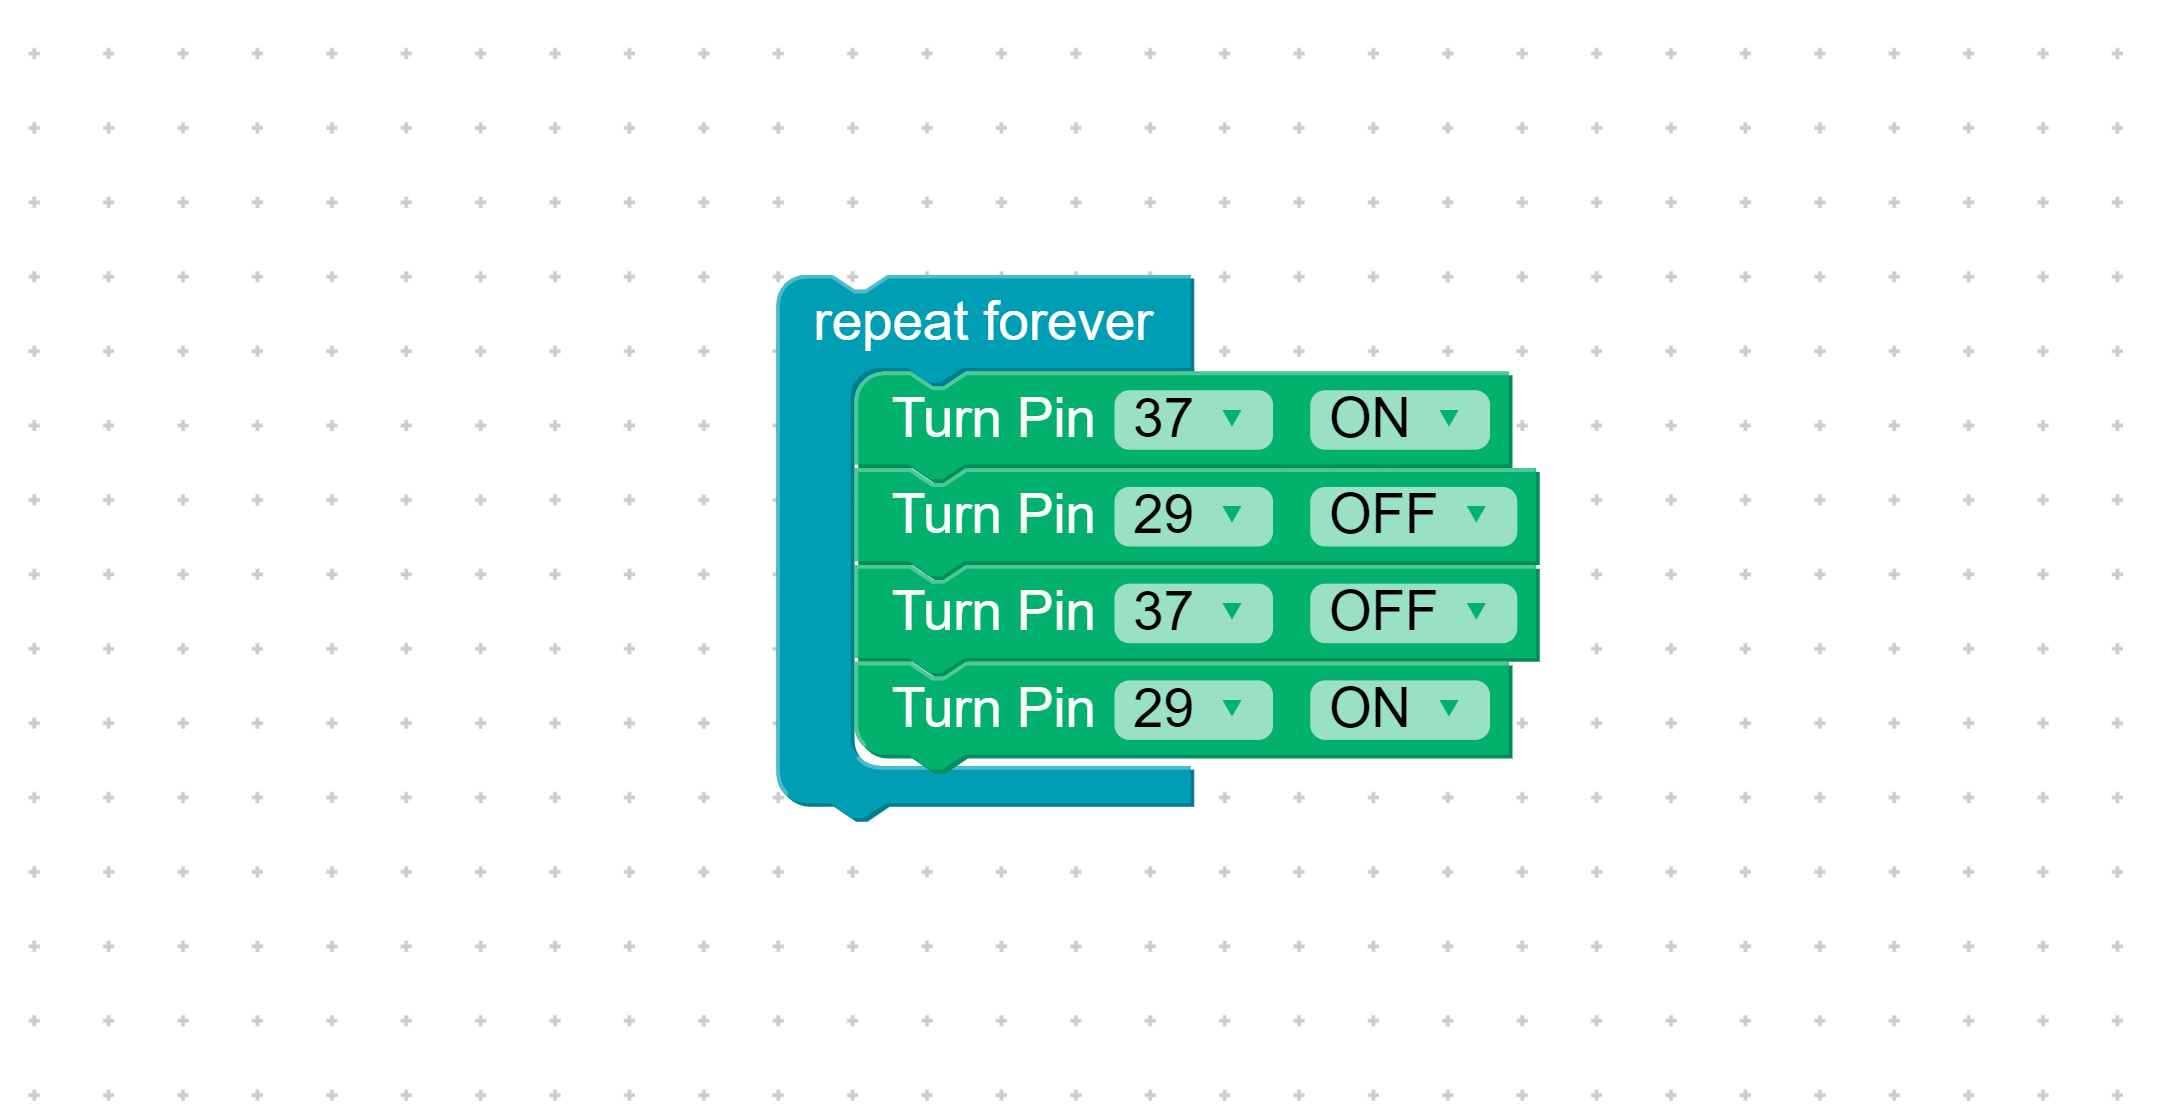
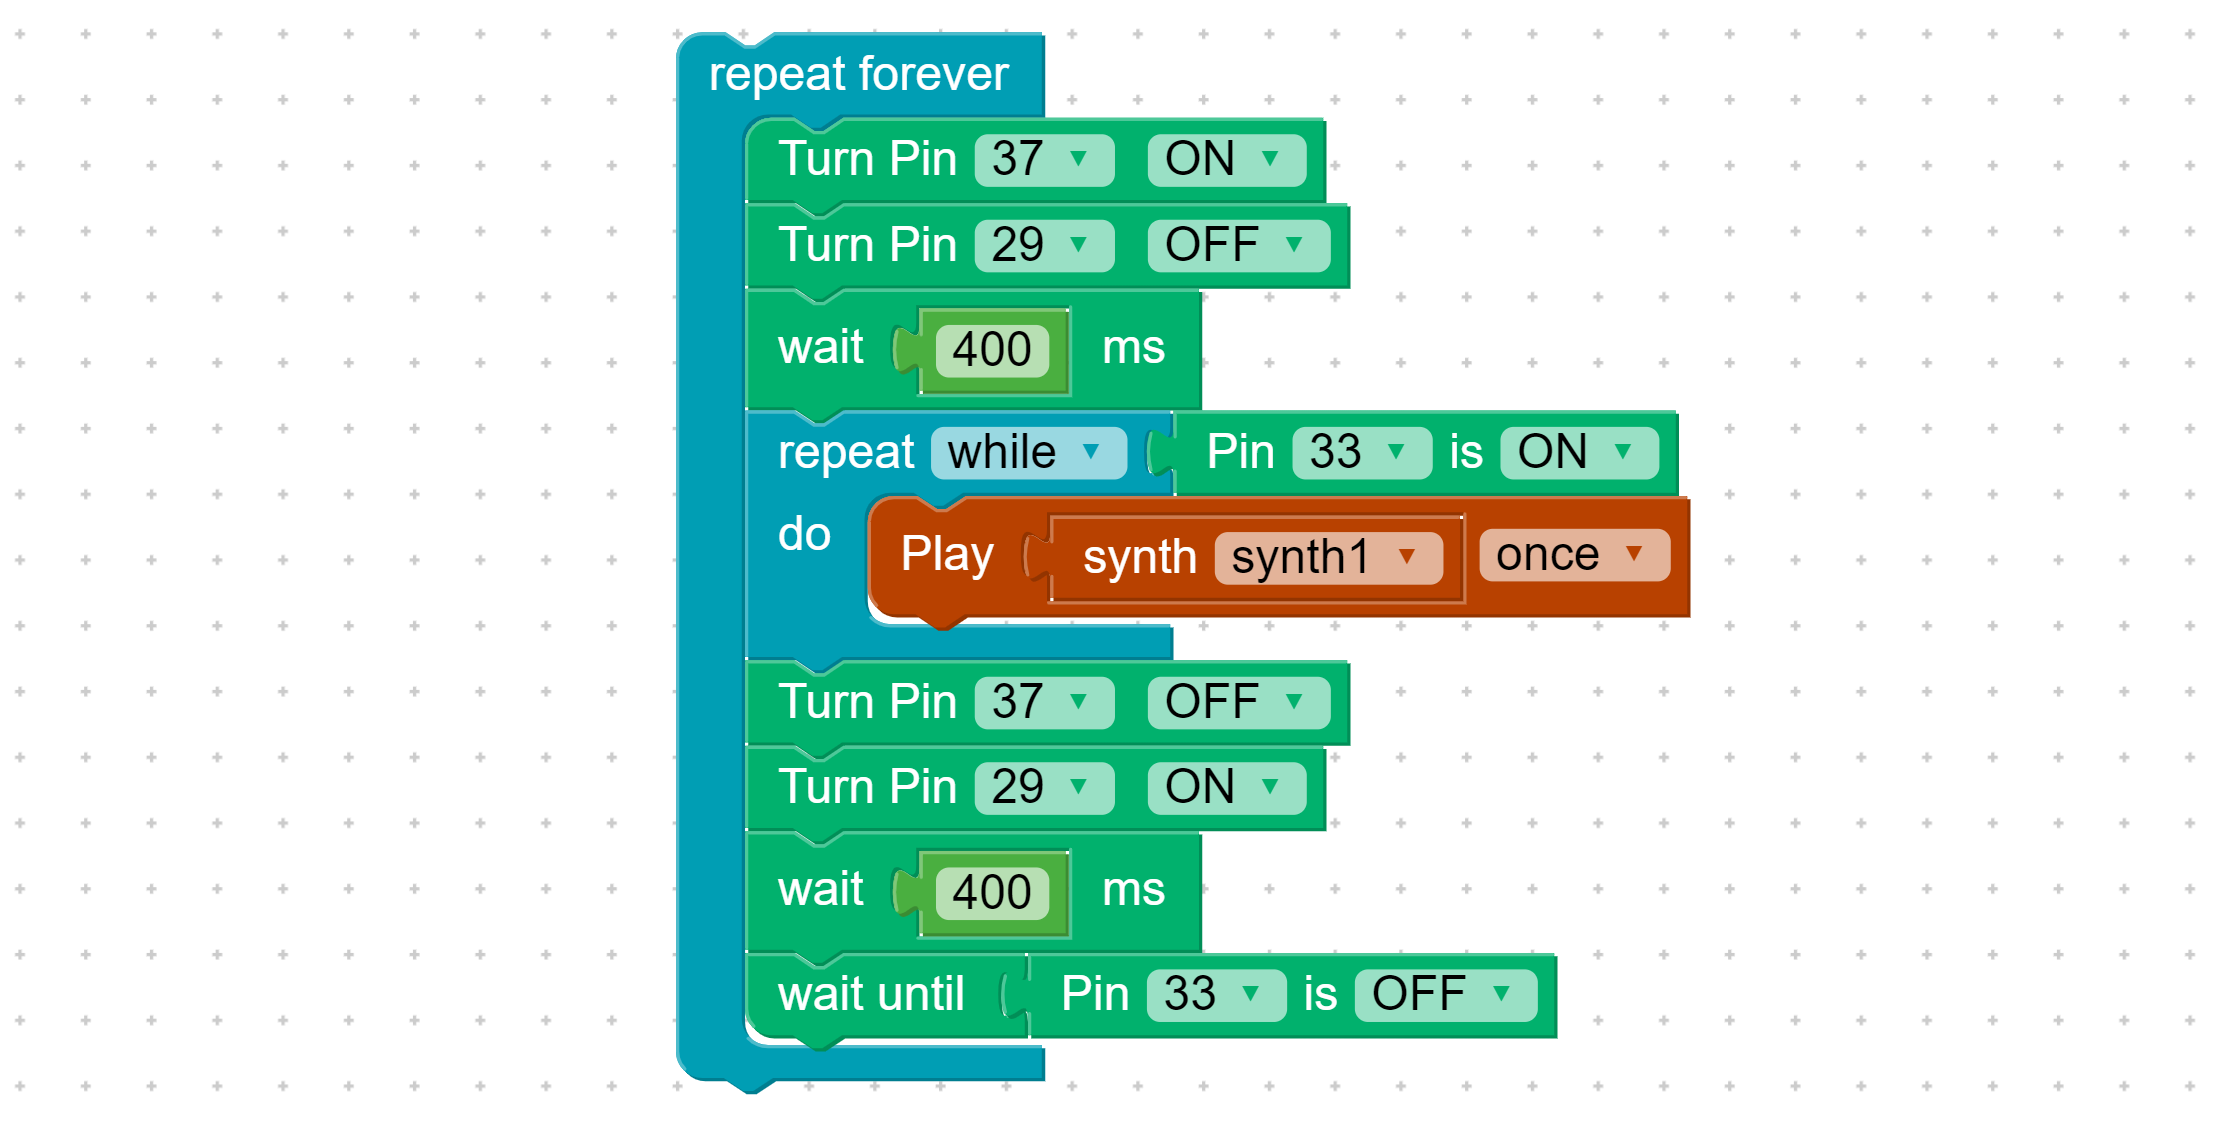
Add a Repeat Forever block and your lights will blink red and green. Test the code.

Step 6 Add the button and customize the blinking

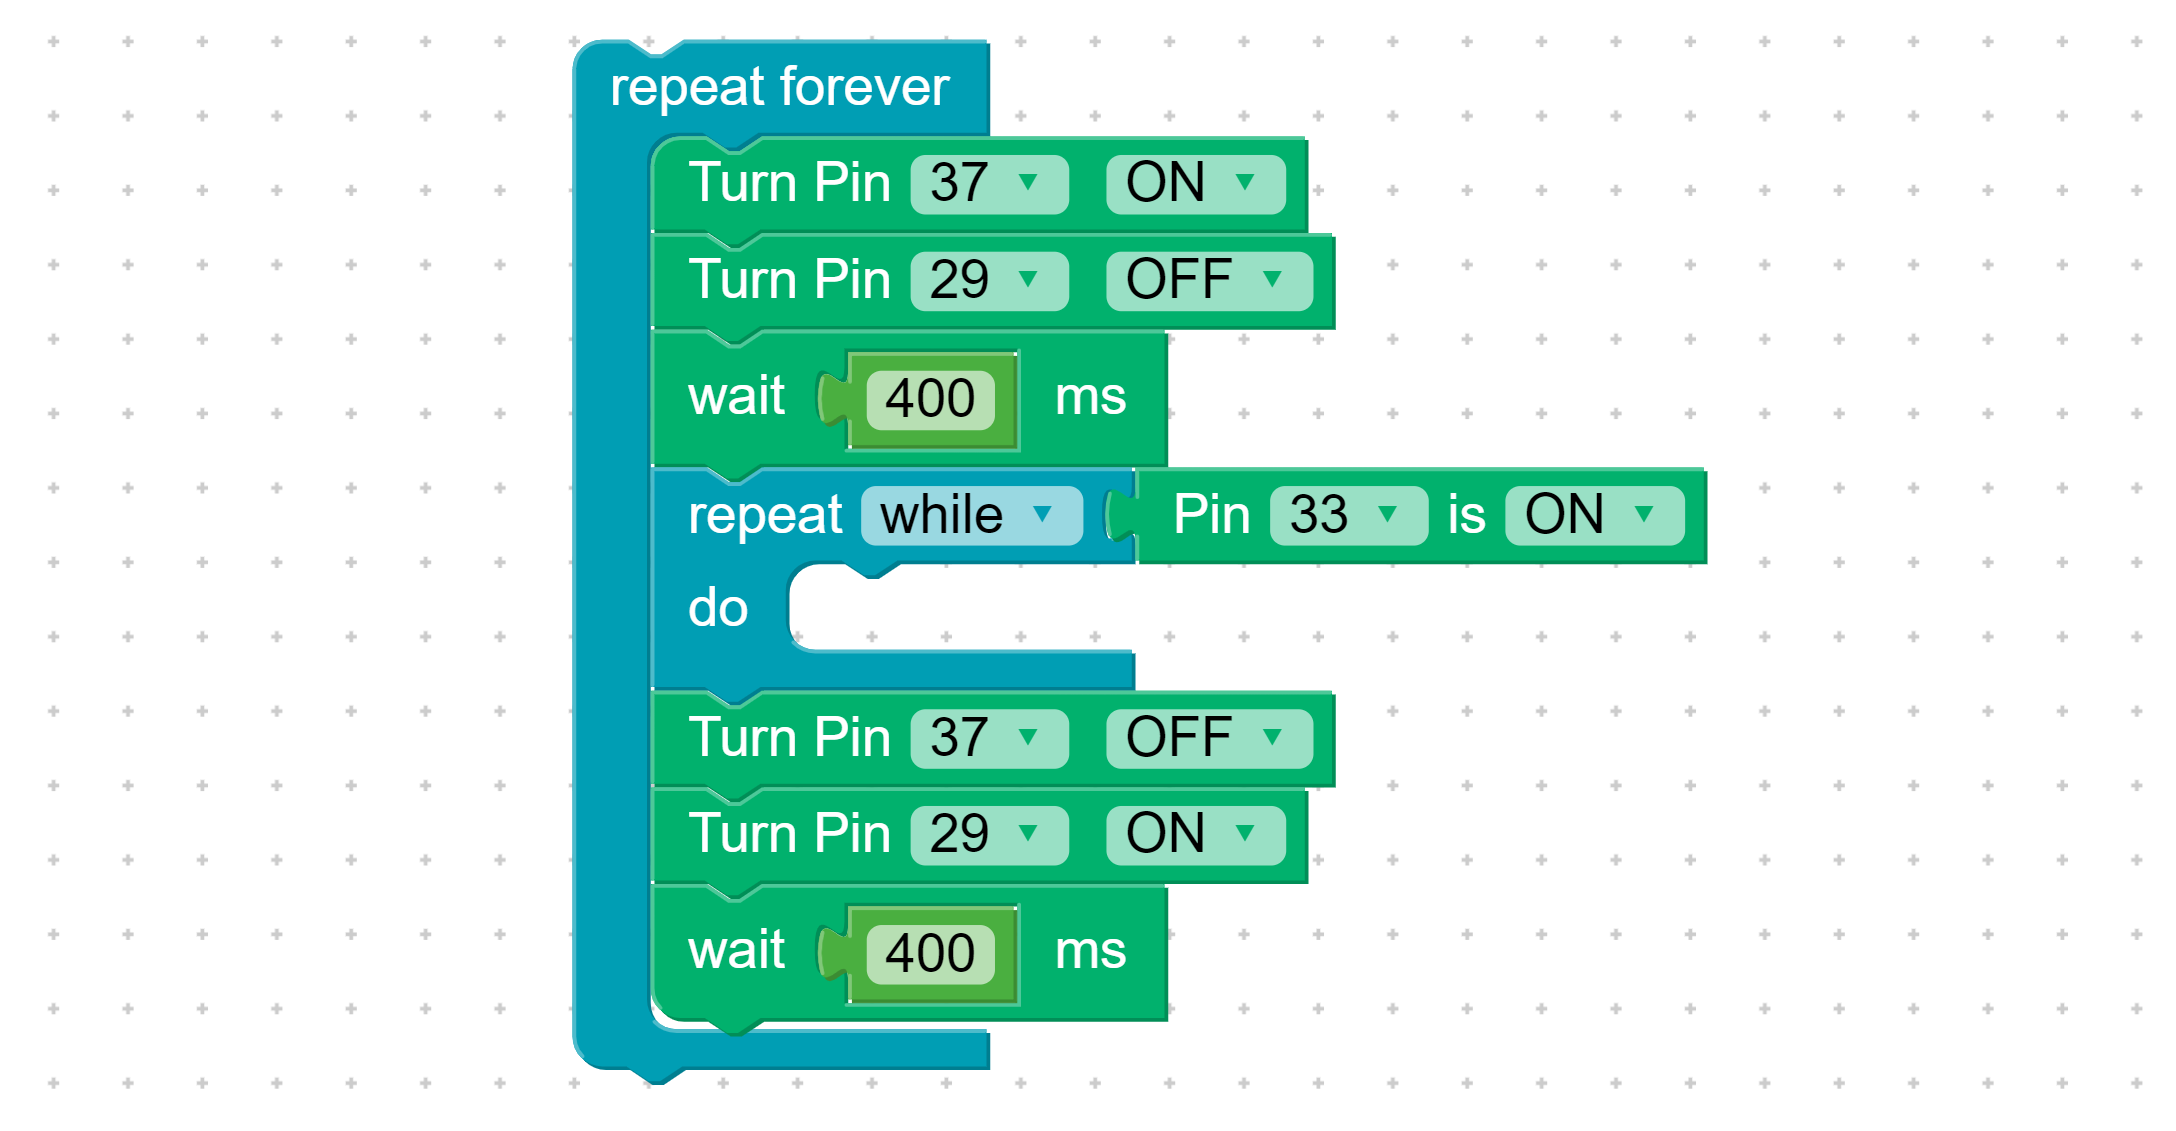
Add two Wait blocks so the lights will blink slowly and a While loop that checks if pin 33 is on. When the button is pressed (pin 33) the game will wait.

Step 7 Add sounds

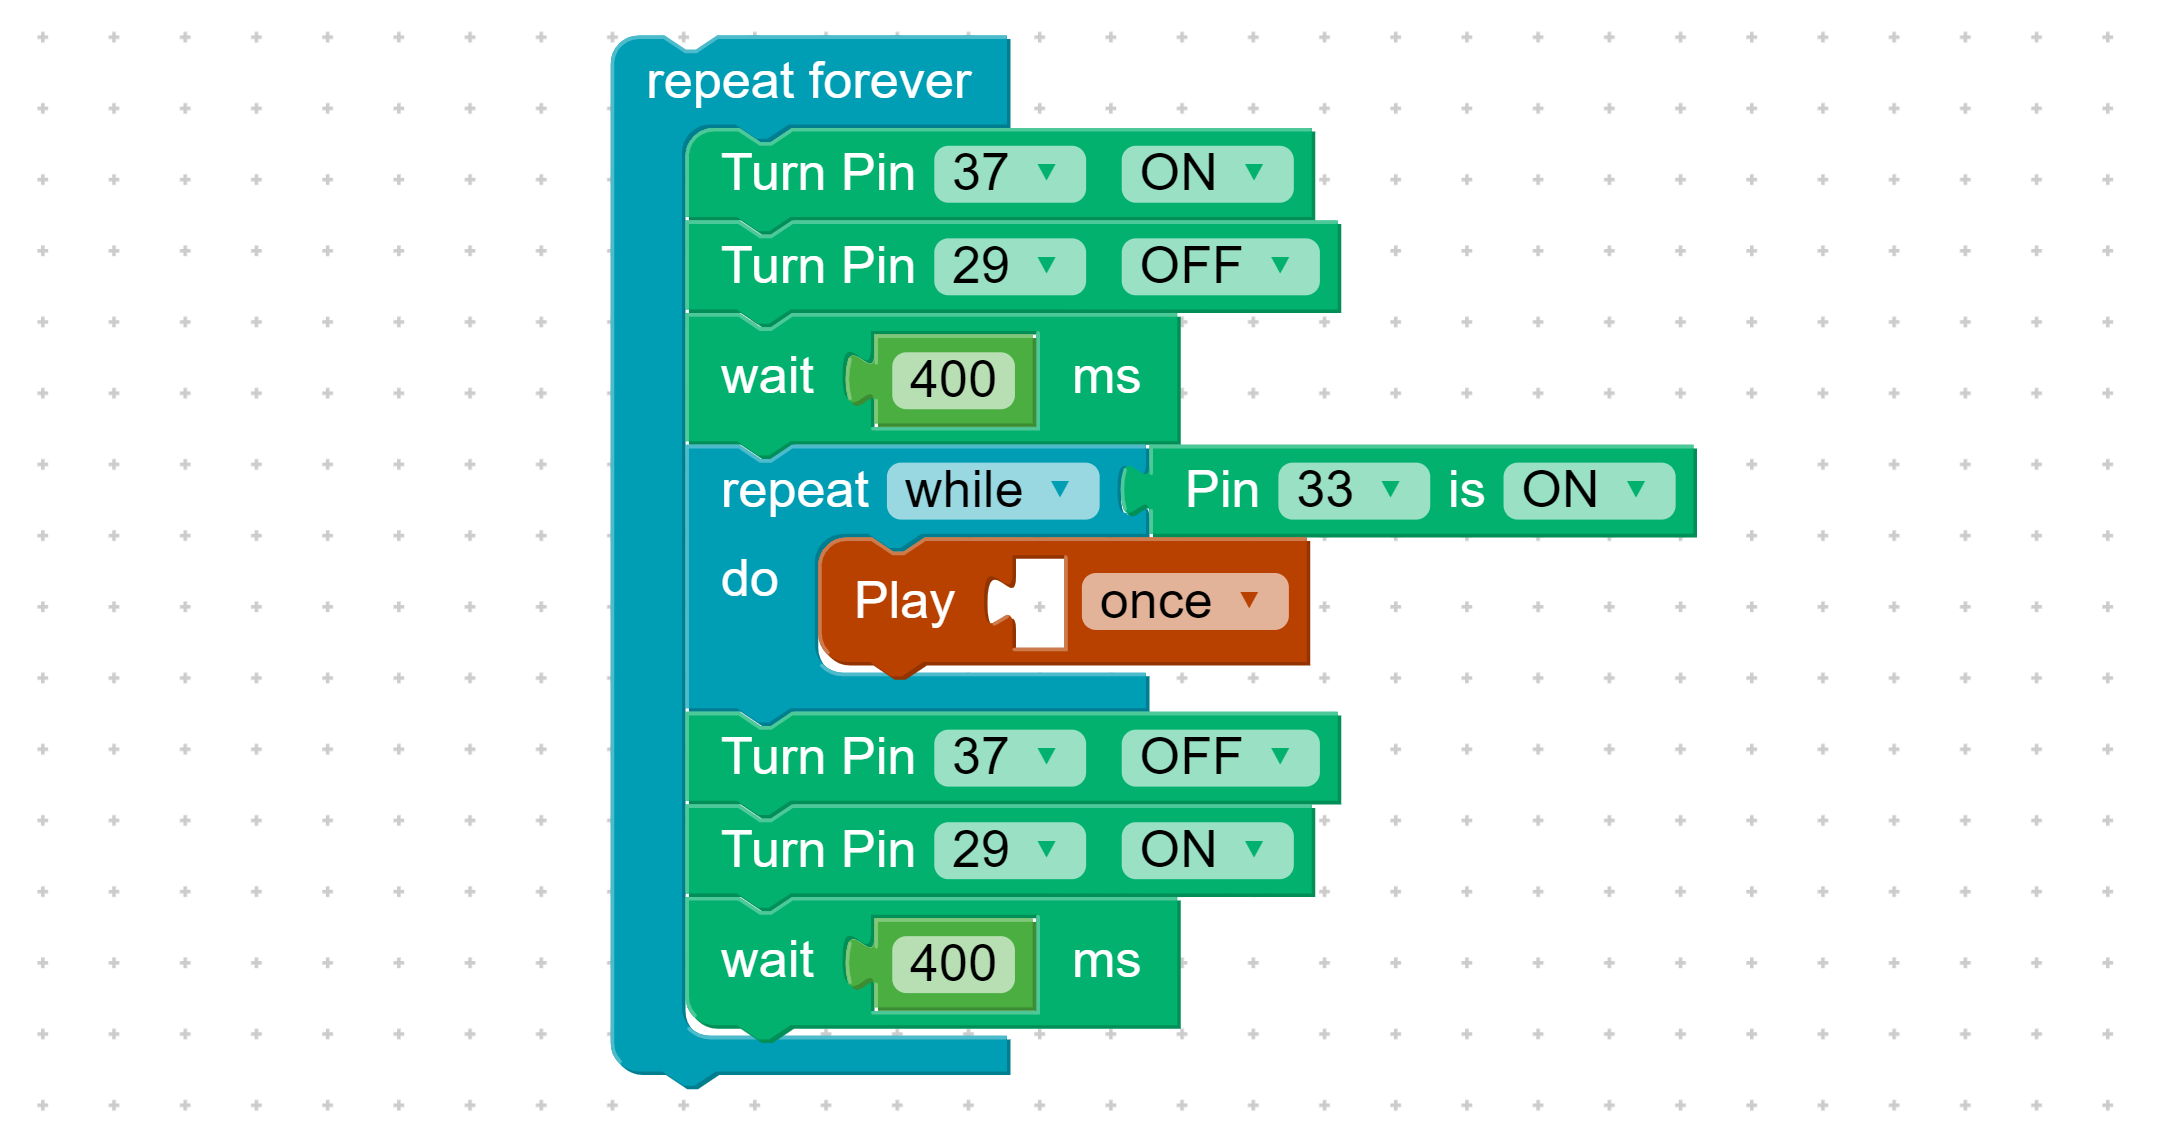
In the Sounds library, drag the Play block into the Repeat While block.

Step 8 Select a sound

Select the synth block and drag it inside the Play block. Change the sound by clicking on synth1.

Step 9 Miss!

Add the new Wait Until block to check if we hit the button at the wrong time.

Step 10 Play the game!

Press Start and have fun!

Completed!