Close menu

Resources


PIPER COMPUTER

Everything you need to teach STEAM effectivly using the Piper Computer Kit.

Educator Guides StoryMode Project Guides PiperCode Project Guides
PIPER MAKE

Teach fundamental STEM skills while providing a bridge to career connected learning.

Educator Guides
Best Practices Standards Glossary FAQ Educator Forum

EDUCATOR PORTAL

Close menu

ALL GUIDES


StoryMode

  1. Mars
  2. Cheeseteroid
  3. Treasure Hunt
  4. Chain Reaction
  5. Power Plant
  6. Rainbow Bridge
  7. Funky Fungi
  8. Breadboard Bluffs
  9. Return to the Cheeseteroid

  1. Pip Hop
  2. Bot Builder

  1. Ring Race
  2. Snake Trap
  3. Dark Maze
  4. Explosive Escape
  5. Chest Quest

PiperCode

  1. Blink
  2. Stop Light
  3. Light Show
  4. Tally
  5. Siren
  6. Circuit Design
  7. Debug
  8. Frog Frenzy

  1. Color Coded
  2. Ther-Mood-Stat
  3. Security Zone

  1. Randomizer
  2. El Pangolin (Simon)
  3. Beat the Buzzer
  4. 5-Button Synthesizer

PIPER COMPUTER

PROJECT GUIDES


YOU ARE HERE

PiperCode

Project 3 of 8

PiperCode Project 3 of 11

Light Show


Intermediate

45 Mins

Grades 3 - 8

Look for the graphic above
to launch the project
INTRODUCTION

Let there be light! Learn to use buttons to control LEDs

Students have learned how to build circuits with buttons and LED lights, now they will learn how to use the status of buttons (pressed is ON, not pressed is OFF) to turn an LED light on and off.

PROJECT MATERIALS

Piper Computer Kit
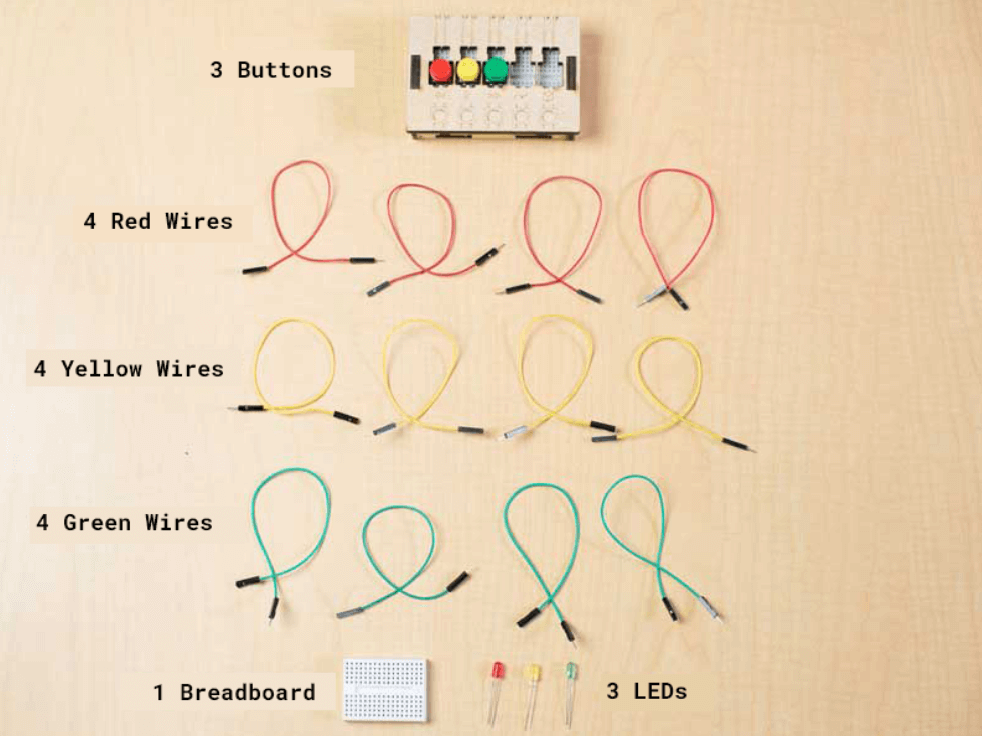
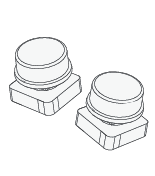
3 Buttons (red, yellow, green)
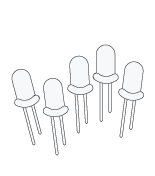
3 LEDs (red, yellow, green)
12 Wires (4 red, 4 yellow, 4 green)
Breadboard

PROJECT RESOURCES

Concepts

In Blink and Stoplight students learned how to program an event output in the form of an LED.

With Lightshow, they will now check the state (or status) of inputs (buttons) to control outputs (LEDs). When a button is pressed (ON), the corresponding color of LED is turned ON so it lights up.

Troubleshooting Tips

  • Similar to Blink and Stoplight students can often make mistakes on pin numbers and setting them on or off check to make sure that the pins in the code solution match the color of LED they are trying to light at the different times with their buttons.
  • Students must hold down the button to see the LED's turn on because the code is immediately turning the LED's off when they release the button
  • Nesting the blocks can be challenging for some it is important that the blocks are inside the repeat code loops make sure students understand the concept of nested loops by having them walk through the code and explain how many times each repeat will happen.
  • This is a great project to introduce how to duplicate blocks. After creating the first block that repeats (Step 5) students can right click and select Duplicate.

Our customer support specialists are on hand to ensure your implementation of Piper runs seamlessly.
View Support Docs or Contact Support
PROJECT STEPS

Step 1 Get your stuff!

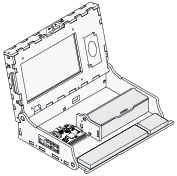
Take out the inventory you see in the picture below.

Step 2 Wire your LED's and Controller

Wire your LED's and Buttons with the correct GPIO setup. That's a lot of wires!

GPIO Setup Red LED Pins: 39, 37
Yellow LED Pins: 35, 33
Green LED Pins: 31, 29

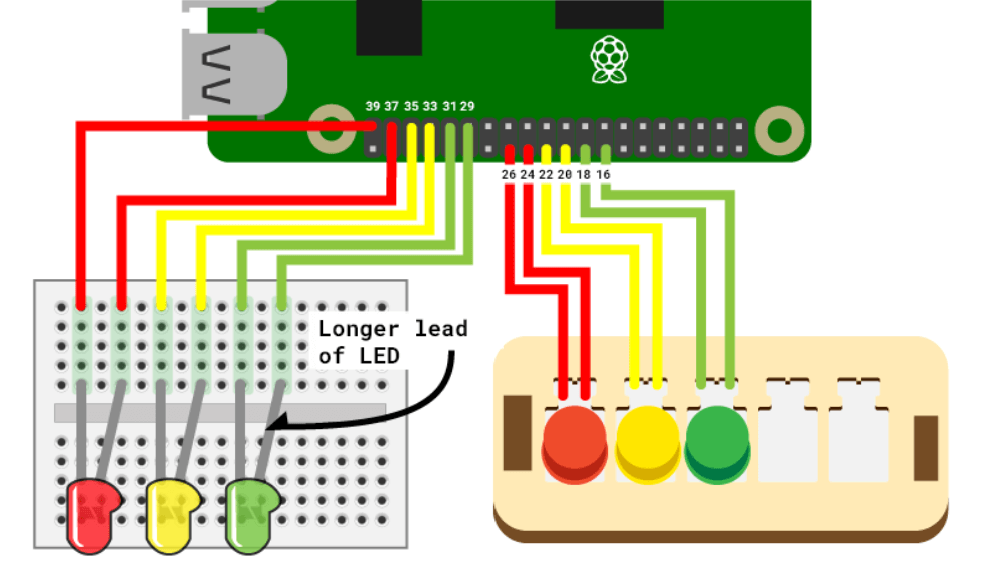
Red Button Pins: 26, 24
Yellow Button Pins: 22, 20
Green Button Pins: 18, 16

Step 3 Start programming!

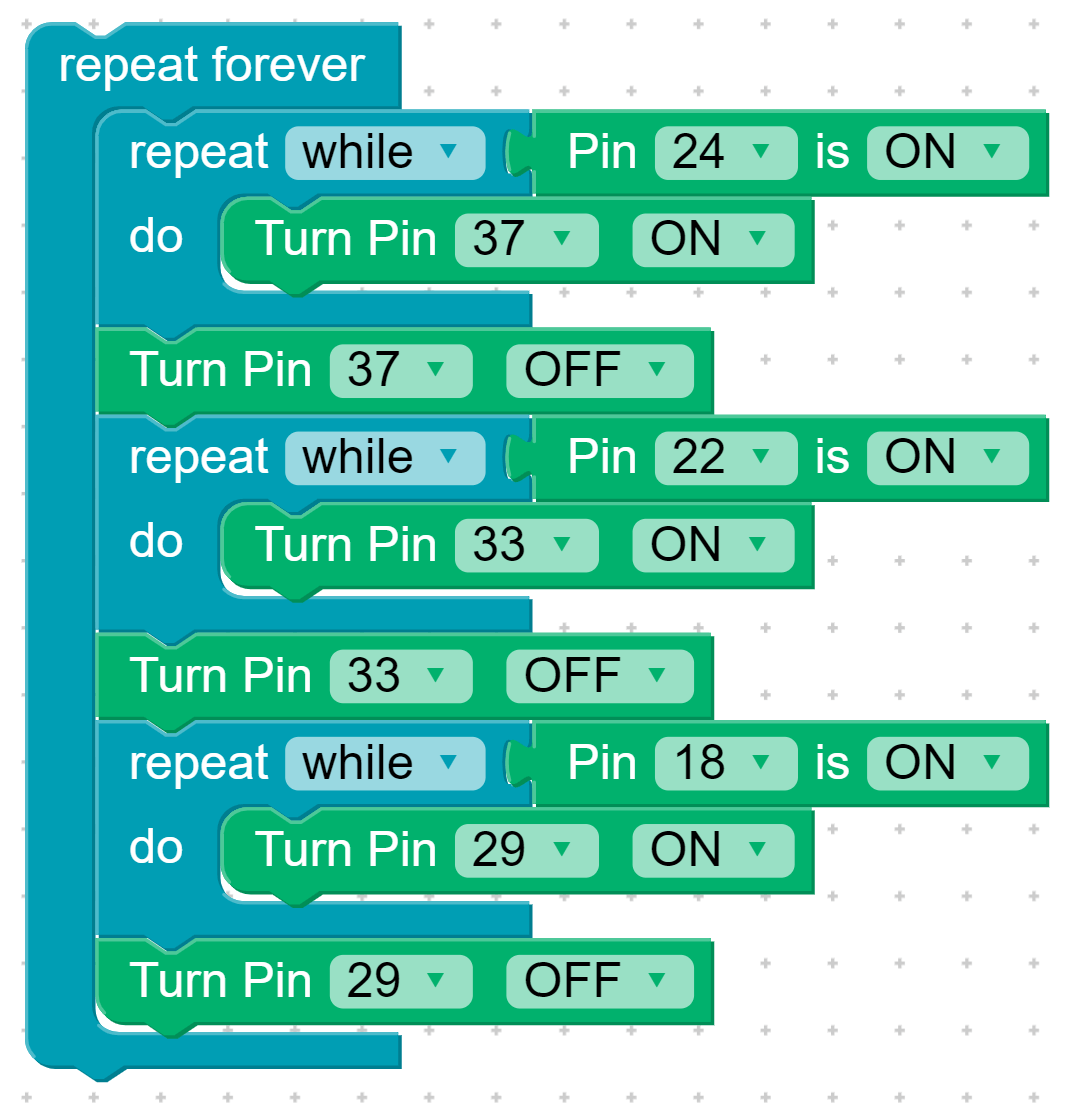
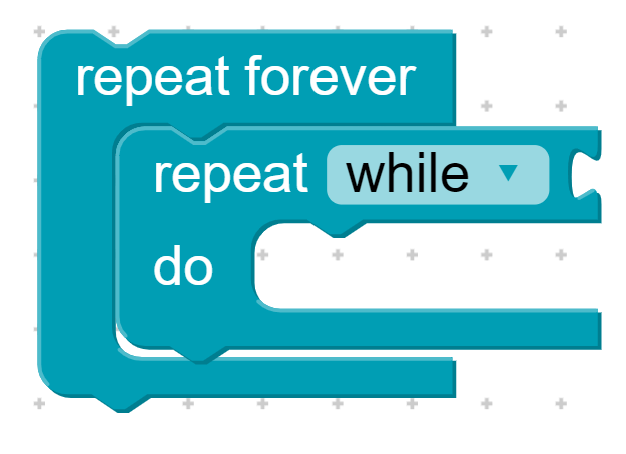
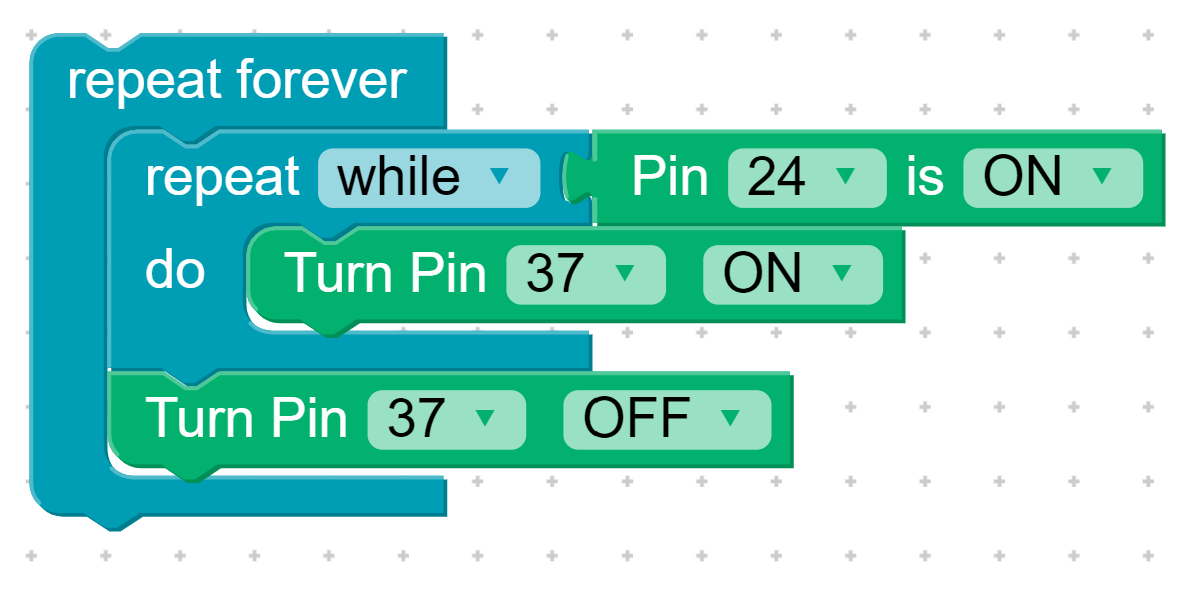
Drag blocks to match the image. The While block is a new one!

Step 4 While block

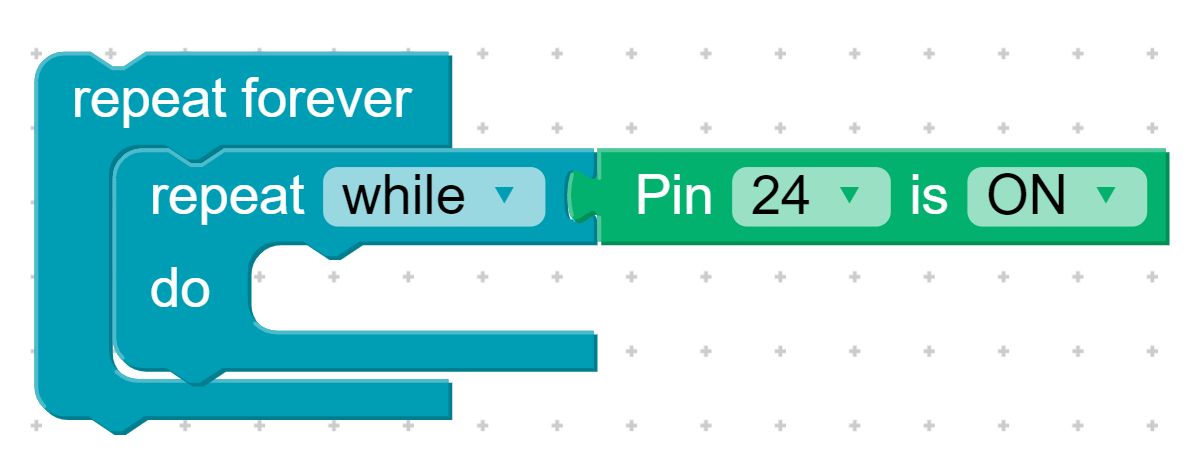
Program the While block by adding a check for pin 24 (the red button) being ON.

Step 5 Turn the light on

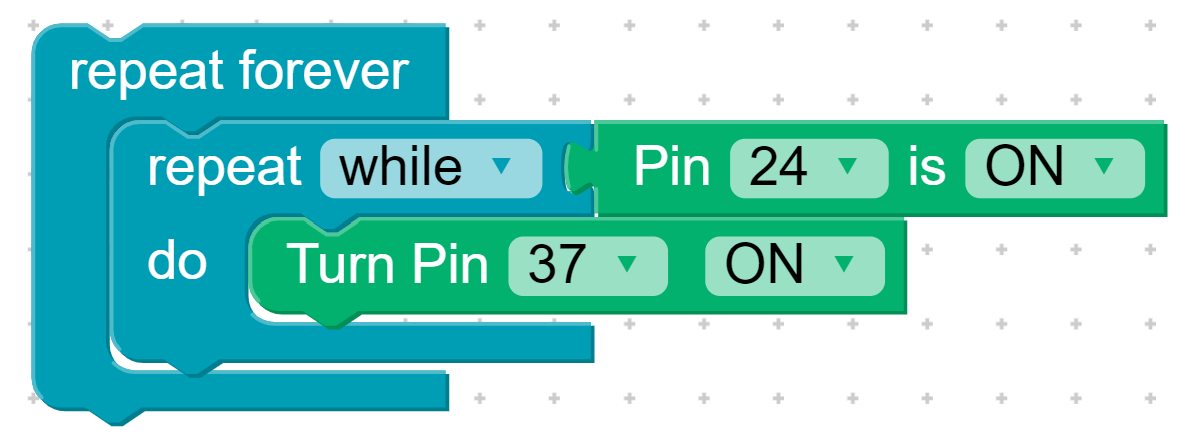
Now program the While block to turn on pin 37 (the red LED).

Step 6 Turn the light off

When we release the button, we want the light to turn off. Add a block to turn pin 37 off.

Step 7 The other lights

Now repeat the pattern for the other two lights.

Completed!