 Look for the graphic above
Intruder Alert! Use your Distance Sensor to create an alarm
Students will use the Distance Sensor to create their own sensor alarm and learn to graph results.
 Piper Computer Kit
 Distance Sensor
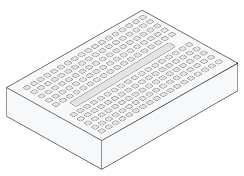 2 Breadboards
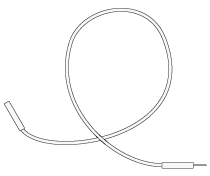 5 Wires (2 yellow, 1 green, 1 red, 1 black)
 Buzzer
Students will learn how to use a Distance Sensor by connecting it and writing code. After that, they will look at the sensor’s data and change their code to measure distance in different ways. In the real world, this concept could be used in a car’s parking system. The car uses distance sensors to tell how close it is to other objects, helping the driver park safely.
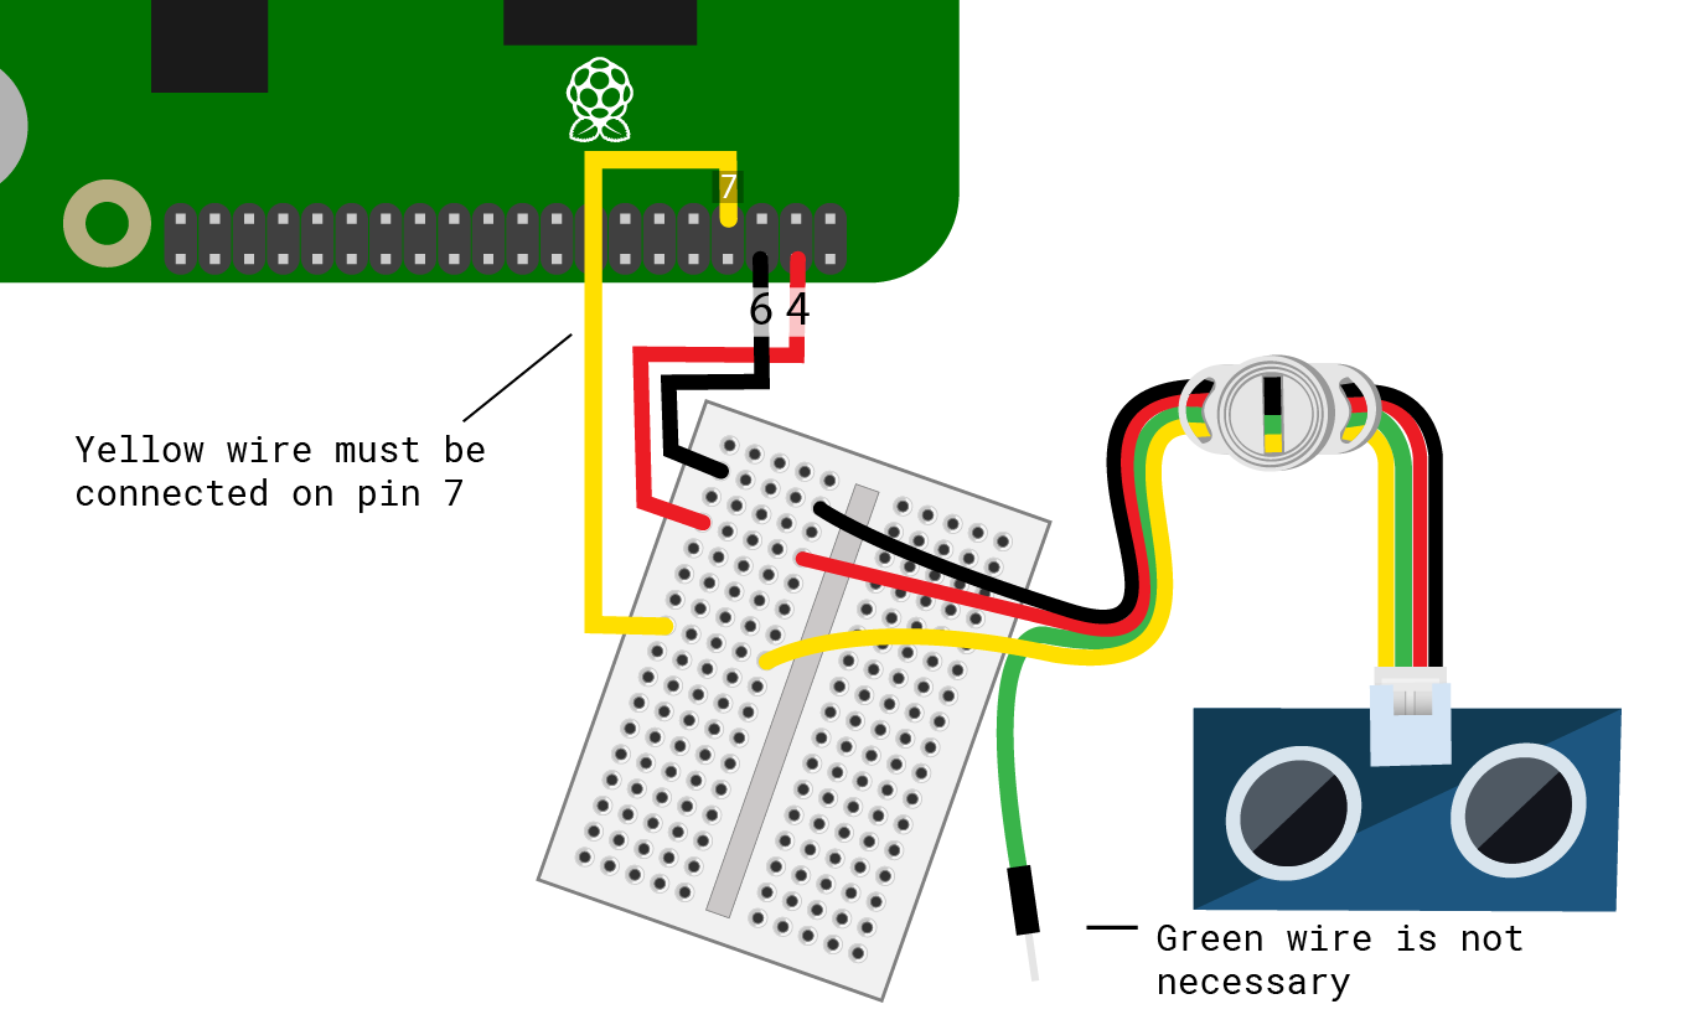
In this project, you will create a "security zone" for your Piper Computer. Using the wiring diagram and pin map, connect your Distance Sensor to the Raspberry Pi as shown.
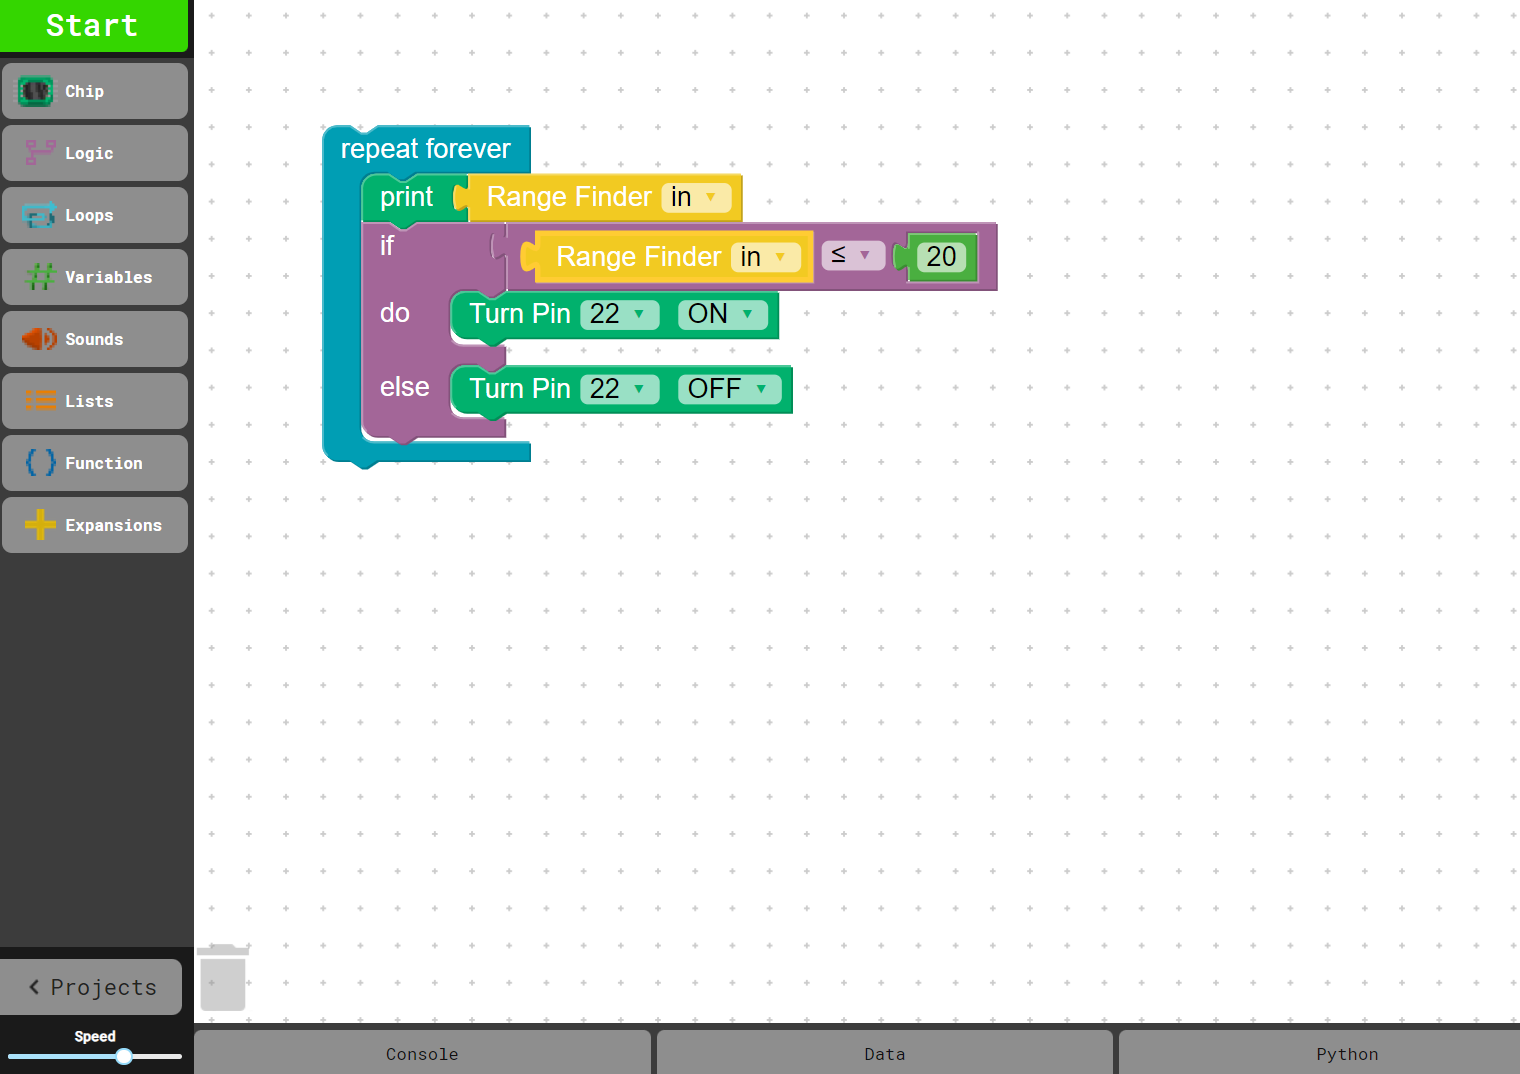
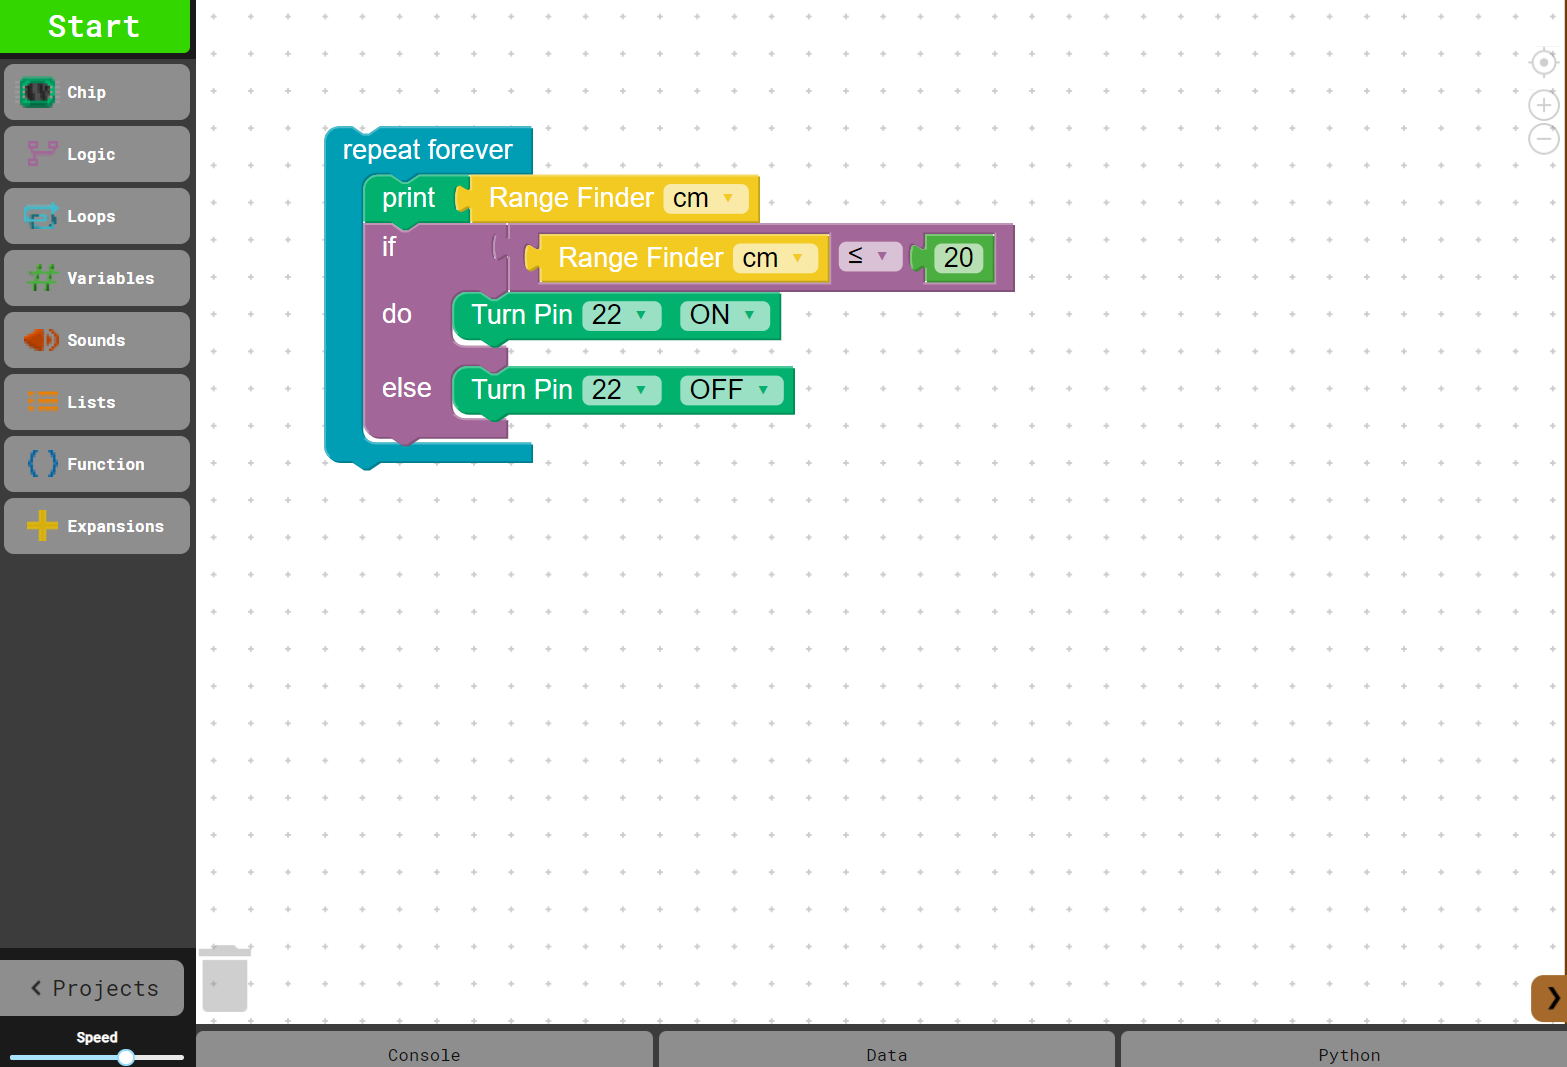
In order to read the distance measurements sensed by your Distance Sensor, you will need to print the values. Find the print block under Chip and drag it to your programming space.
To make sure your code prints a specific value read by the Distance Sensor, find the Distance Sensor block under Expansions and drag it within the print block as shown. Make sure the units are set to cm. Discuss: What would be different if we used inches?
Now find the if, do, else block under Logic. Drag it into your programming space. You will use this block to signal outputs when the Distance Sensor measures a particular distance.
Find the = block under Logic. Set the inequality to ≤ (less than or equal to). Place it in the if part of your conditional logic block and place a Distance Sensor block as shown. Make sure the Distance Sensor block units are in cm.
Find the integer block (showing 0) under Variable, drag it into the inequality logic block as shown. Set the integer value to 20 as shown. Discuss: How does setting the Distance Sensor value to 20 affect the output? What would be different if the value were 5?
Next, wire up your buzzer using the diagram to set up your alarm system. Use the pin map to check your pin numbers.

Add a Turn Pin ON/OFF block found under Chip to both the do and else part of your conditional Logic block. Under do set it to Turn Pin ON, under else set it to Turn Pin OFF. Change both pin numbers to 22. Your code should match the image provided.
Under Loops find the repeat forever block. Connect your print block to your if,do,else block and add the repeat forever block around your code snippet.
Press START in the top left corner and test your alarm by positioning the sensor upright and slowly move your hand towards and then away from the sensor. Make sure you view the graph under Data --> Distance Sensor while you test. You can also view the numerical values by selecting the Console.
Adjust the Distance Sensor distance based on your preference. How close can someone come to your Piper Computer? Discuss: How would the alarm change if you used the units inches? Try it!