 Look for the graphic above
Learn the basics of the program editor and programming
In this project, students build three LED lights and program them to light up in a sequential order similar to a traffic stoplight. The step-by-step instructions in the tutorial guide students through the process of building the circuit and writing the code.
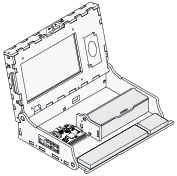 Piper Computer Kit
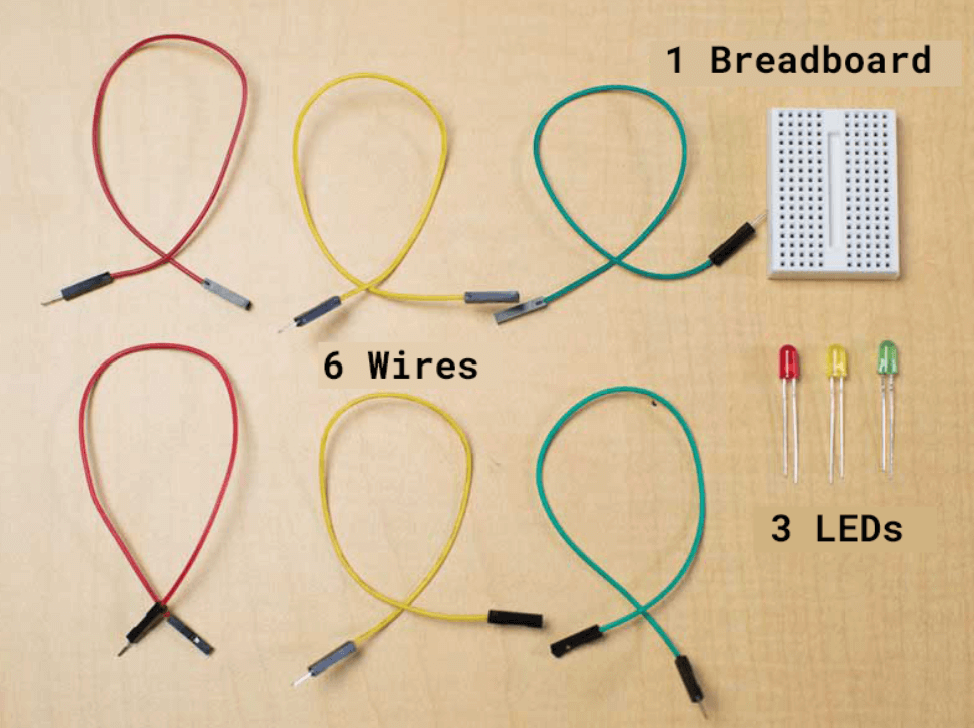
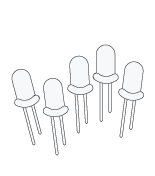 3 LEDs (red, yellow, green)
 6 Wires
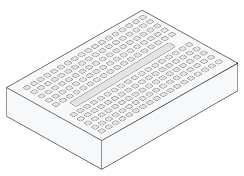 Breadboard
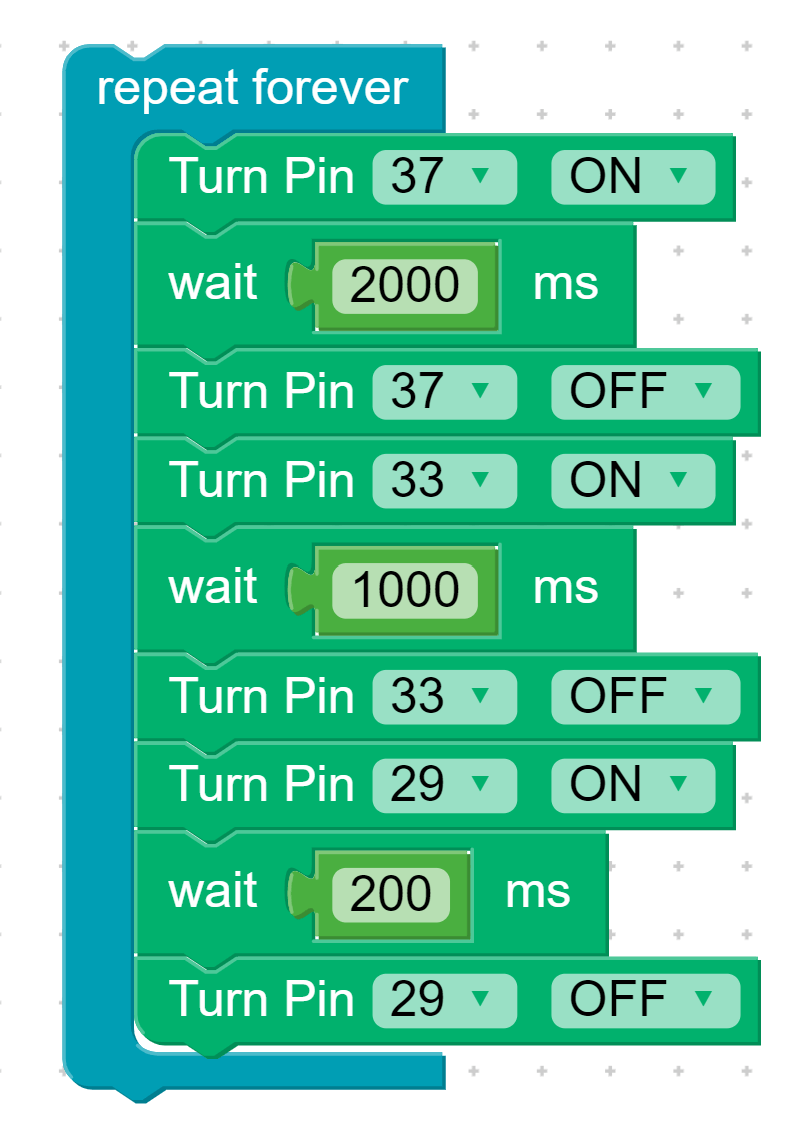
In this project, students will expand their understanding of the concept of sequences in loops by creating code to make three LEDs turn on and off in a repeat forever loop. They will then stretch to form algorithms and automation, while practicing testing and debugging.
Extension: Challenge the students to modify the code so that the lights blink in a different order, or stay on longer.Take out the inventory you see in the picture below.
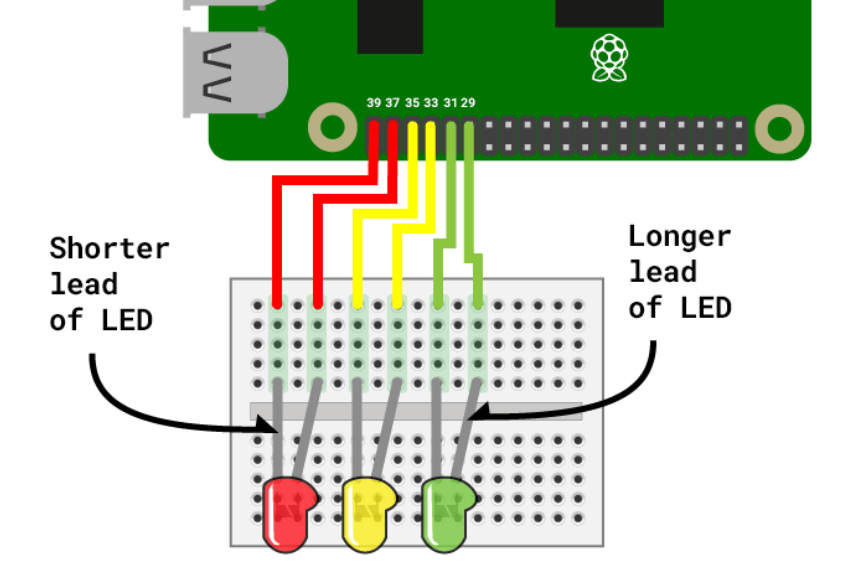
Build your electronics! Connect LEDs to the breadboard and wires to the GPIO pins on the Raspberry Pi.
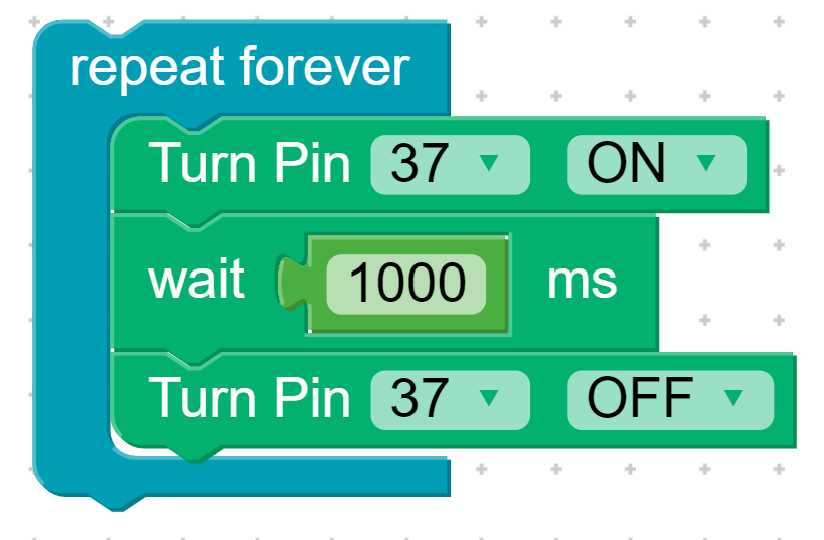
Drag BLOCKS to match the image. Change both Turn Pin numbers to 37 and the second Turn Pin block to OFF. Click Start.
Click Stop. Drag blocks and change the Turn Pin numbers to match the image above. Click Start.
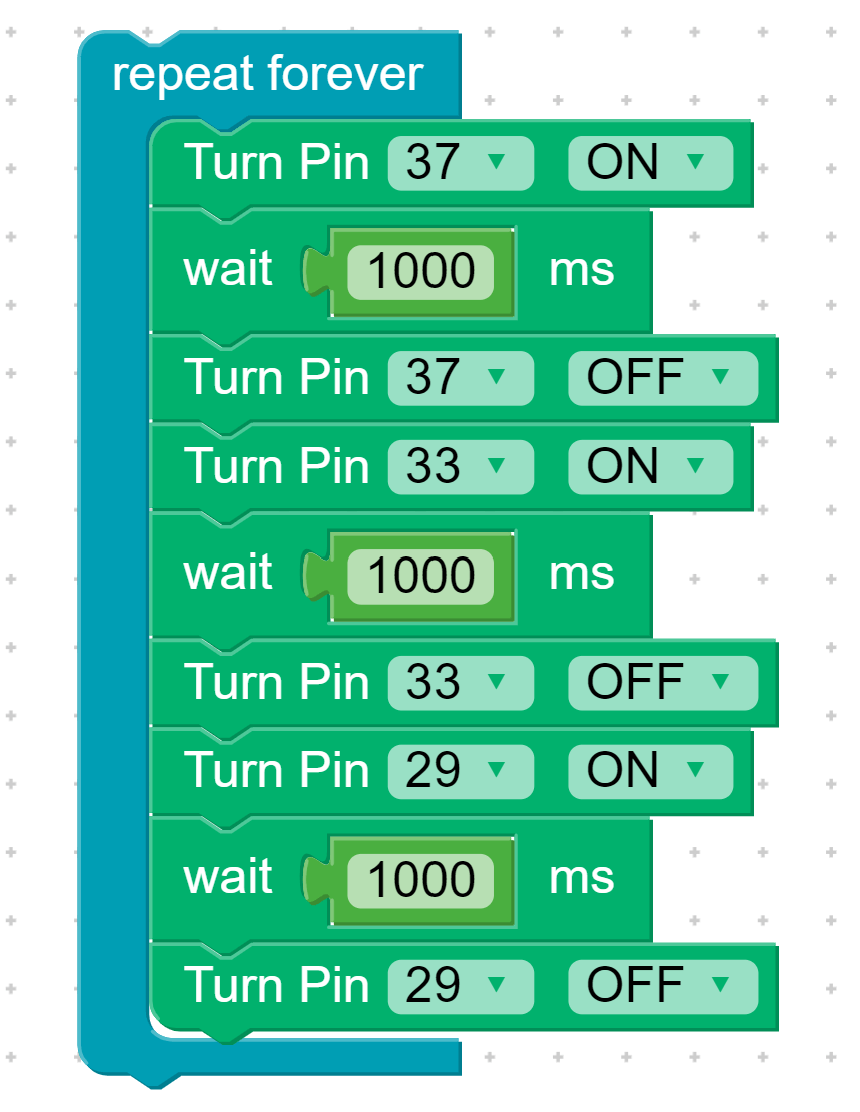
Click Stop. Change the Wait time so traffic in your city is safe!