 Look for the graphic above
Count me in! Learn to make a tally machine in this project
In this project students build a counter with a variable. The counter records how many times a button is pressed. When it has been pressed 6 times they are rewarded with a sound. The step-by-step instructions in the tutorial guide students through the process of building the circuit and writing the code.
Tally demonstrates a common way of keeping score in a game. Additional code may be added (borrow from other projects) to make it an interactive game. Advanced students may even add additional wires and another push button.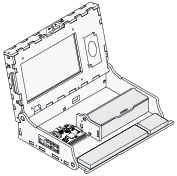 Piper Computer Kit
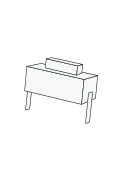 Push Button
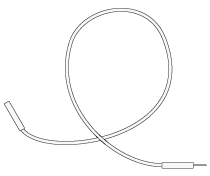 2 Wires (red, blue)
Students use a variable to count button presses and will print the results in the Blockly console. Tally represents a significant step forward in programming complexity in that it involves skills related to variables, conditionals, debugging, and sounds in the same project.
We will make a button counter. Build this button.

A variable stores a value, like the number of button presses. Create a new one named buttonPress.
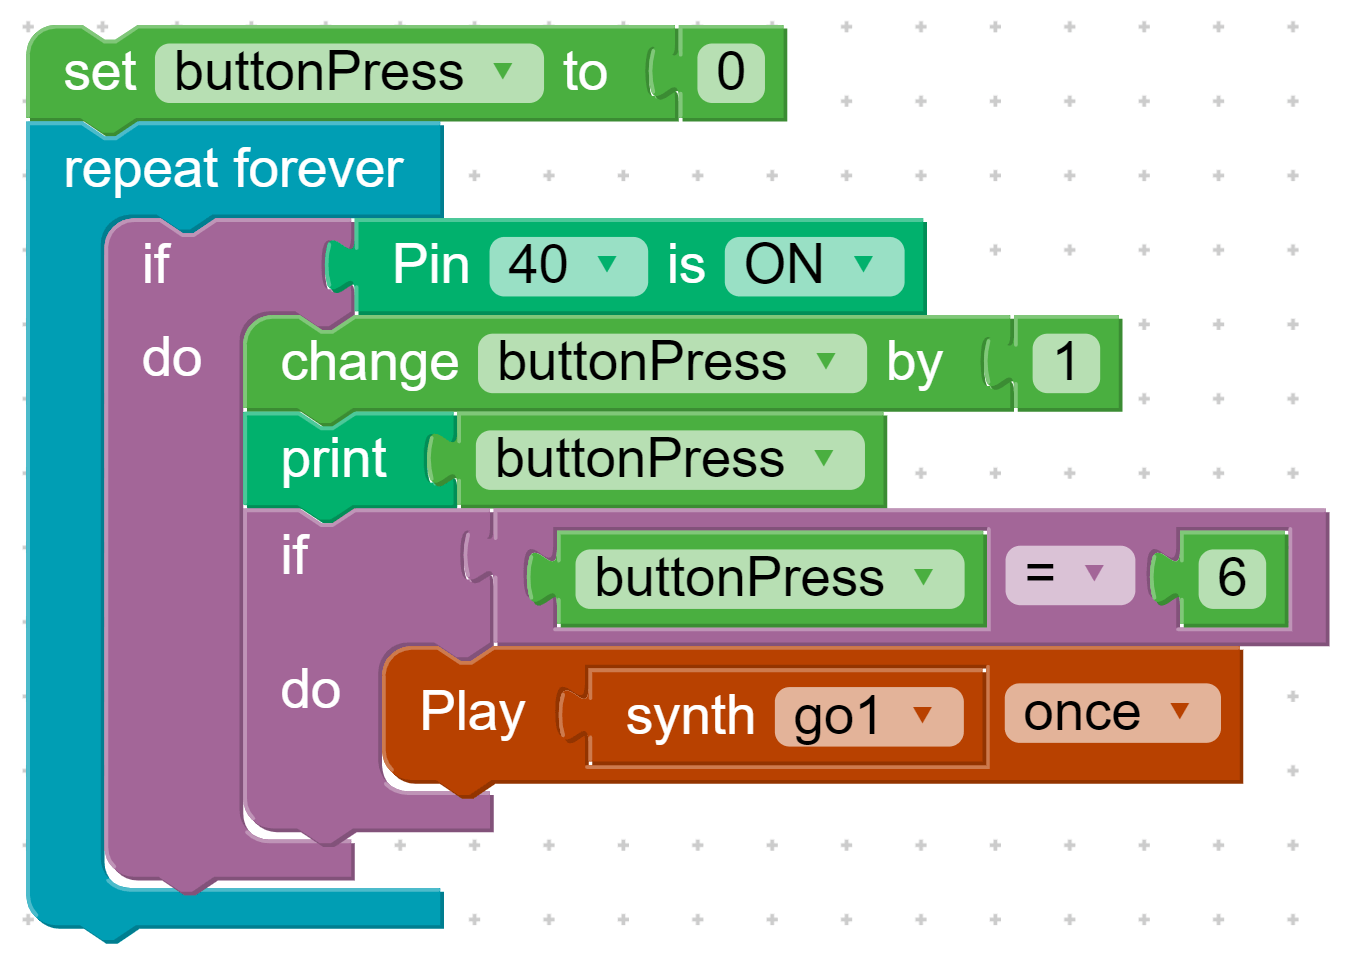
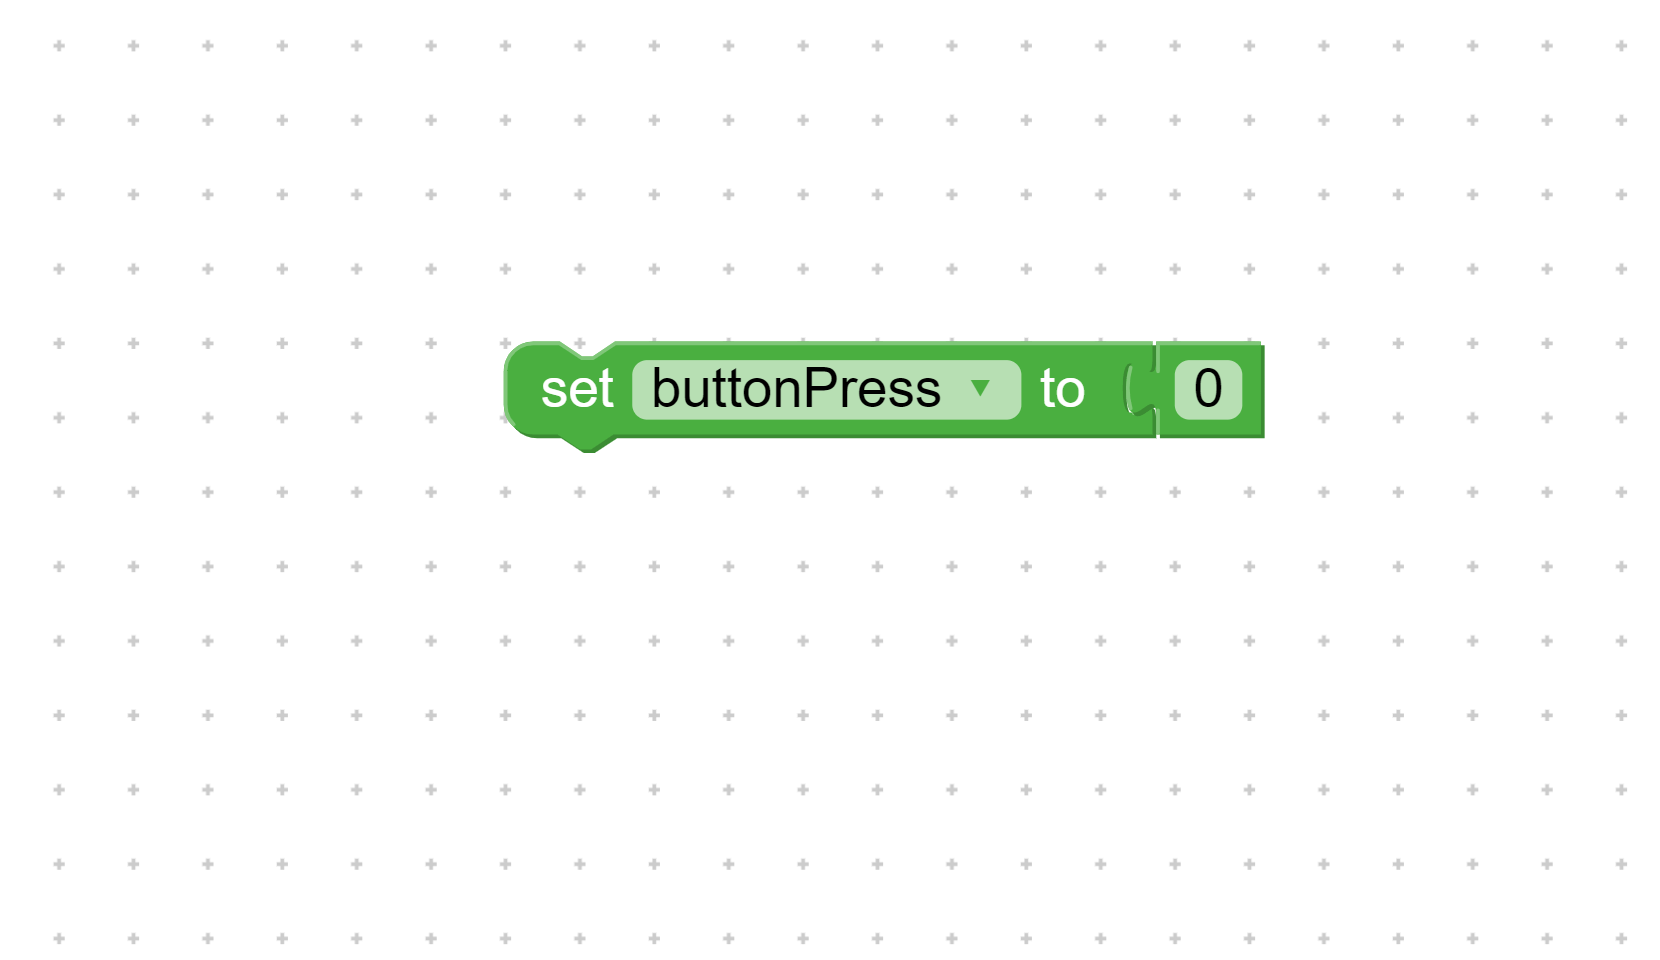
We want our button count to start at 0. Use the Set block and the 0 value.
The console will show us our variable value. To prepare, add this code.
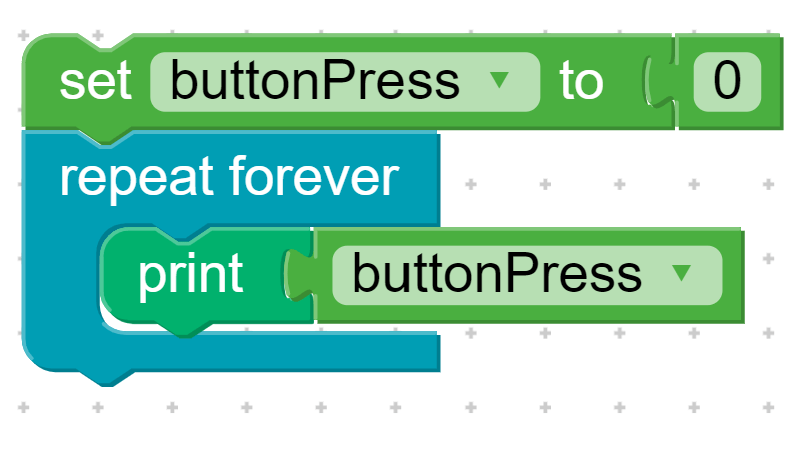
Turn on the console in the settings, then press Start. You see the variable value printed.
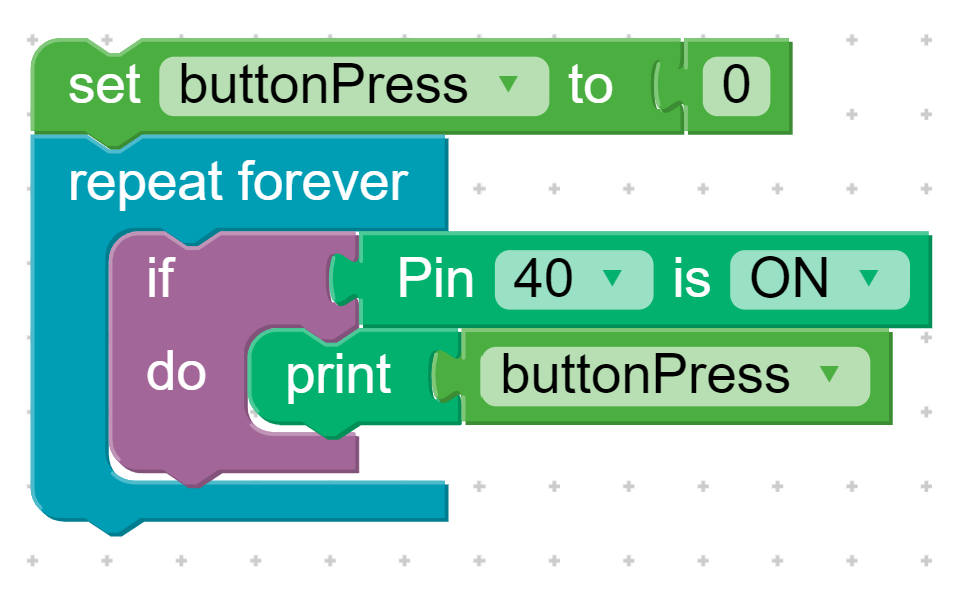
Use an If block to only print the variable when you press the button. Try it. Press Start, then the button.
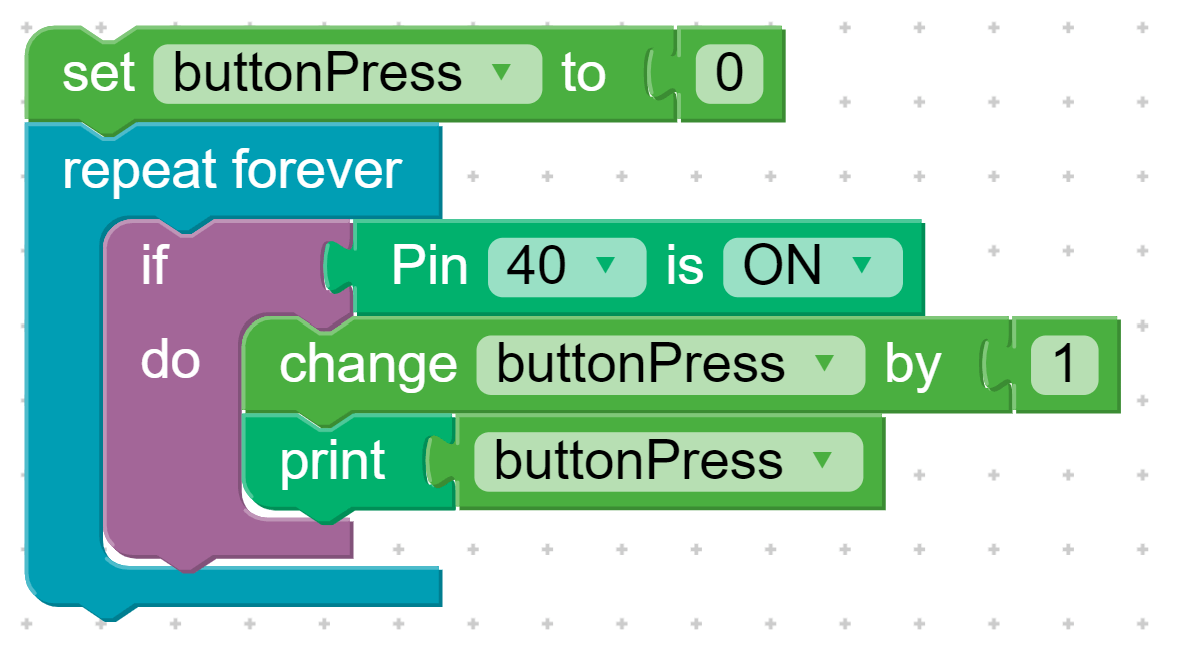
Now use the change 'buttonPress' by 1 block to add 1 every time you press the button. Try it in the console.
Add the following code to play a sound when the variable is 6.