 Look for the graphic above
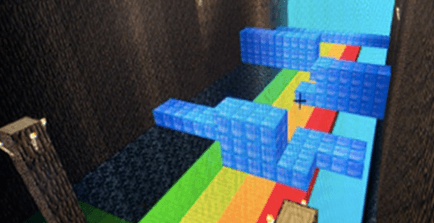
One random color of the rainbow bridge disappears periodically. Can you help Piperbot get over the rainbow bridge?
To reach the next portal, Piperbot has to cross a constantly changing rainbow bridge.
One random color of the rainbow bridge disappears periodically. Can you help Piperbot get over the rainbow bridge?
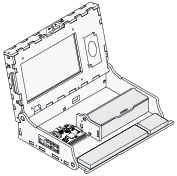
To access this project from the Piper Computer Kit main menu, click StoryMode then click Rainbow Bridge.
Note: Treasure Hunt must be completed before unlocking the Rainbow Bridge mission.
 Piper Computer Kit
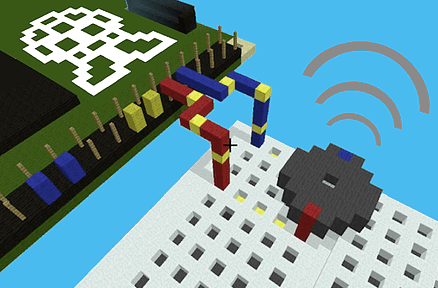
In this level, you will review different levels of outputs and learn about component polarity. It's important to note where the positive (red wire) current must go into the long lead of the buzzer and exit through the short lead, through the blue wire and back to the RaspberryPi.
(Note: You can draw an analogy to a one way valve: the buzzer only lets current flow one way, the way a one way valve only lets fluid flow one way.)
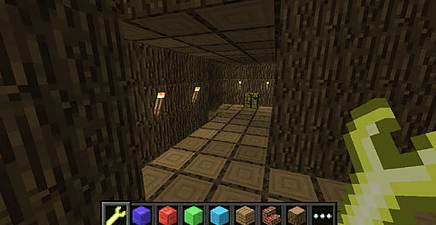
In this project, the crafting table is easy to find. Right click on the crafting table to go into PipingMode and get your instructions for building a buzzer.
The instructions will show you to get a buzzer out of your electronics storage chest. The buzzer is black, shaped like a cylinder and has a label on top. Install your buzzer in the breadboard as shown in PipingMode. Use GPIO 15,16.
The buzzer is sequenced to represent a color of the bridge. Figure out the sequence to understand which color you should use to cross the bridge without falling! Once across the bridge, find the portal and go to the next project.