Learn how to use light show bitmaps in a sequence to create an animation like those used in films or cybersecurity.
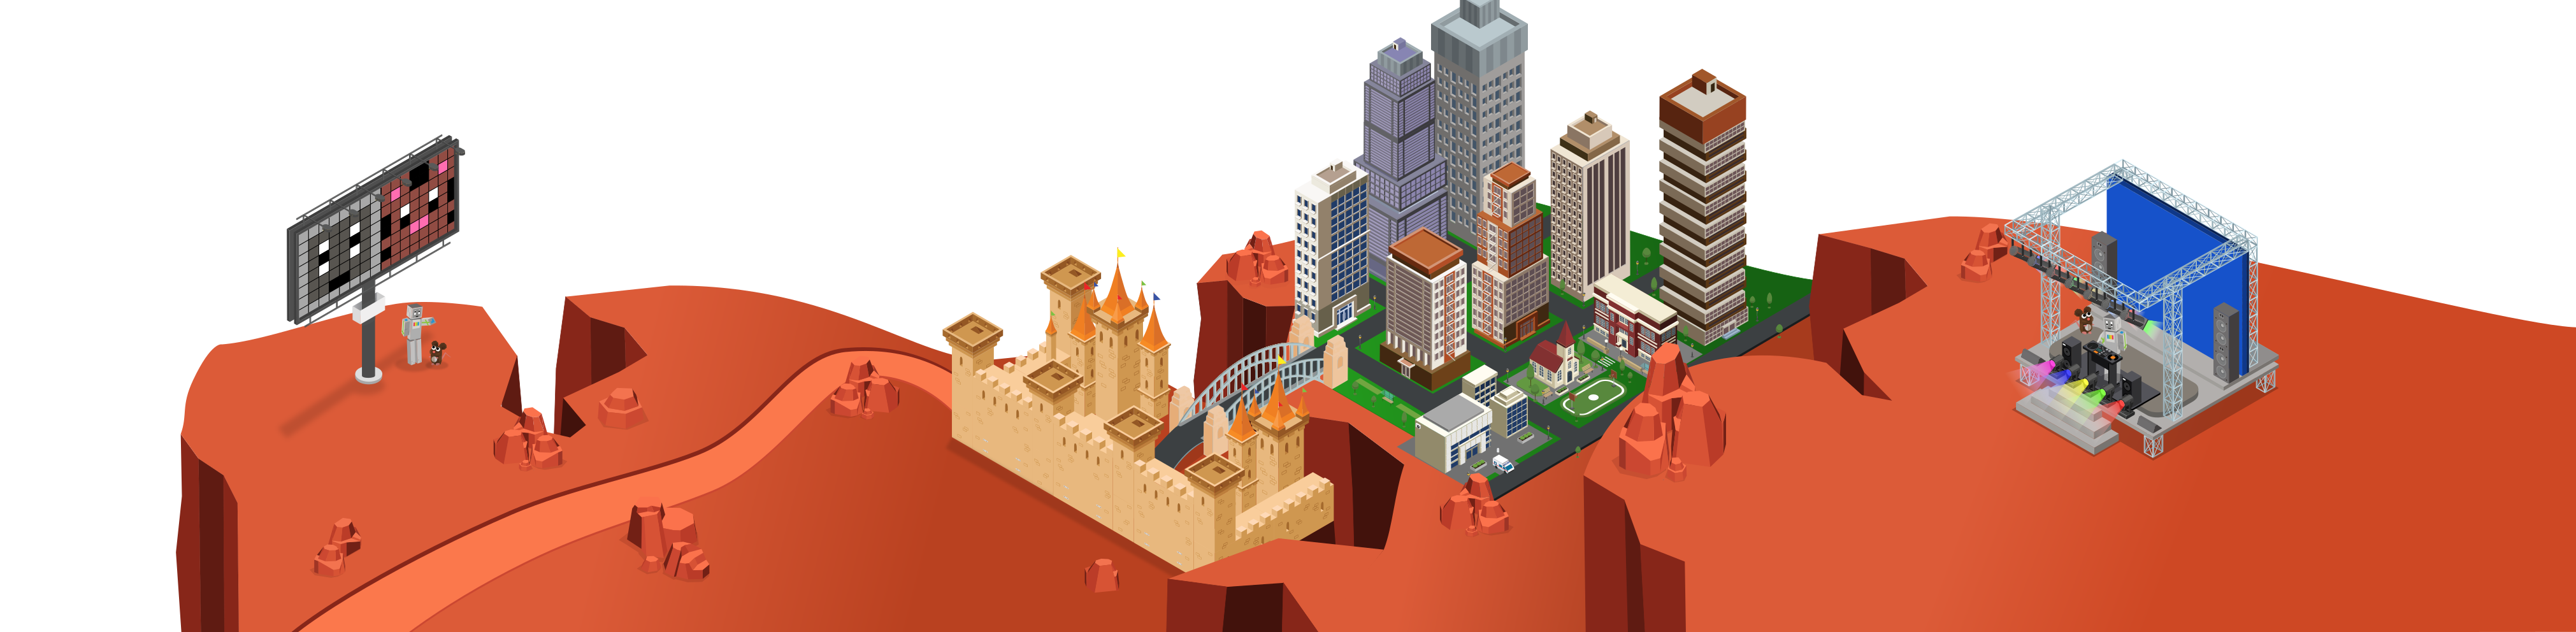
Piperbot and Pip are trying to say hello to the Master Maker’s City! Write a scrolling message with your Light Show, and create interesting animations that, when looped, create animations and motion with lights.
View student interface at make.playpiper.com Computer with USB port and Chrome or Edge browser
 Piper Make Base Station or Starter Kit
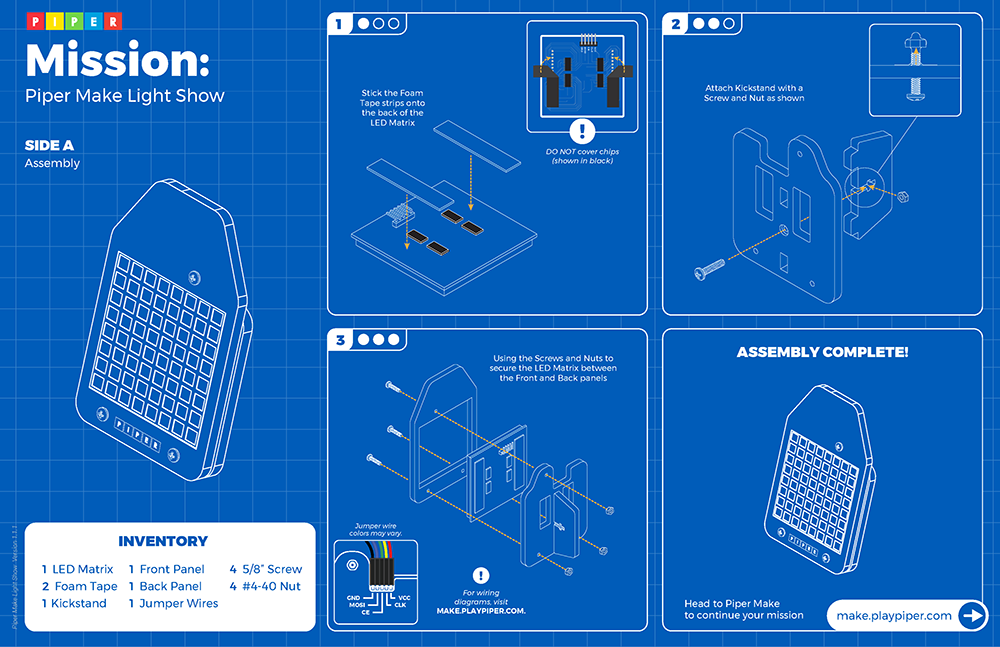
 Piper Make Light Show
The following sections will contain step by step instructions for ELA, ELD and Math extensions directly related to this mission. Adjust the directions to fit your ELA, ELD and Math standards.
Cybersecurity Extension: Secret MessageCreate a secret message using bitmaps and send it to someone else.
 Demonstrator and Product Promoter: Salary $34,770/yr
 Marketing Manager: Salary $140,040/yr
 Fashion Designer: Salary $76,700/yr
 Web and Digital Interface Designer: Salary $83,240/yr
Pixel A shortened form of "picture element," one of the many tiny dots that, when combined, represent a picture in a computer’s memory. (The number of pixels in an image is called its "resolution.") (CAT)
Color Depth The number of different colors that can be displayed by each pixel in a computer graphic, usually measured in bits (e.g., 8-bit means 256 different colors because binary 11111111 is 255, and when you include 0, it is 256 different values ). (CAT)
Medium The materials used to create a piece of artwork, such as paint, marble, clay, or pastels. (CAT)
Graphic User Interface (GUI) A way to display information on the computer screen where the user can use a mouse or touchscreen to click various buttons. (CAT)
Animation Rapidly displaying a sequence of photos, images, or drawings to create the illusion of motion. (CAT)